![]()
| From past experience, we'd resolved that we weren't going
to post test images ahead of reviews, as a way of flogging ourselves
into getting the reviews completed more quickly. We're making
an exception to this self-imposed rule for the LS-2000 though,
simply because the review is turning out to be SO big: There
are dozens of software features, and accompanying screenshots
that need to be commented on and explained, and it will likely
take us another two weeks to complete the full review. Meanwhile,
the results from our test subjects were so outstanding that we
didn't want to delay any longer before sharing them with our
readers! (The full review is now up,
but we left these extended comments here as a summary anyway...) If one thing's clear with the LS-2000, it's that you (sometimes) clearly get what you pay for. While scanners we've tested selling in the $300-$500 range are capable of producing nice results (and in the process, far exceeding the performance of all but the highest-end professional digital cameras), the Super CoolScan LS-2000 completely blows them away! Of course, this should probably come as no surprise for a scanner costing almost $2000, but we were surprised at just how great the difference was. First and foremost, the LS-2000 is capable of producing great scans simply by using its default settings: Far less twiddling of the scan parameters are required to obtain excellent results. When you do need to tweak the settings, the LS-2000 provides you a tremendous range of control, in some cases allowing you to affect the basic operation of the scanner to extract the most from each frame. The extraordinary level of control the LS-2000 offers doesn't come completely free, of course: There's a substantial learning curve involved in mastering the effects of each of the controls provided. Once you've fully learned how to use the device though, the results are nothing short of remarkable. Toss in the amazing "Digital ICE" defect-removal technology, and you have a high-productivity workhorse suitable for any professional imaging environment. A word about our scanner testing philosophy: Some publications have taken the position of scanning everything using the scanner's default settings, believing this to be most fair, neutral methodology. The problem with this approach is it may show unacceptable results for an otherwise perfectly usable scanner. (Most users are willing to engage in some tweaking of the scanning parameters to get the best result.) For our part, we believe the most accurate representation of real-world performance is to allow for a reasonable level of twiddling of the scan parameters. In the interest of objectivity though, we also show scans performed with default settings, to provide a completely neutral reference point. Also note that all images here have been JPEG compressed for compatibility with 'web browsers. This will degrade image quality somewhat, but we used a very conservative compression setting ("8" in Photoshop) to minimize this. |
|
|
"Musicians II" image: (351k) The main image here was scanned at 1200 x 788 pixels, and minor tonal adjustments were made, using the "curves-levels" controls to increase the gamma setting to 1.2, lightening the midtones. Here (333k) is a version scanned with the LS-2000's default settings, which shows somewhat heavy midtones and overly-ruddy complexions on the models. Even the unaltered image shows excellent color accuracy, tonal range, and saturation. (NOTE that this is NOT the identical
"Musicians" image as used in our digital cameras test!
It's very similar, but the models are different, and the digital-camera
version is a couple of reproduction generations removed from
this particular version.) |
||
|
|
"Musicians II"
detail clip: (462k) The LS-2000's
2700 dpi maximum resolution is at the upper end of available
desktop film scanners, and much more than this would have little
purpose on most 35mm film. This maximum-resolution clip of the
Musicians II image shows the exceptional detail and near-total
lack of artifacts the LS-2000 produces. Note how easily you can
see individual strands of hair, and the complete lack of pixelation.
What's that about "much more (resolution) would have little
purpose on most 35mm film"? Here's a tiny
section (87k) of the image, with
fairly strong unsharp masking applied in Photoshop (radius of
1.7 pixels, 200%): That's the film grain you're looking at!
(Meaning that any more scanning resolution, at least with
this image, would just show more grain!) |
||
|
|
Kodak
Royal Gold 25 "House" detail clip: (477k)
This is a detail clip from the same negative used to produce
the "house" poster for our digital camera tests. It
was shot on Kodak Royal Gold 25 film, which is extremely fine-grained,
but which has very different color characteristics from most
normal color negative films. Most scanners we've worked with
have difficulty with RG 25's color balance, so we were very suprised
by how easily the LS-2000 handled this image: We applied only
minor adjustments in tonal range, to obtain the exceptionally
good tonal balance and color saturation in the main image. The scan (477k) strongly
displayed the emulsion/chemical/dirt flecks that seem to plague
this image, however. When we engaged the "Digital ICE"
defect-removal software though, they almost entirely disappeared,
as shown in this image (419k), with very little disturbance to the
underlying image. (We can see a slight softening, as reported
by other users, but it's quite minor.) Using the "Sharpen"
setting on the Digital ICE control sharpened the image even a
bit beyond the original non-ICE, non-sharpened version, but also
brought back some of the point defects as well, as shown
here (498k). |
||
|
|
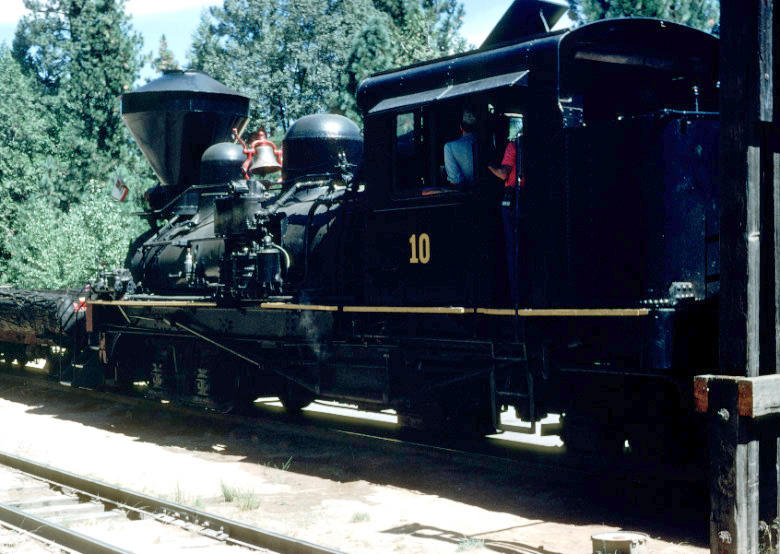
"Train" Shot
(Extreme shadow detail): (186k) This
slide is an extraordinarily tough test of scanner dynamic range:
The slide contains areas of moderately bright highlight, but
the shadows are exceptionally dense. The LS-2000 did exceptionally
well on this image, but achieving this result required using
all of the scanner's arsenal of tricks for dealing with dense
slides. Our first attempt, using just the default settings of
the scanner, albeit with 12-bit data capture enabled wasn't too
encouraging, producing this image
(190k). While the final tonal range of
the image wasn't too bad, large amounts of noise were evident
in the darkest regions. It turned out that the key was to push
the "analog gain" settings up about as far as they'd
go - we set the "master" control to its maximum level,
and each of the red, green, and blue settings up to just a notch
or two less than their maximum levels as well. This done, we
tweaked the sliders on the "curves-levels" drawer to
set the highlight and shadow points appropriately, and pulled
the gamma slider down quite a bit to brighten the lower midtones.
The result was this image (173k), adjusted entirely via the scanner controls.
This image was pretty near to perfect, straight out of the scanner!
(Although it did take a bit of twiddling to get there.) Working
in Photoshop, we adjusted the levels control a bit, to produce
this version (186k),
with a color balance that was more neutral, tending toward the
warm side, reflecting the colors of the original scene a bit
more accurately. (Note: The scanner's interpretation was probably
more faithful to the slide, as Ektachrome generally produces
a cooler color balance relative to the original subjects.) Overall,
we found this target to be a tour de force of the LS-2000's capabilities,
producing excellent results from an extraordinarily difficult
subject. |
||
|
|
Q60
Color Target: (70k) Kodak's "Q60"
color target (formally adopted by the ISO as part of the IT8
color standard) is a good test of color accuracy and tonal rendition.
the main image (70k)
here was scanned with the scanner's "gamma" control
set to 1.2, and the white-point slider brought in by about 18
units. This brightened the midtones a bit, and gave a better
rendition of the slide overall, at least to our eyes. The default
scan, shown here (64k),
while it does an excellent job of capturing the full tonal range
of the subject, with superior color saturation to boot, is a
little dark. The pure white swach on the grayscale at the bottom
of the target is very light relative to the rest of the image.
This tends to "fool" scanners' autoexposure settings,
producing artificially dark scans, as did the LS-2000. This image (70k)
shows the effect of the multi-sample scanning capability of the
LS-2000 on the Q60 target. It's pretty subtle: You'll need to
download the images, and fiddle with them using PhotoShop's "levels"
control to see anything at all, and the JPEG compression we used
to prepare these files for the web obscures much of the effect
anyway. (Look to the "Train" image to see the impact
of multi-sample scanning on a much more challenging subject.) |
||
|
|
"Davebox"
test target: (375k) This is our official
"weirdness of color negative film" test target. As
noted above in the discussion of the Royal Gold "House"
shot though, the LS-2000 does an exceptional job of handling
oddly color-balanced film. (Oops! - missed this one! -
Should have scans for this target up in a week or so
-- undergoing major computer system upgrades this week, everything's
in pieces!) |
||
|
|
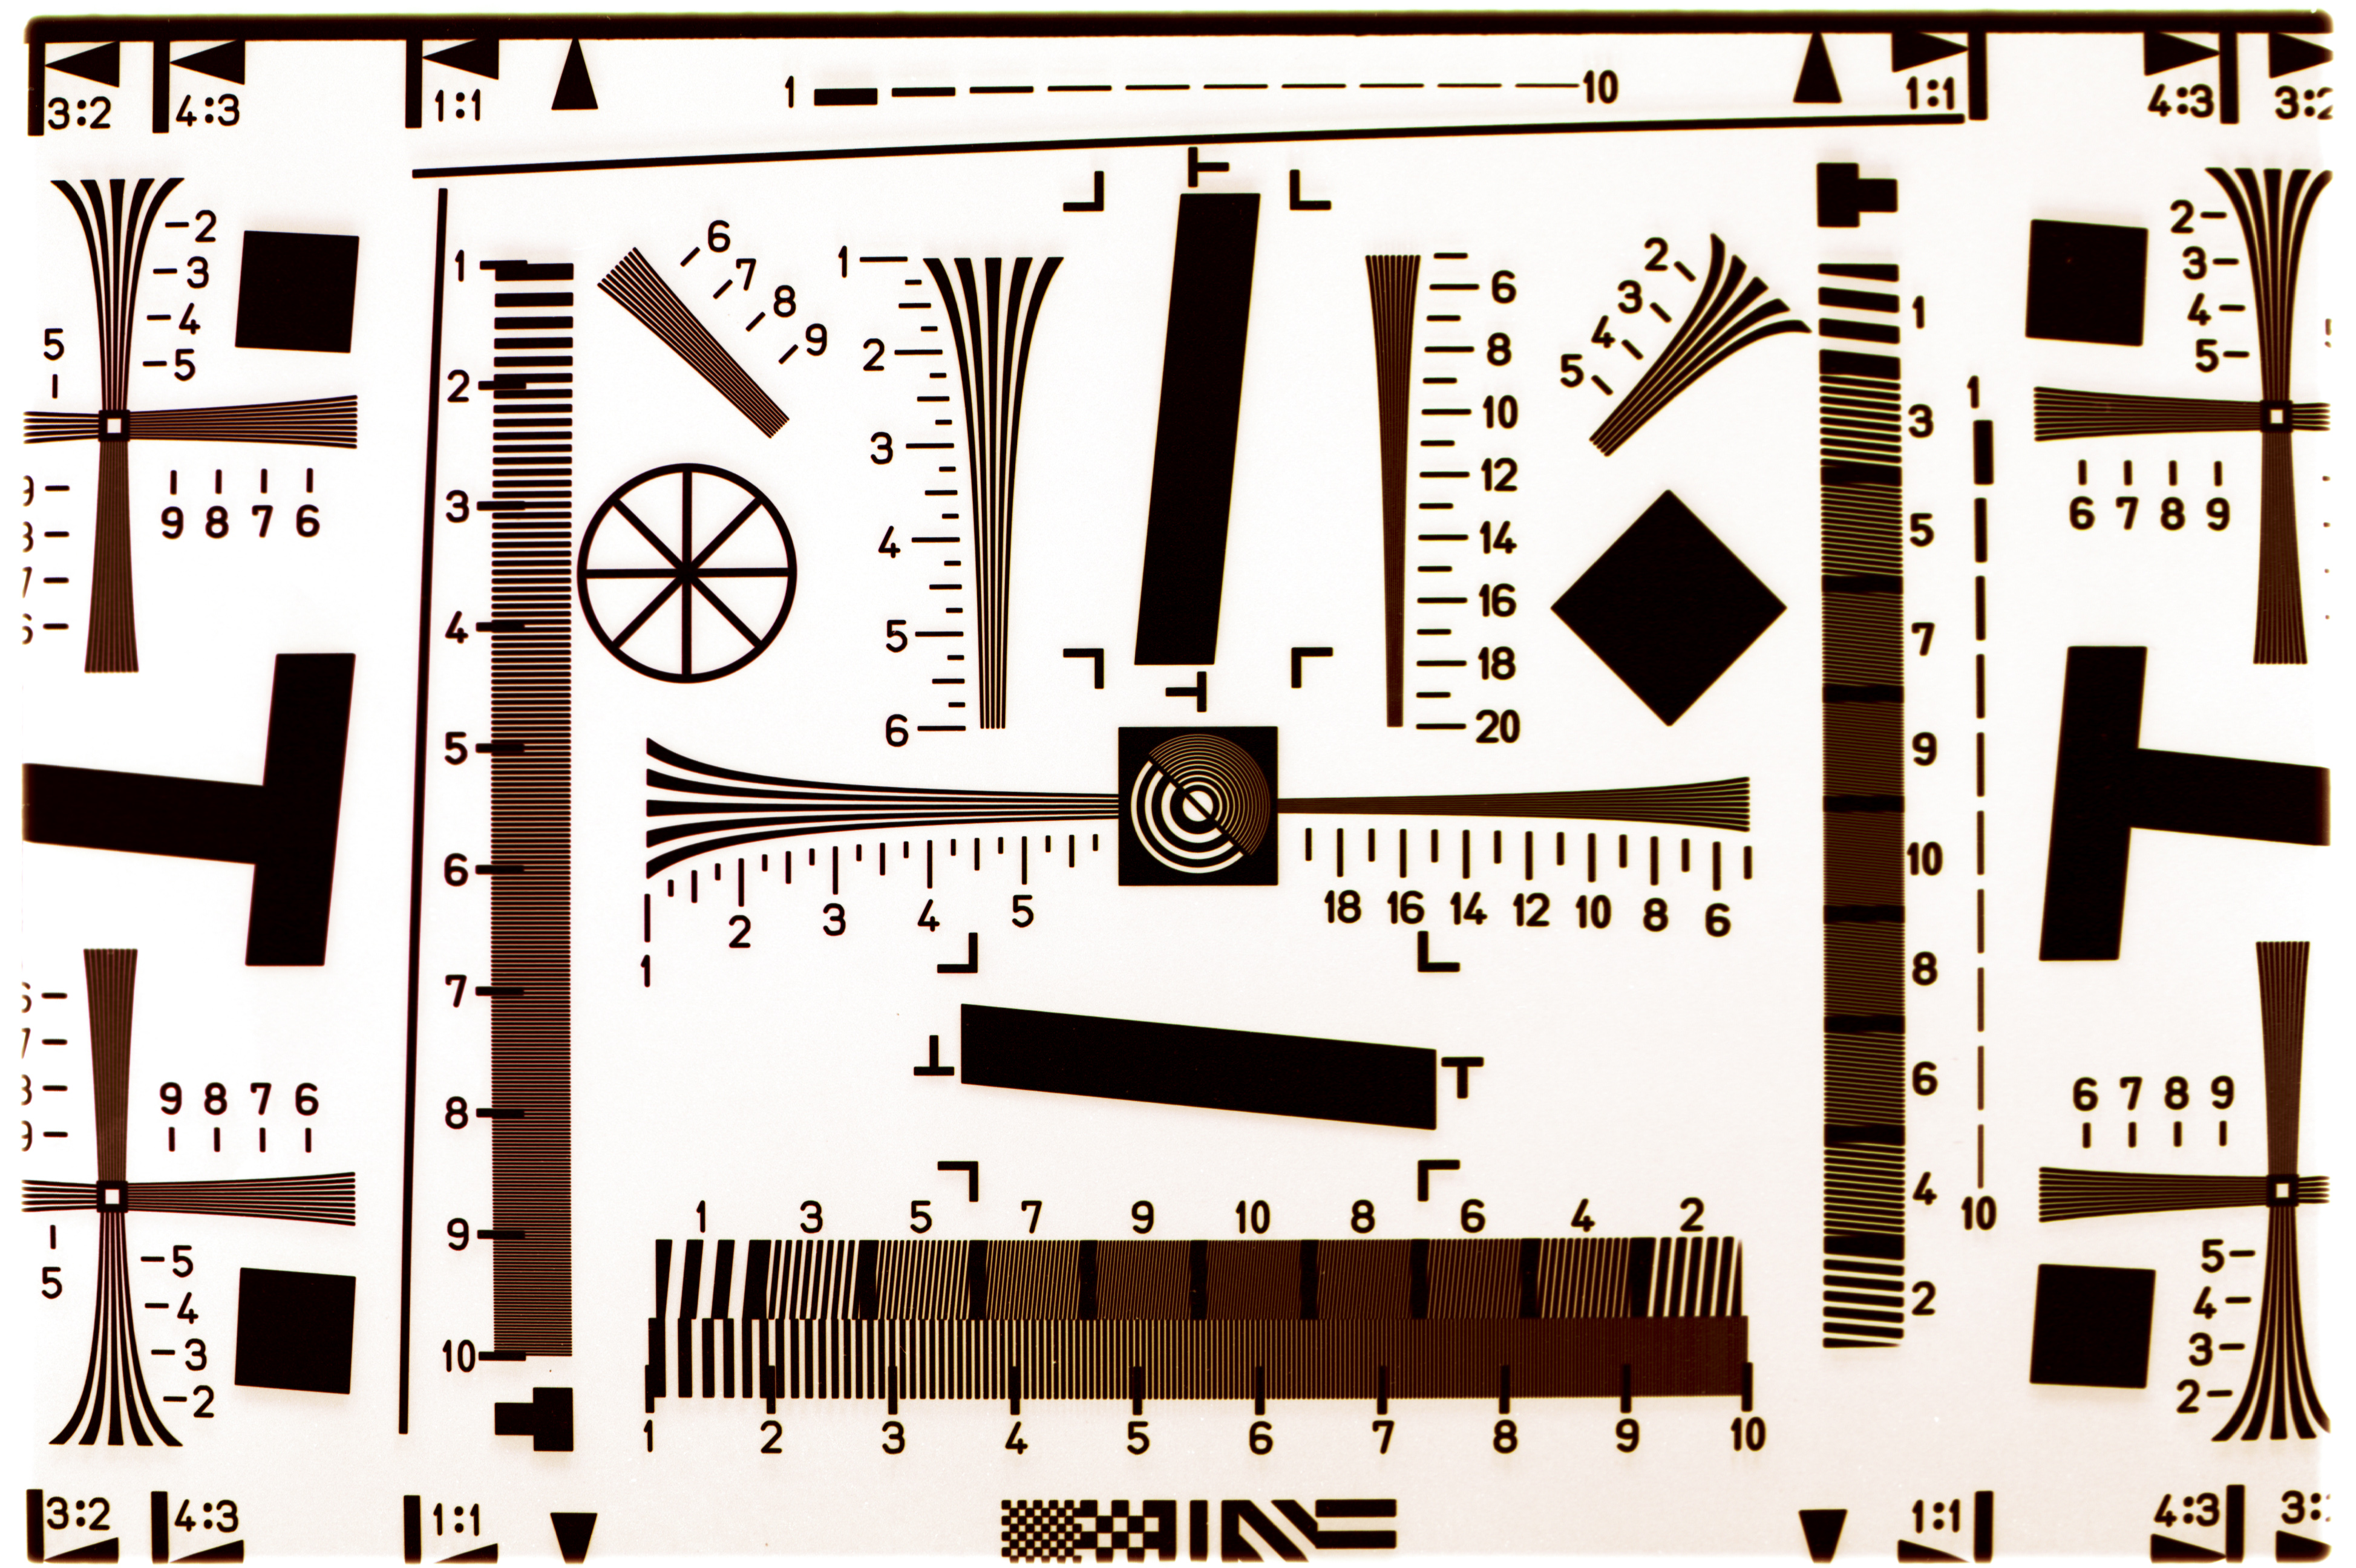
WG-18
Resolution Target Horizontal Clip: (62k)
The full WG-18 resolution target is very large (see below),
so we cropped-out these clips to show the scanner resolution
on this familiar target. These scans were made from a target
shot on Kodak Technical Pan black & white negative film.
This film is extremely fine-grained, with perhaps the highest
resolution of any commercially-available 35mm emulsion. The target
was shot with a Nikon 50mm, f1.4 lens (a notably sharp lens),
at an aperture of f8. Thus, while not a "laboratory"
grade target, this represents about as much detail as you'll
ever see in a conventional film image. The downside of this target
is that the Tech Pan emulsion is a little "thin," lacking
density. It is thus difficult to set scanners properly to produce
adequate contrast to separate the finest details without losing
critical information. We've thus presented here two sample images,
one showing only the effect of the scanner's
own controls (78k), the other
adjusted (62k)
in Photoshop to increase the weak contrast in the finest
elements. The Photoshop-adjusted version makes it easier to see
the individual resolution elements extending to about 1600 lp/ph
before becoming lost in aliasing. Note the almost total lack
of color aliasing, and feedom from artifacts. |
||
|
|
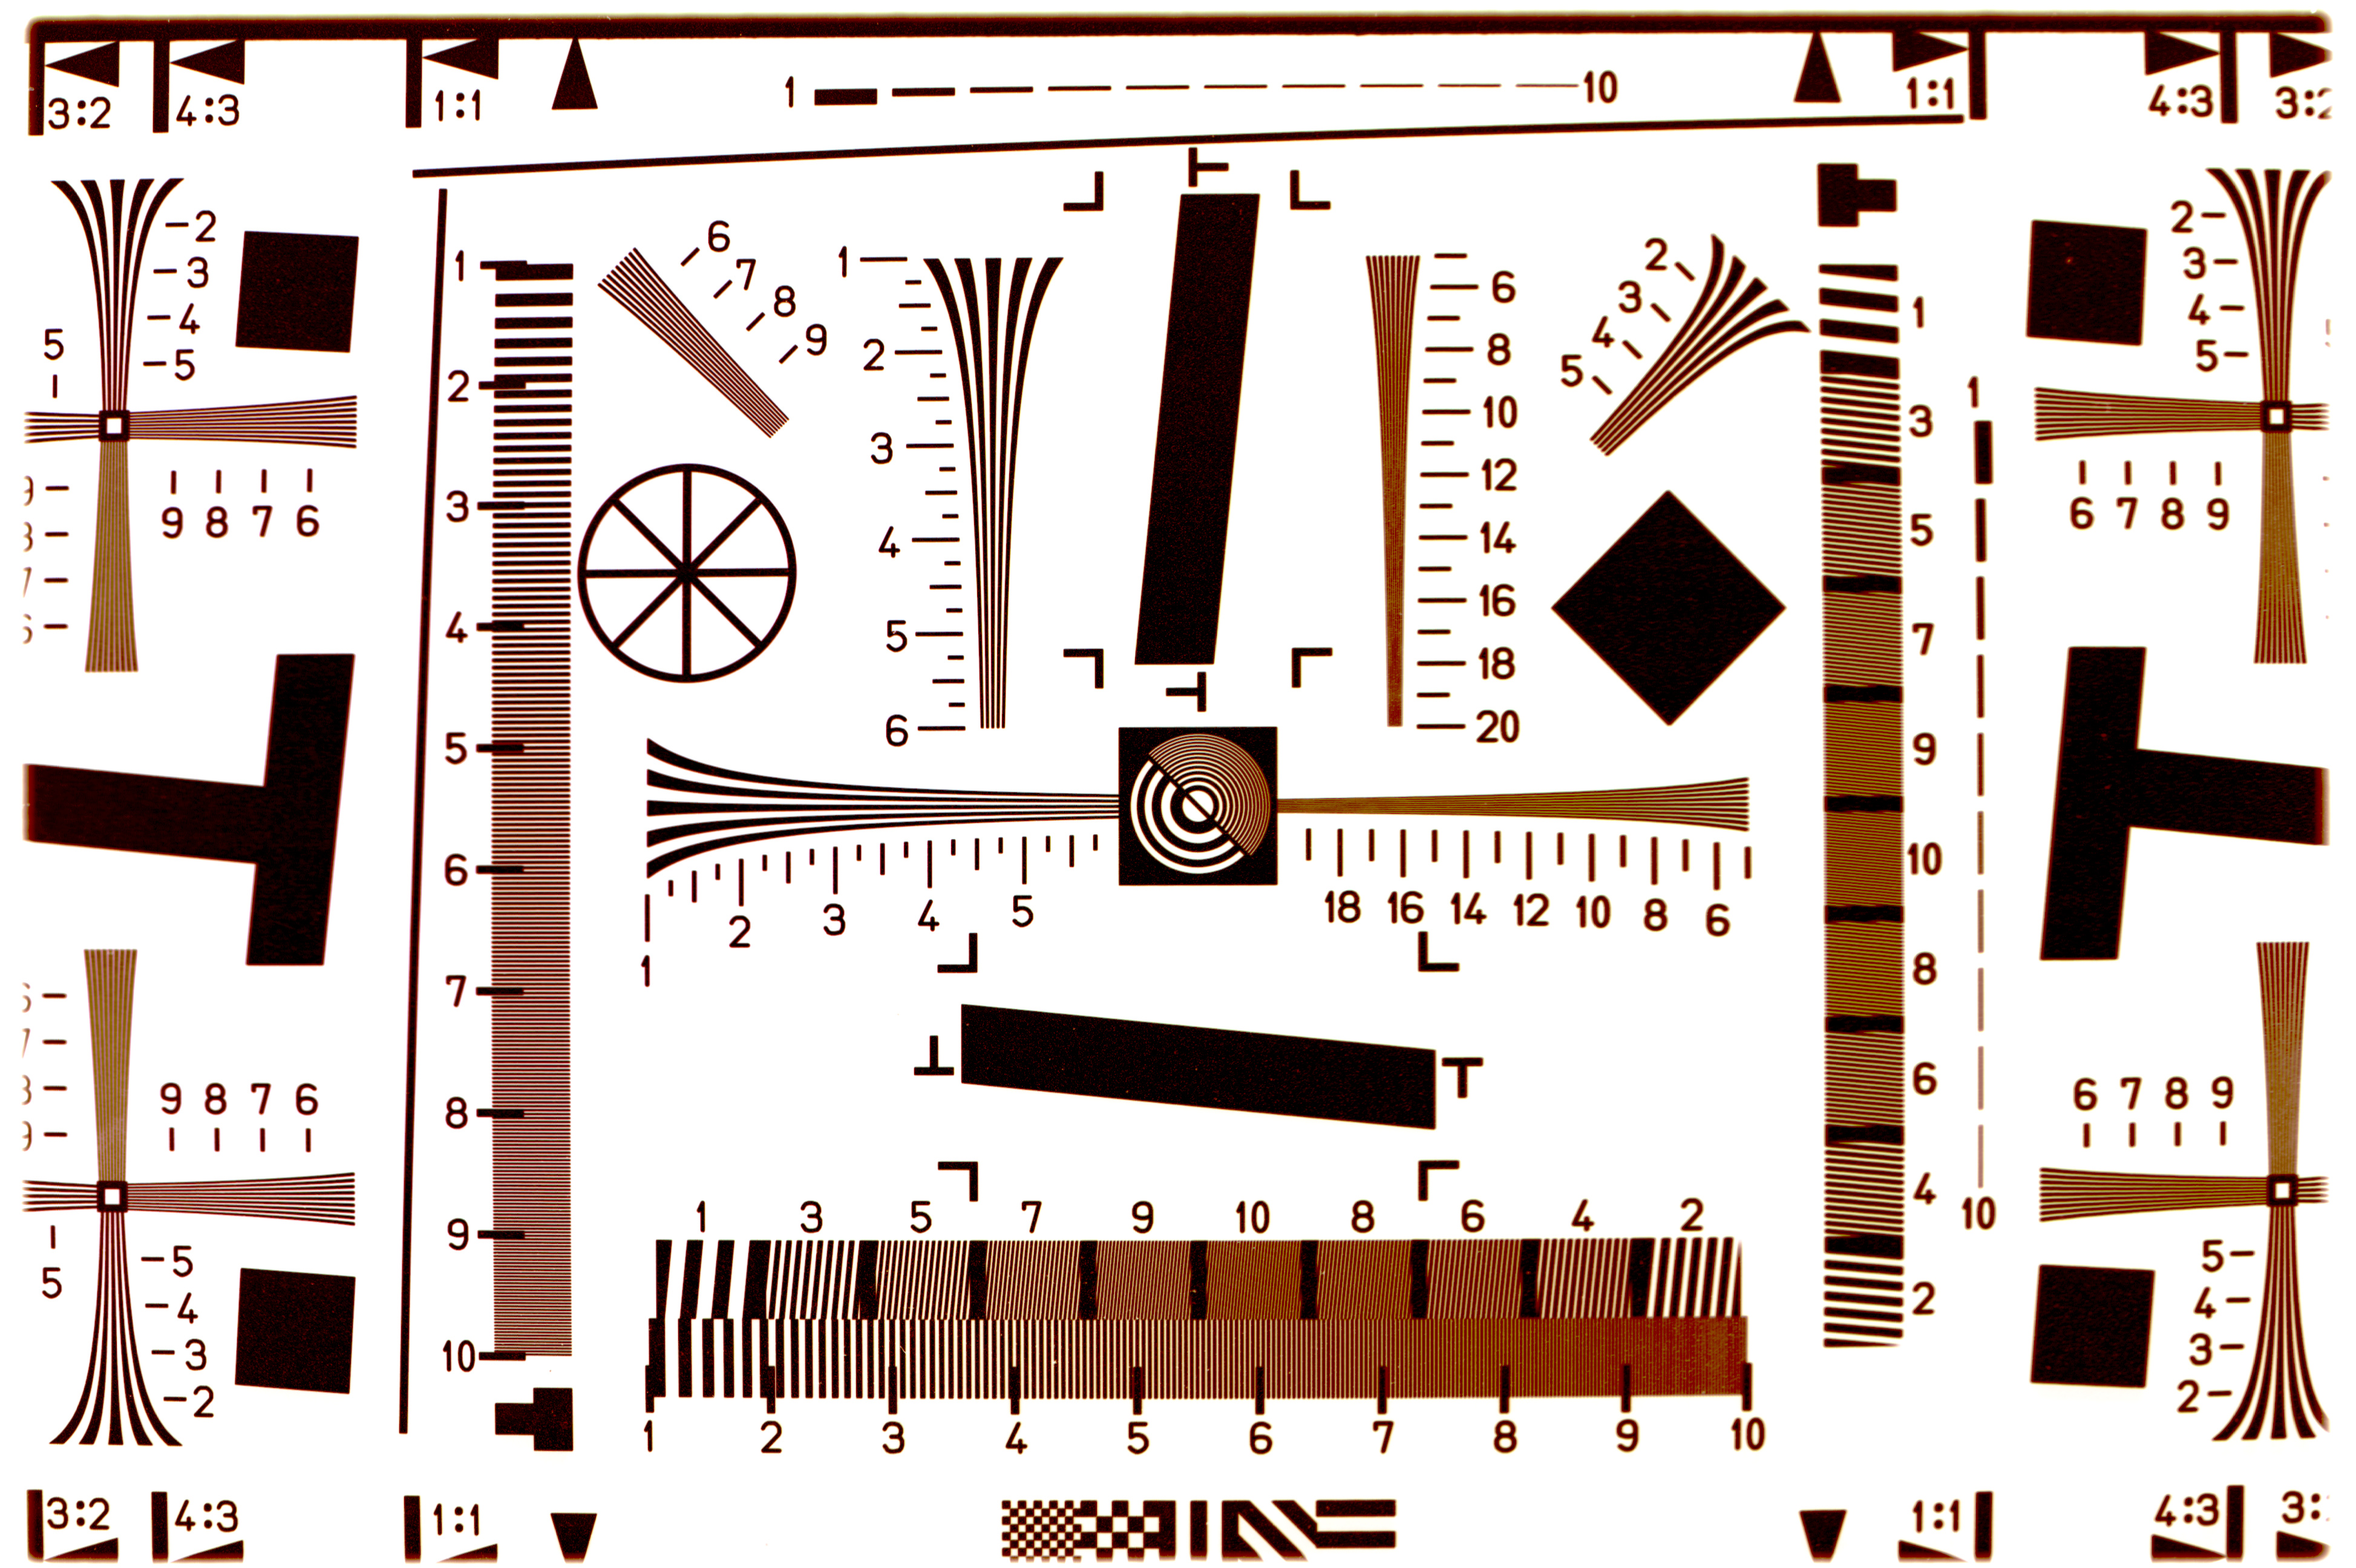
WG-18
Resolution Target Vertical Clip: (64k)
Here's the corresponding vertically-oriented clip of the
WG-18/Kodak Tech Pan target. As with the horizontal clip above,
we present both the unaltered image
(76k), and one adjusted
(64k) in Photoshop to increase contrast.
Visual resolution and lack of color artifacts are virutually
identical to the horizontal clip, with detail visible to 1600
lp/ph or beyond. |
||
|
|
Full-Size WG-18 Resolution Target: (3,168k!) For the real masochists, here's the full-size WG-18 target, scanned at the maximum resolution of 2700 dpi. A side note: We didn't explicitly set up a test for frame coverage by scanners, but our WG-18 shot goes right to the edges of the 35mm frame, and we found that the LS-2000 covers all that and then some. For this particular scan, we were using the separate strip-film holder in the slide scanning head, so there's some slight cropping evident along the lower edge. WARNING: This JPEG expands into a 28.9
megabyte file, which will almost certainly crash your brower
if viewed directly! To view it, you must first download it directly
to your hard drive (right-click in Windows, click & hold
in Mac Netscape), then open it in an image-editing application.
here is the link to the RAW JPEG IMAGE (no adjustment), and the RAW JPEG IMAGE (w/contrast adjustment). (No surrounding HTML file.) |
||
|
|
USAF
1951 Resolution Target: (252k) (Elderly
technoids only ;-) Old-line lens and film testers will be well-familiar
with the "USAF 1951" resolution test target. (1951
is the year it was created, giving you an idea of what we mean
when we say "old-line".) This was scanned at the maximum
2700 dpi from a laboratory-grade target (chrome on glass slide)
before being cropped down, and would normally give an excellent
view of the scanner's ultimate capabilities. The last distinguishable
feature being group 5, element 3 vertically, at 40.3 line cycles/mm
(1024 line pairs/inch); and group 5, element 6 horizontally,
at 57 line cycles/mm (1448 line pairs/inch). The short extent
of the USAF pattern targets doesn't permit the sort of visual
interpolation our eyes do naturally on the more extended WG-18
pattern. As a result, the USAF target should yield much more
conservative resolution numbers. This target produced a noticeable
misalignment between the red and blue/green channels, resulting
in the slight cyan tint to the upper edges of the finest elements,
and the slight red tint to the lower edges. Because we didn't
see any such effect on any other targets we scanned, we believe
it was caused on this target by the thick glass the pattern is
printed on. (Our thinking is that the additional diffraction
introduced by the glass in the optical path,slightly separated
the red, green, and blue light paths.) |