Olympus E-PL7 Field Test Part I
Exploring the benefits of a few significant upgrades
[UPDATED: New addendum section below Part I]
By Dave Pardue | Posted: 09/30/2014 [Addendum posted 9/8/2015]
It seems from some of our reader comments that the E-PL7 is not quite understood for what it is. Perhaps it's the change in style from its predecessor, bringing it closer in appearance to the flagship E-P5's look than the E-PL5, a line that has remained fairly consistent over the past few generations in terms of external design. Or maybe it's the marketing hype of the "selfie" screen, which we promoted in our initial coverage but didn't quite resonate with the enthusiast crowd. Whatever the case may be, after spending my first few days with this camera I can very much report to you that it's quite a solid step up for my tastes and shooting preferences.
 |
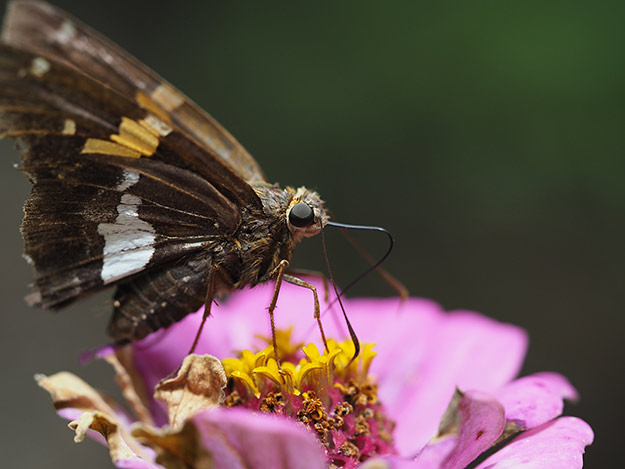
1/100s / f/1.8 / 90mm eq. / ISO 1600 / 45mm f/1.8 lens |
I talked a lot about this basic differences between this camera and its predecessor the E-PL5 in our walkaround, but would like to expound on some of them now after having spent more time with it. The most significant improvement for my style is moving the control dial to the top deck, and making it a really solid one at that. It has a super-precision feel for this price range, is similar to the twin dials on the pricier E-P5, and having a top deck dial is so much easier and more intuitive to me than having to use a dial on the back located in the menu area. In addition, the mode dial is much more firm and solid than the one on the E-PL5, easily twice as firm, and far less likely to be accidentally bumped in a bag.
 |
Taking control: Sporting a top-deck control dial, the E-PL7 brings more advanced adjustments to the line and tighter controls overall. |
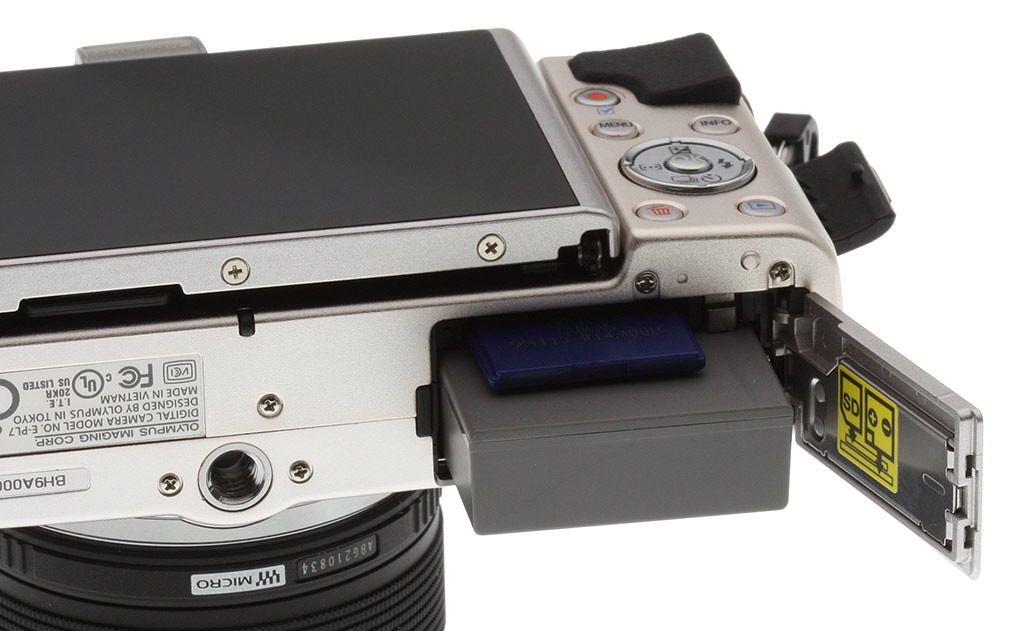
Not to be all roses, there are a few changes I'll go ahead and mention at the outset that I didn't like as much. One is that the battery door on the bottom flips open the wrong way. OK - so that's meant to be a small dose of comedy, but in all seriousness I'm having a hard time getting used to it flipping the opposite way of most every other battery door from Olympus or most anyone else for that matter, flipping towards the edge of the camera instead of the middle. I'm not sure the reasoning, perhaps it's related to the tripod mount screw, but I don't like it. In fact it's one of the only physical features that actually bothers me, as I've already knocked it completely off and had to gently reinsert it. Not at all a deal breaker, just something worth mentioning. And of course, at this price range one shouldn't be expecting an E-P5 anyway.
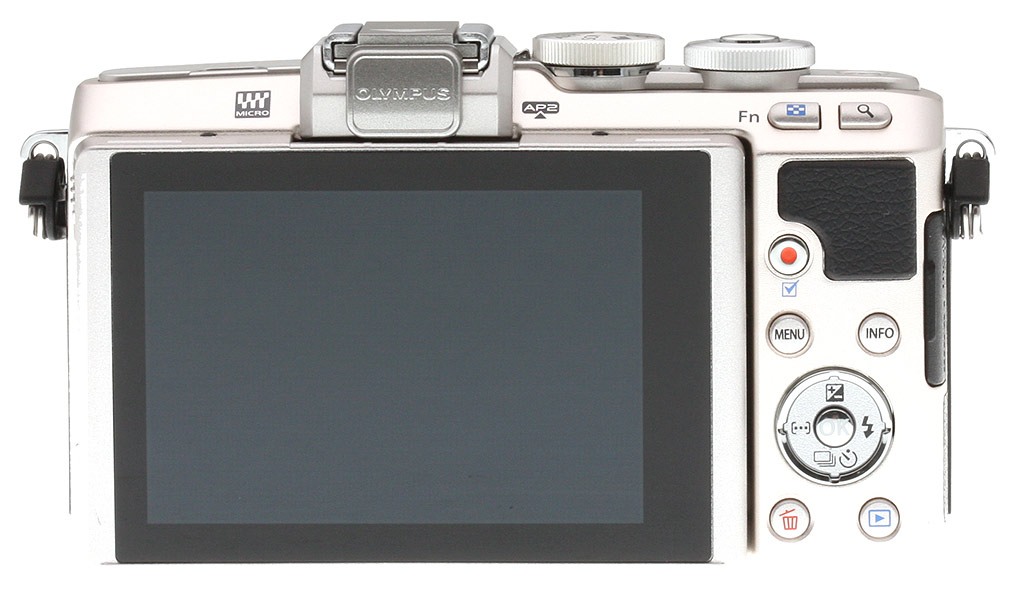
Back to the positive changes, another significant advantage with the E-PL7 over the E-PL5 is that the play button is now located where I believe the play button belongs, and that's to the lower right of the LCD screen. This location is the most intuitive to me for viewing images, as opposed to somewhere like the top deck or the upper left (as seen from the rear) as on the E-PL5. This may sound like a small thing, but it's not at all to me. Some seem to frown on chimping, but I'm not embarrassed to say that I stop to view my images often, and just prefer the button sitting right where it is now. The info and menu buttons are also logically placed for my taste, and the dedicated movie button is not in a location conducive to accidental trigger.
Which brings us to another nice upgrade...
A Better LCD
I'm not traditional when it comes to the hobby and enthusiast crowd, in that I'm rarely interested in using a viewfinder. I find it constricting for most shooting situations other than sports, and generally prefer the LCD. Of course it's nice to have one as an option for those times that it's critical to have, but that's about 10% for me, and so I'd just as soon a camera like this be stripped down to remain lightweight and affordable. After all, like most hobbyist photographers I also own a DSLR and can call on it for those times, or attach the optional VF-4 as needed. Most of my colleagues tend to prefer the OM-D bodies and their built-in EVF's, but I'm much more of a PEN kinda guy. To each his own shooting style, I guess.
All this to say, the new 1.03 million dot viewfinder is a welcome addition to shooters who primarily like to compose with an LCD. As with any technology, I always try and ask the question: "Is that added resolution better, or is there a point at which the human eye or ear simply can't detect that much resolution anyway?" In this case I can definitely say that they're still making strides towards "better". In the traditional 4:3 aspect ratio, the effective viewing size is noticeably larger than found on the E-PL5, and also has greater dynamic range, rendering scenes more life-like both indoors and while outside with better shadow detail and more natural bright areas.
MFT Lens Arsenal
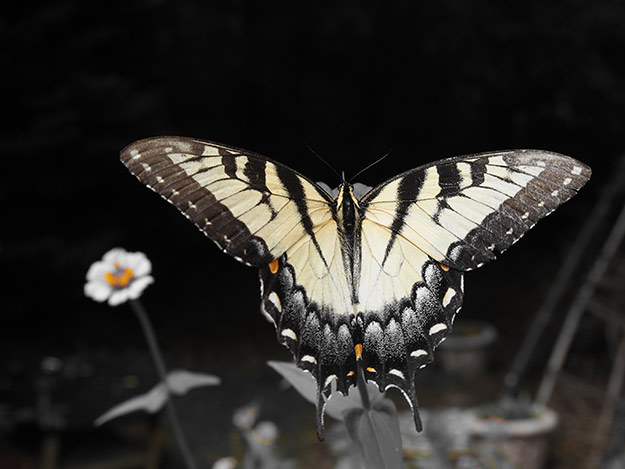
One of the huge benefits of the Micro Four Thirds system is the vast array of quality lenses available from Olympus, Panasonic and others, including many available that are light of weight and price but still able to deliver great images. In addition, both Olympus and Panasonic have been given high marks for kit lens quality in recent years, including the kit lens found on the E-PL7, the 14-42mm mark II, which dates back several years and received good marks from us at our sister site SLRgear. Below are examples shot with the E-PL7 using both the kit lens as well as a few other Olympus lenses to show you the camera in combination with various possibilities, because in the interchangeable lens market today, the available lens line-up is becoming almost as important as the camera bodies themselves.
Olympus E-PL7 - Pairing with a variety of lenses |
 |
| 1/320s / f/5.6 / 84mm eq. / ISO 200 / 14-42mm kit lens |
 |
| 1/250s / f/5.1 / 200mm eq. / ISO 400 / 75-300mm lens |
 |
| 1/400s / f/1.8 / 90mm eq. / ISO 1600 / 45mm f/1.8 lens |
 |
| 1/250s / f/3.2 / 120mm eq. / ISO 200 / 60mm f/2.8 lens |
 |
| 1/100s / f/2.5 / 24mm eq. / ISO 200 / 12mm f/2 lens |
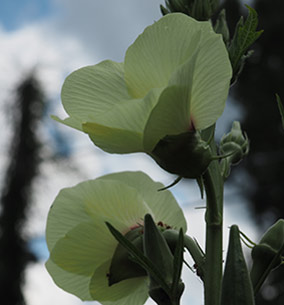
HDR mode
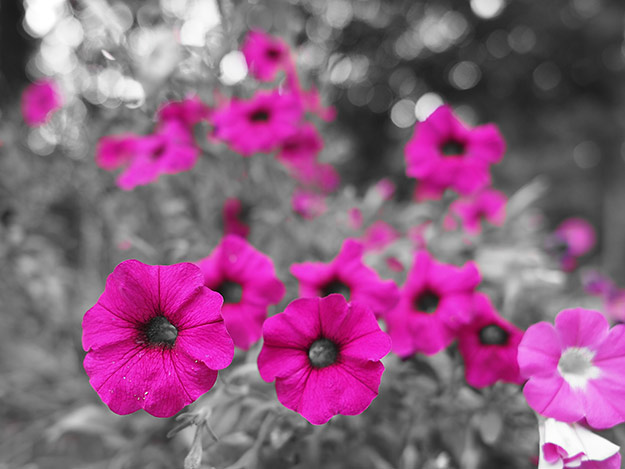
Among the upgrades to the advanced shooting options palette, this series now sports several HDR modes under Shooting Menu 2. HDR1 shoots 3 images and then bakes them into one final "high contrast" image. HDR2 does the same but takes it a step further and renders a "super high-contrast" image. Further options include various combinations of 3, 5 and 7 exposure series with a 2 or 3 EV exposure range (3ev only available for 3 and 5 shot series) in which all images are preserved for use in creating the final HDR image in post-processing (or for those of you who have done it the old-school way). Below is an example of a backlit pair of flowers with no HDR and with HDR1, which does the final rendering in-camera.
 |
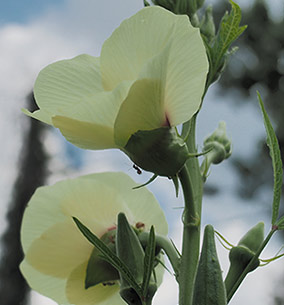 |
HDR mode: The above image of the left was shot without HDR, and the right image using HDR1. This fires 3 images in rapid succession and then combines them in-camera into one image with greater overall dynamic range, allowing this backlit flower to show detail while still maintaining the detail from the clouds in the background. |
|
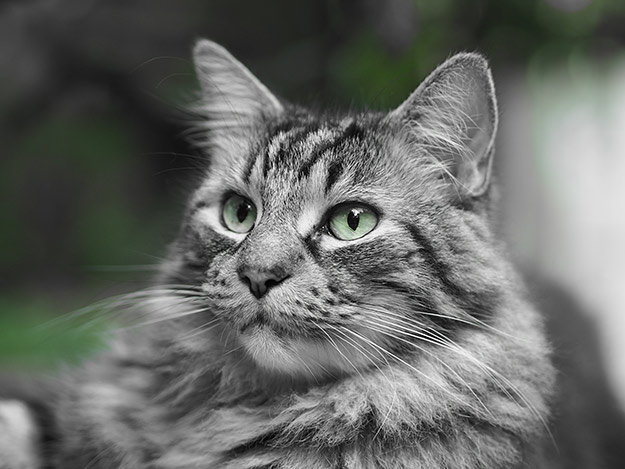
Filters
Given that this model is a hybrid between the E-PM series and the flagship E-P series, there will naturally be a variety of differing levels of shooters looking at the E-PL7, some of whom will certainly be interested in the capabilities of the onboard filters. While it'd be impossible to explore them all here, I thought I'd at least try out the new Partial Color mode, as well as a tried and true favorite of mine: Dramatic Tone. Partial color styles have been around for a few years now in models from other manufacturers, but most of the ones I've used thus far tend to offer only 4 or 6 color options, and thus only basic palettes. The E-PL7 brings up a color wheel which has 18 different color points to choose from, ranging from the basic primary colors to varying blends, covering a significantly broader range.
 |
Being selective: Partial Color mode is one of the new additions to the E-PL7's filter array and has 18 points along the color wheel to choose from, displaying on the LCD as you scroll what the result will be from each. |
Below are a few examples using Partial Color mode. As most of our readers are aware, this can be achieved after the fact using post-processing software like Photoshop, but for those of us with limited available free time, I find it useful to have the camera do it for me. And if you're not sure, you can always shoot one image without the mode so that you preserve both, or shoot in RAW + JPEG and the original will be preserved in RAW format.
Olympus E-PL7 - Examples using Partial Color mode |
 |
| 1/80s / f/1.8 / 90mm eq. / ISO 320 / 45mm f/1.8 lens |
 |
| 1/80s / f/2.2 / 24mm eq. / ISO 200 / 12mm f/2 lens |
 |
| 1/160s / f/6.3 / 44mm eq. / ISO 200 / 14-42mm kit lens |
And not new to the party is Dramatic Tone, which Olympus first pioneered and many other manufacturers have now copied. It is still one of my very favorite filters out there, so I couldn't help posting an example image here.
 |
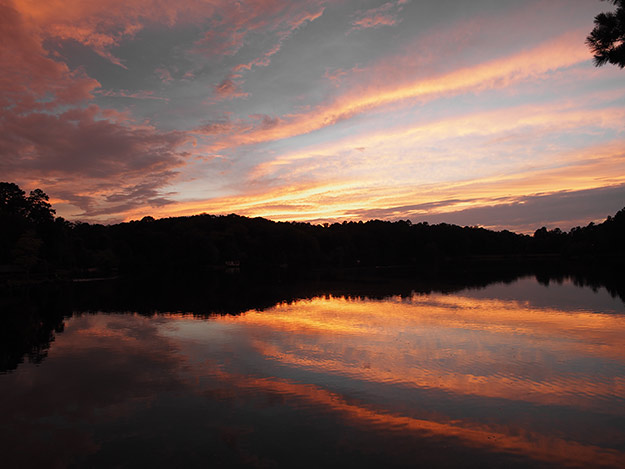
1/500s / f/9 / 28mm eq. / ISO 200 / 14-42mm kit lens |
Drama Queen: Dramatic Tone is just that, and a filter best suited for landscapes. |
Moving up in ISO
One of the most obvious advantages of the Four Thirds sensor over traditional and even newer enthusiast compacts is that it's significantly larger, roughly ten times the common 1/2.3" sensor and about twice as large as the 1" type sensor like the one in the Sony RX100 series. Larger tends to correlate to better when it comes to being able to push the ISO higher with less noise, and I've found that ISO 1600 is a great setting for the majority of the Four Thirds bodies I've shot with when needing to achieve faster shutter speeds at the max aperture. Below is an example at ISO 1600 where I wanted to try and freeze this little guy's hands, which were furiously busy with a nut. The only trace of noise is found in the nice background from the 40-150mm lens (not the newer constant aperture f/2.8 version) but you have to almost squint to see it. This allowed me to achieve 1/200s, which was adequate to capture his little hands working away on his sunflower seed.
 |
1/200s / f/5.1 / 210mm eq. / ISO 1600 / 40-150mm lens (Slightly enhanced in post for shadows/highlights) |
 |
1/500s / f/1.8 / 90mm eq. / ISO 1600 / 45mm f/1.8 lens |
Going higher: ISO 1600 allowed me to capture the above squirrel at 1/200s to freeze his fast dining. and to showcase this restaurant setting with no concern for slower shutter speeds causing blur from camera shake. |
Not that it can't be pushed even higher, but ISO 1600 has tended to be the sweet spot of this sensor size when little to no noise is desired, and the E-PL7 certainly handles it quite well and virtually noise-free, something that most premium compacts at similar price points still struggle with.
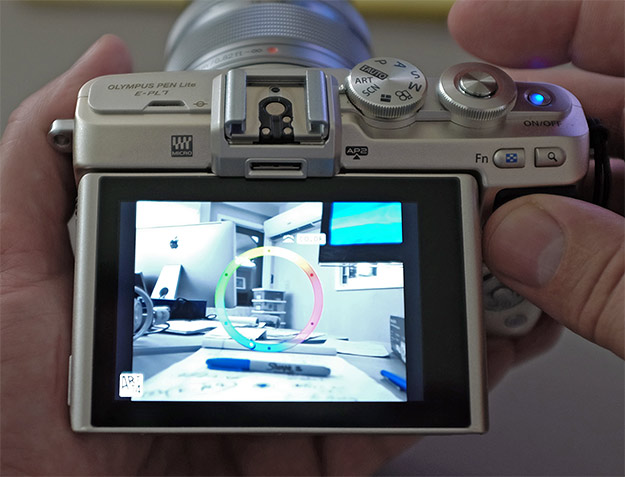
[Note: None of the images above have been post-processed other than a resize to fit this page unless otherwise specified. Click on any image to take you to a carrier page from which you can access EXIF data as well as the full resolution image as delivered straight from the camera. To see even more images, please visit our Olympus E-PL7 Gallery page, where clicking on any thumbnail will take you to that image carrier page.]
Special addendum section: More on our E-PL7 experience
Our apologies that we were never able to "pen" a subsequent Field Test II for the capable E-PL7! We ended up shooting it instead for a tutorial that we posted earlier this year called "How to photograph indoor sports on a budget: A primer for beginners and novices" - with the E-PL7 being one of four price-firendly cameras showcased in the tutorial. While not a camera that would likely be considered an indoor sports shooter upon first glance, attaching the optional VF-4 EVF brings the model closer to OM-D territory. The VF-4 is bright and clear and has the additional side-benefit of being able to swivel vertically (shown to the left at 45 degrees, but is capable of extending all the way to vertical at 90 degrees). Given my relatively low position at the games I found myself using the swivel feature most of the time, and this somewhat made up for the E-PL7 not having a built-in EVF.
 |
1/500s / f/1.8 / ISO 800 / 17mm (34mm eq.) f/1.8 prime lens |
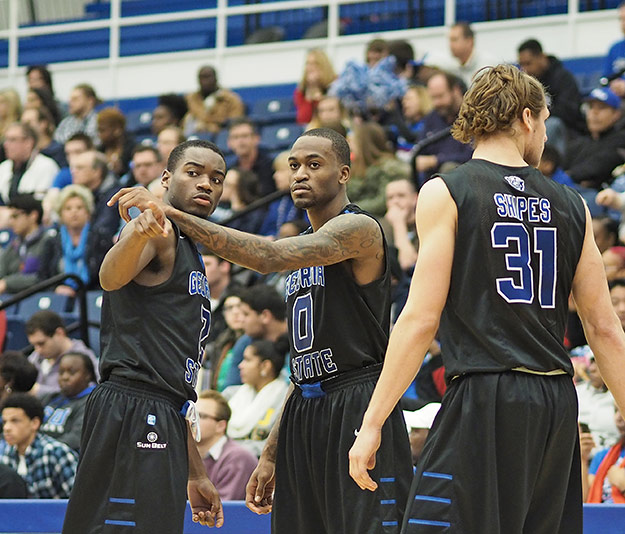
Indoor sports: The E-PL7 is quite capable of capturing fast action in low light situations, as we found while shooting an indoor sports tutorial earlier this year. The optional VF-4 is critical to your success, and is better than most EVF's found on mid-level cameras, and has the ability to swivel vertically for different directions of shooting. |
I primarily used "continuous low" burst shooting, which is rated at 3.7fps. We didn't test the low setting on our Performance page, but found the "high" setting to exceed their rated 8fps (~8.7fps in our measurements). Only the low setting allows for continuous autofocus between frames, however, which is the primary reason I opted for it instead of sequential high. Not being a professional sports photographer, and simply wanting to come home from the game with a nice batch of good shots, I found 3.7fps to be more than adequate for that requirement.
Of course, as any Micro Four Thirds shooter will tell you, the smaller and lighter lenses as compared to larger DSLR rigs is a bonus, especially when changing lenses in the heat of battle. I went back and forth a lot during this game between the Olympus 17mm f/1.8 and their 75mm f/1.8, as they're both quite bright and yet bring an entirely different perspective to the shots. These locations tend to simply be too dim for using a kit lens if you need a fast shutter speed while keeping the ISO in check (which for me in the 4/3rds arena means trying to stay below ~ ISO 2000).
 |
1/320s / f/1.8 / ISO 1250 / 75mm (150mm eq.) f/1.8 prime lens |
Breaks in the action: Once again from our indoor sports tutorial piece, this shot utilizes the excellent M.Zuiko 75mm f/1.8 lens. With the 3-axis IS system I likely could have gotten away with a slightly slower shutter speed for this shot, thereby lowering ISO, but this sensor allows shooting up to ISO 1600 with little worry about introducing much noise into the images. |
For more on the performance aspects of the E-PL7 please visit our Performance page. And don't forget to check out our Optics and Exposure pages as well, for more critical lab test results and analysis! And for anyone ready for our final take, we've now posted our Olympus E-PL7 Conclusion page.
Olympus E-PL7 Overview • Gallery • Conclusion
 Fujifilm GFX 50S Review
 Fujifilm X-T3 Review
 Olympus E-M5 III Review

Follow Imaging Resource