Sony A7R II Field Test Part I
Object of desire: Sony's flagship full-frame shooter is even better than ever!
By Mike Tomkins | Posted: 09/23/2015
Way back in late 2013, Sony's Alpha A7-series was a pretty revolutionary concept, offering fully-featured mirrorless interchangeable-lens cameras with roomy, light-loving full-frame image sensors. My first introduction to those first A7-series cameras -- the Sony A7 and Sony A7R -- came on a press trip right down the road in Nashville, Tennessee.
I found a whole lot to like in both cameras on that trip, and my colleagues here at Imaging Resource agreed. Both cameras were no-brainer choices for our Dave's Picks list, and also placed well in our 2013 Camera of the Year awards. (The A7 earned itself a Camera of Distinction award overall, while the A7R took top prize as our Camera of the Year.)
Since then, the A7-series has grown to six models. Alongside the original two cameras, the followup Sony A7S traded resolution for sensitivity, and also emphasized video thanks to 4K capture capability, although an external recorder was needed. And this year, all three models have been replaced with ever more impressive successor cameras: the A7 II, A7R II and A7S II.
It's the Sony A7R II that I'll be looking at in this field test, and of the three cameras it offers far and away the highest resolution. That means if maximizing print sizes or gathering the maximum detail for landscapes, fine art and more is your primary goal, the A7R II will be the camera you'll gravitate towards. And once again, my first introduction to the A7R II came on a press event -- this time, in the picturesque city of Portland, Oregon.
 |
|
When the original A7 cameras launched back in 2013, their native Sony FE full-frame lens selection was rather limited, with just five models available initially. That's no longer the case, though. There are now no less than 11 Sony FE lenses available, plus six wide and fisheye converters and two mount adaptors. Whether you prefer primes or zooms, there are now plenty of lenses to choose from, and I was able to select four of these for my camera bag on the Portland trip. At the time, I didn't yet have my itinerary, so I aimed for versatility in my selection.
The FE 90mm F2.8 Macro G OSS ensured I'd have a really sharp prime lens on hand, and covered my bases on macro capability as well. This was coupled with the Vario-Tessar T* FE 16-35mm F4 ZA OSS, Vario-Tessar T* FE 24-70mm F4 ZA OSS and FE 70-200mm F4 G OSS zoom lenses for coverage across the board from a very generous wide angle to a reasonable telephoto.
(For my upcoming second Field Test, I've opted for the FE 24-240mm F3.5-6.3 OSS zoom, Distagon T* FE 35mm F1.4 ZA prime and Sonnar T* FE 55mm F1.8 ZA prime, so if you favor shooting with fixed focal-length optics, fear not -- I'll have more to your tastes coming soon!)
A brand-new body with much better ergonomics
I didn't first get my hands on the Sony A7R II until a little later than expected, but that wasn't Sony's fault in the last. My first flight of the day had gotten cancelled on short notice, and that threw out my connections, putting me into Portland late in the evening when I'd originally been expecting to get in some time around lunch.
I might've lost an afternoon's shooting, but the lengthy wait had merely helped my anticipation grow. I was really looking forward to getting hands-on with this camera because, while I really liked its predecessor for the imagery it could create from such a compact body, its ergonomics were in some respects rather flawed. The shutter button, in particular, was a bit uncomfortable: Too far back on the body and had a vertical motion that felt somewhat unnatural.
 |
|
The Sony A7R II fixes that, inheriting a body very similar to that of the A7 II. It's not quite identical, though: There are some subtle differences like a taller mode dial and a small secondary name plate near the top left corner of the rear deck. The important thing is that the shutter button now sits where it belongs, at the top of the handgrip and angled forwards slightly, making it much easier to reach and more comfortable to press.
The hand grip itself is much deeper and more generous, and that really helps give it a secure feel in hand. I'd personally like it to be a little wider, though, as my fingers feel a bit cramped, and my fingertips press into the camera body. That's not quite as comfortable as it could be with a heavier lens mounted, but it's certainly a lot better than it was in the original A7R.
 |
|
The updated front and rear control dials have a very nice feel to them. Both roll smoothly and with just enough resistance, are textured for about the perfect amount of grip, and they're very easy to locate by touch. And thanks to the relocation of the shutter button and power switch, there's now room for one extra customizable button on the top deck.
I'm still not a fan of the movie button's location, though
There's only one control I still strongly dislike, but it's more frustrating on this camera than in the past simply because related functionality has improved, which led me to want to use it more. The video button sits pretty much where it did in the original A7R, on the outside of the thumb grip on the top right of the camera's rear. It's a pretty uncomfortable location to reach with anything other than your thumb, and to free up that particular digit, you'll need a two-handed hold to reduce strain from holding the entire weight of the camera by the grip.
 |
|
You might think that would be a good thing in terms of stability, but it's not really. The reason for that is that when you press on the button wit your thumb to start or stop video capture, the location on the side of the body tends to cause a sideways rotation of the camera, pivoting around your fingers on the grip.
I would far prefer one of the more common locations for this button -- either on the rear of (or just left of) the thumb grip, or adjacent to the shutter button on the top deck -- reducing this unwanted motion when the button was pressed.
Customization is a big strength: You can really make this camera your own
Thankfully, you can at least assign movie capture to one of the custom buttons, but that means you lose that control for other functionality, because your choice applies not just in movie mode, but in still image shooting as well. (And you can't reassign another function to that awkwardly-placed movie button.)
In other respects, though, customization is really a strength of this camera. Although you can't customize the default movie button, you can change the function no less than a dozen different buttons, swap the functions of the front and rear dials, and even choose which options you want in the function menu, which itself is a very quick way to access the most important features of the camera.
Preparing for an early-morning shoot
Having arrived in Portland so far behind schedule -- and with an early start on the cards for the next day anyway -- I decided my best approach was to spend a little while familiarizing myself with the camera, then get some much-needed rest and an early start the following day. Like any camera aimed at enthusiasts and pros, there's a lot to take in here, and a rather steep learning curve initially.
If you've shot with a Sony camera recently, you'll have a pretty good idea what to expect. The menu system is straightforward in its basic design, gives you a lot of control over the camera's operation, and tries to place more frequently-used options at the top of each menu. However, despite this it can sometimes seem a bit disorganized or even confusing.
A blessing and a curse: This menu system is really packed with options
For example, you might expect focus settings to be grouped together, and for the most part they are on pages three and four of the record menu, but pages six and seven have one focus-related item apiece (focus magnifier and center lock-on AF, respectively), and there are a fair few more focus-related options sprinkled across seven pages of the eight-page custom menu.
 |
|
And there's no question the menu system is quite involved, with six tabs (Record, Custom, Wireless, PlayMemories Camera Apps, Playback and Setup), beneath which sit a whopping 28 pages of options, each with up to six items per page. And that's without even counting the fact that some items like Bracket Settings or SteadyShot Settings can open up their own separate menus, and that PlayMemories Camera Apps have their own completely separate menu systems, one per app.
PlayMemories Camera Apps have their own siloed menu systems
As I mentioned in my recent Sony RX10 II review, these apps' menus are a particular source of confusion and befuddlement, because they often duplicate options in the main menu system -- and yet must be configured separately. (For example, although the camera itself may be set to record raw+JPEG images, switching to the Smart Remote app will return you to the default of large/fine JPEGs. Change that to capture small JPEGs and then exit the app, and suddenly you're back to shooting raw+JPEG again.
 |
|
All of which is even more confusing when you consider that you're using an app for remote control -- and yet most menu settings can't be viewed or changed remotely, requiring you to switch back to the camera body to complete basic setup. (You can, of course, change exposure variables and so forth remotely, but how many users will never realize that when Smart Remote is active, the camera's menu system can still be accessed? I'd wager more than a few.)
Up early for my first exploration of downtown Portland
Having come to terms with its complexity and configured everything how I wanted it, I prepped flash cards and batteries for the following day's shooting, and set an early wake-up call. At least I had the time shift from Eastern to Pacific time working in my favor for a start at the crack of dawn!
 |
|
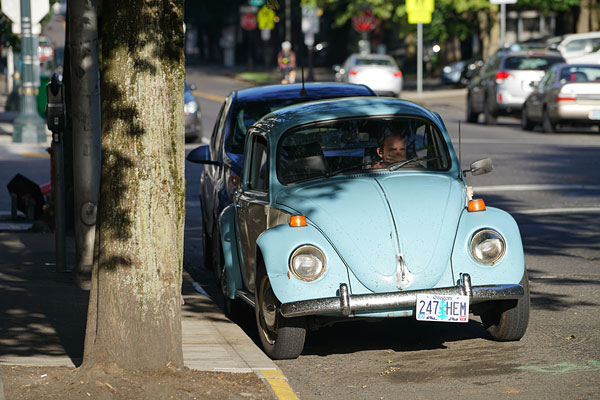
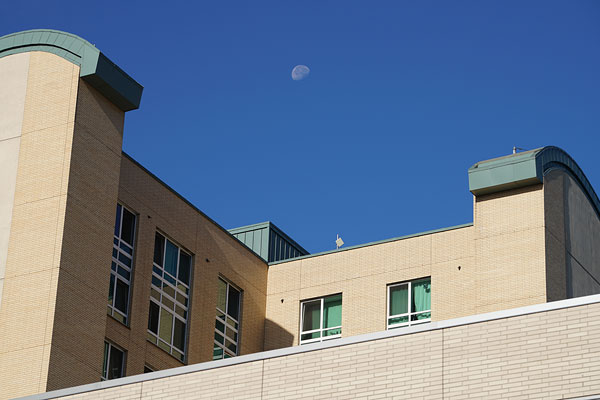
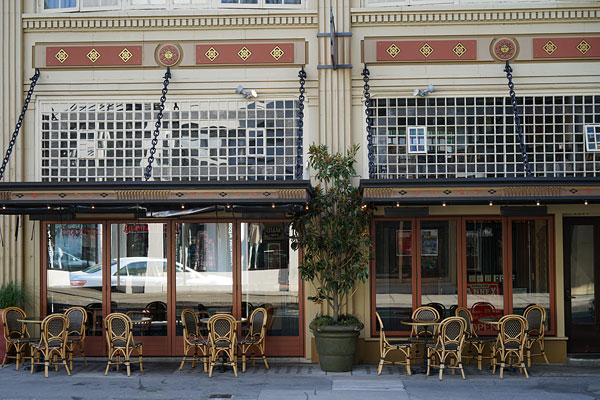
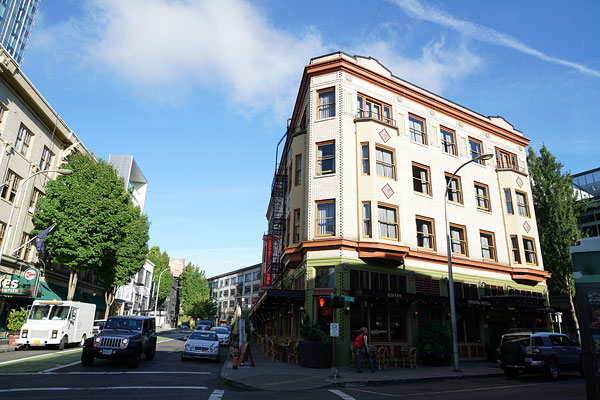
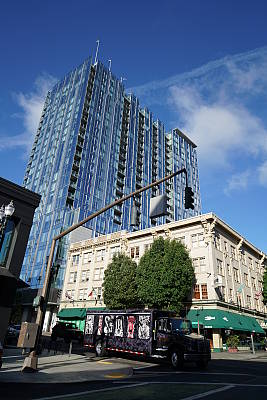
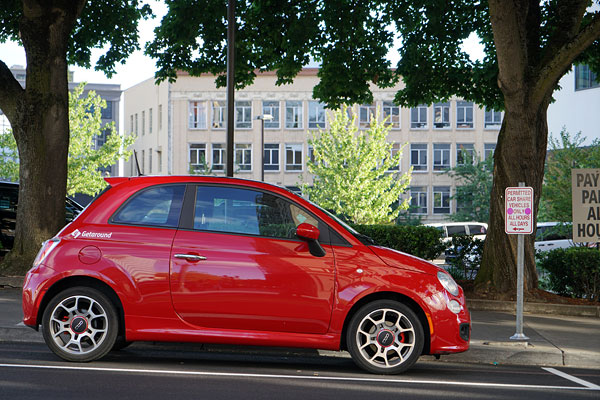
Shortly after sunrise, I was out on the streets for my first shoot with the Sony A7R II. I wasn't familiar with Portland, as I've mentioned, and so came up with a plan on the fly. Given that it was so early, I figured that heading towards the center of downtown wasn't a great idea, reasoning that most stores would probably still be closed and that there wouldn't be much happening in the business district.

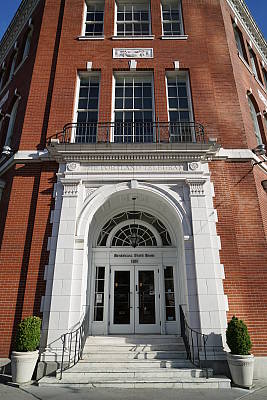
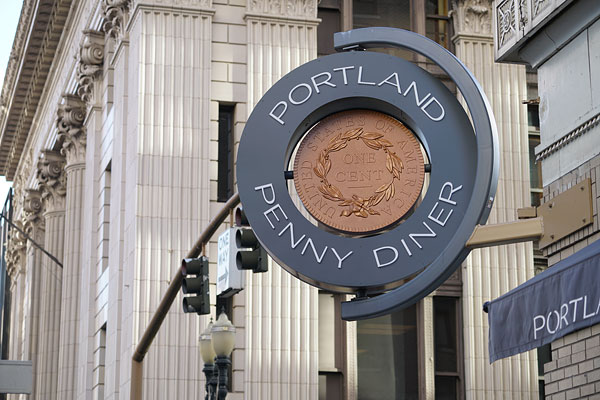
So instead, I walked away from downtown towards Old Town Chinatown, although with only an hour or so before I needed to be back at the hotel to offload my photos and head out for the day, I didn't get quite that far. But I quickly realized that it wasn't going to be a problem finding subjects for my lens anyway -- Portland's really attractive mixture of old and new architecture -- with a generous helping of quirkiness -- ensured there were plenty of interesting subjects.
Starting off with the zooms
I should note at this point that I wasn't just shooting the A7R II. This was also my first chance to get hands-on with its fixed-lens, 1"-sensored sibling, the RX10 II, and so I was juggling both cameras. With a fair bit to handle, I decided to leave my primes in the hotel room and start off with the two zoom lenses -- the Vario-Tessar T* FE 24-70mm F4 ZA OSS and FE 70-200mm F4 G OSS -- instead.
Together, they provided plenty of coverage for anything I might encounter. And that 70-200mm lens in particular is just a lovely piece of glass: As you'll see in our review over at sister site SLRgear.com, it has great optical performance, and it also has a really solid, quality feel. The 24-70 isn't quite in the same league -- it's a bit soft in the corners, and suffers from some vignetting and distortion -- but nonetheless it gave me the wide-angle coverage I needed.
Write speeds could be better
And for the most part, the Sony A7R II performed admirably as I walked around town getting an initial gallery under my belt. While I thought its card writing speeds could have been a bit swifter for my liking, I was shooting raw+JPEG as I always do, and bracketed to boot, so at its high 42.4-megapixel resolution I was really capturing a lot of data.
That's probably not a typical real-world scenario, though. Chances are you'll either shoot JPEG and bracket more frequently, or you'll shoot raw and only bracket the shots you're really concerned about. I'm a bit of an edge case, in that I need well-exposed JPEGs for the gallery, and they need to come accompanied by matching raw files so that you can make a valid comparison of how the out-of-camera JPEGs match up to what can be extracted from a raw file.
Autofocus is impressively fast and accurate
But while I was kept waiting for the camera to come back to life after a burst of raw+JPEG frames, once that was done the A7R II was very responsive indeed. Its new phase-detection autofocus system really impressed me with its speed and accuracy. (And the latter is really important: With such high resolution and the narrow depth of field possible with full frame, focusing errors can be really noticeable.)
This was a night and day difference from the original A7R, where autofocus felt merely "fast enough" most of the time, bearing in mind that it wasn't a camera you'd use for sports. Not that I'd likely choose the A7R II were I interested primarily in sports photography, but it's certainly capable of shooting fairly active subjects as the need arises.
 |
|
Excellent image quality at base sensitivity
And while on this first shoot I didn't use anything much above base sensitivity, image quality from the Sony A7R II was great. In fact, good enough that it tended to emphasize the issues in the corners with the 24-70mm lens, at least if I allowed myself to pixel-peep. Of course, pixel-peeping a camera with this kind of resolution is... well, crazy.
Viewing at 1:1 resolution even on my laptop's 15-inch display is like viewing a 54 x 36-inch print from a distance of just a couple of feet; on my desktop monitor it would be akin to pixel-peeping an 86 x 58-inch print. And reminding myself of that, those lens-induced flaws seem rather easier to accept. Still, if you want to crop a lot or print at huge sizes -- or you just can't help but pixel-peep -- then you're clearly going to want some very, very good lenses for the Sony A7R II!
 |
|
Accurate exposure and color
The great news is that exposure is quite accurate, with very few of my photos needing exposure compensation -- and those few which did being scenes that were predominantly quite light or dark, which would fool most cameras' metering systems. And color was very pleasing as well, offering a nice balance between realism and punchiness.
Of course, all of this was at or near base ISO. My next shoot, though, was indoors with available light, and it gave me a chance to take a look at something a little further up the sensitivity range. Although with its extraordinarily wide range of ISO 50 to 102,400 equivalents, moving up to around ISO 6400 would hardly have had the Sony A7R II breaking a sweat.
 |
|
Ramping up the sensitivity a little
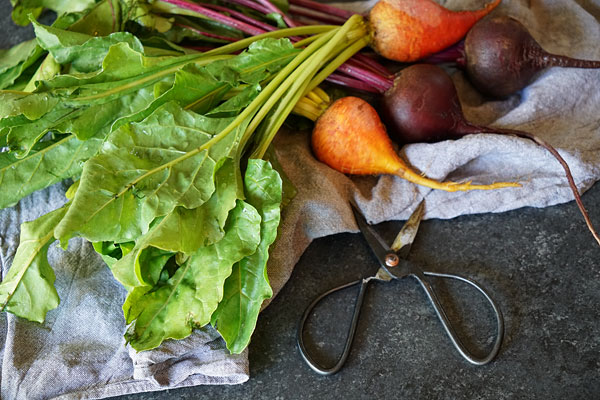
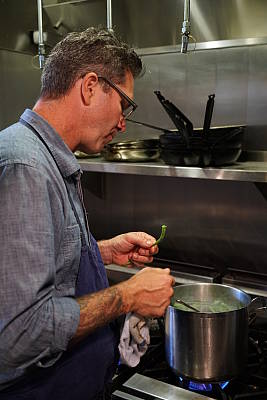
For this second shoot, Sony had laid on a professional food stylist who gave us an introduction to some of the ways in wich she works with photographers and clients to create appealing imagery. And after that introduction, it was our chance to shoot her arrangements, tweaking them ourselves if we liked.

With most of my shots now at ISO 3200 to 6400 equivalents, noise was starting to become noticeable when viewed 1:1, but when looking at my shots at more realistic sizes it wasn't even slightly problematic. Even in finely-textured fabrics and the like, the Sony A7R II was still giving me really great results. For some of these shots, I switched to the 90mm macro lens to help me get closer. Depth of field was absolutely razor-thin wide open and shooting from up close, which was rather fun to play with.
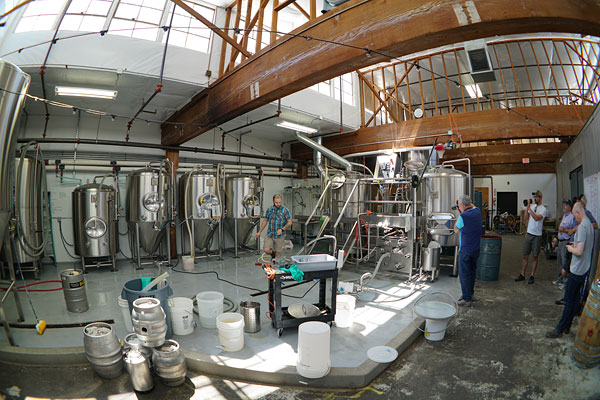
Our next stop was a nearby brewery and taproom. Here, I mostly focused on shooting the Sony RX10 II instead, but I did reach for the A7R II when it came time to go behind-the-scenes for a look at the beermaking process. Full of immaculately-clean silver tanks and equipment, I was honestly surprised by how bright and airy the room was.
The fisheye conversion lens is lots of fun
I borrowed the FE 28mm F2 lens complete with 16mm fisheye conversion lens from a colleague, and did my best to capture that feeling in one extremely wide shot. I don't shoot a lot of fisheyes, but I really should do more often: It was a pretty fun combination to play with. (And while the people in my shot look a bit distorted and unnatural towards the edges of the picture, it really does give a sense of the room that the lenses I'd selected for my own camera bag just couldn't rival.)
My final shoot with the Sony A7R II on this rather whirlwind trip came on the last night, and ended up being much more abbreviated than expected. (We'd been planning to shoot around downtown, but our schedule having gotten us back so late, we ended up gathering for drinks in a typically Portland-quirky downtown bar.
More to come on high ISO shooting
That didn't stop me from getting the A7R II out for some more handheld shots -- and at very high ISO as well (in fact, predominantly at the maximum sensitivity) -- but the white balance understandably struggled to neutralize the difficult mixture of lighting in the bar, leaving the shot with a very warm cast. And given how dimly lit the bar was, I didn't have a chance for anything much in between maximum ISO and my lower-sensitivity shots from the food styling shot.
No matter, though, because I'll be coming back for more high ISO shooting in my second Field Test, not to mention some long exposures. (I was out shooting these a couple of nights ago at the Tennessee Valley Fair, but I still have more shooting to do.)
The autofocus is great even in really low light, too
With that said, as I played with it in the bar the Sony A7R II really continued to impress me with its autofocus and low-light capabilities. One particular image I shot was of an empty table, tucked away in a corner beneath a staircase and even more dimly-lit than the rest of the joint. Not only did the A7R II focus on it without problem -- and I'd disabled the AF assist lamp so as not to disturb anybody else while I was playing -- but it actually had a surprise for me when I looked at the image on the camera's display.
 |
|
Yes, it was pretty noisy, but that's to be expected at ISO 102,400-equivalent. On the table was a small tent card, and looking at it with my eyes, there was not a chance of reading the text on the card. (In fact, other than the largest typeface on the card, I couldn't even make out that there was any text on it.)

A handheld shooter that can (almost) see in the dark
Looking at the picture I'd just shot handheld from the same position, however, I could read it quite clearly, and not just that largest font, either. "Edgefield Cider", read the top of the tent card on the A7R II's LCD. And looking at the raw file on my computer, while there's one word I can't quite make out, the text that was completely invisible to my unassisted eye reads in part "Seasonal / Black Cherry."
And sure enough, looking at the website of Edgefield Winery they do indeed have a seasonal black cherry cider. (It wouldn't have been on tap any more, but only by a few days. Apparently I was the only way paying attention to this forgotten corner nook! Hopefully someone has replaced that tent card by now!)
This is just downright impressive to me: The Sony A7R II can just about see in the dark, picking up details handheld that I could never have noticed in a million years by myself! And its autofocus system was no less impressive, managing to lock focus on even more dimly-lit subjects than that.
Battery life is rather abbreviated
If there was one fly in the ointment, honestly it was probably the A7R II's battery life. Luckily, I had a couple of battery packs on hand, and at every opportunity I got, I recharged them. Hence I never actually ran out of power. If you're planning on much shooting, I would definitely recommend at least a couple of spare battery packs though, because even without much video shooting I found it very easy to drain the A7R II's battery in just an afternoon.
 |
|
But they're pretty small battery packs and you'll easily fit a few in a pocket until you need them, so I don't see that as a big concern, honestly. It's just something to be aware of.
Watch for my second Field Test soon!
And that brings me to the end of my first Field Test for the Sony A7R II. My second and final field test will be coming soon, and as well as the aforementioned high ISO and long-exposure shooting, I have several other things queued for a test.
 |
|
I want to look at both wireless communications and movie capture, and also at a feature which I've found to be rather useful (if a bit frustratingly well-hidden): The Eye AF function, which is now available with continuous autofocus.
Got any features you want to see tested? Sound off in the comments below, and let me know!
 |
|
 Fujifilm GFX 50S Review
 Fujifilm X-T3 Review
 Olympus E-M5 III Review

Follow Imaging Resource