Cyan and magenta have you feeling blue? Photoshop fix for tough cases of chromatic aberration
posted Monday, February 15, 2016 at 12:40 PM EDT
While software such as Lightroom and Photoshop include built-in methods for reducing chromatic aberrations and color fringing, these methods don't necessarily work well for all instances of aberrations and fringing. Photographer Steve Perry has a neat method for removing aberrations and fringing in Photoshop using layers, Gaussian blur, and blending modes.
Perry says that nine times out of ten, Lightroom and Photoshop's built-in tools eliminate chromatic aberration just fine. However, occasionally he does run into a case of aberration that Lightroom and Photoshop can't handle. In the tutorial below, Perry removes chromatic aberration from an image he captured with a Nikon D7200 and the recent Nikon 300mm f/4E PF ED VR AF-S lens.
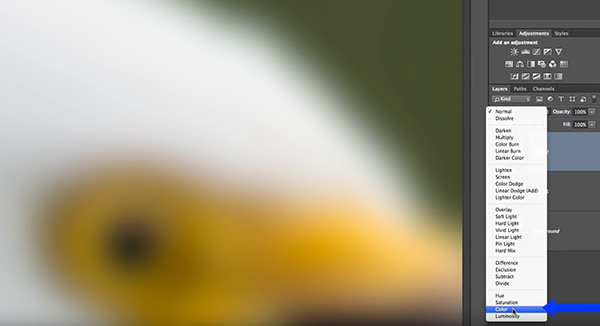
In these cases, the first thing you want to do is open your image in Photoshop and view it at 100% or greater magnification. Now create a composite layer (CMD / CTRL + ALT + SHIFT + E). On your composite layer, you now want to apply "Gaussian Blur" with whichever "Radius" eliminates your chromatic aberration. The higher the amount of blur, the more that color is decreased in the affected areas, so use only the amount of blur necessary and no more. The next step is to change your layer's blending mode to "Color."
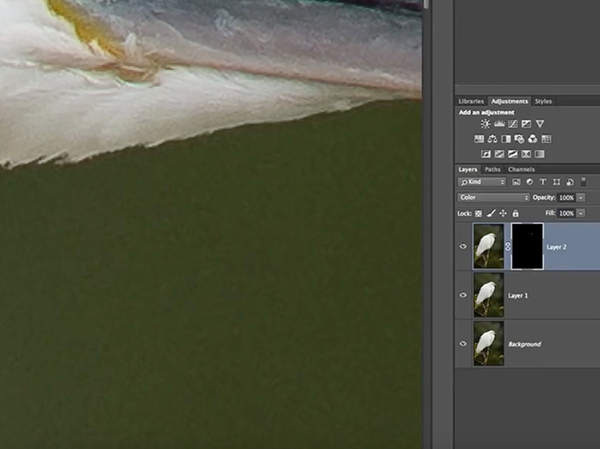
As you can see, this eliminates the chromatic aberration. However, there is now a new problem to deal with, the image has lost saturation. By utilizing a layer mask and applying the chromatic aberration removal that we just did to only the necessary areas, this problem is easily solved. While this is not as quick as using built-in tools, for those instances when the lens correction tools don't work, this is a simple fix in Photoshop. See the video below to watch Steve go through the entire process.
To see how to deal with color fringing using the same method, view the video above. To watch more of Steve Perry's excellent tutorials, check out his YouTube channel. And to view more of his work, visit his website.
(Seen via PetaPixel)