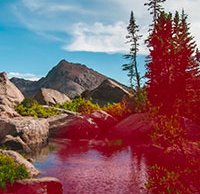
The power of the brush: Learn how to use Lightroom’s adjustment brush
posted Thursday, August 11, 2016 at 7:59 AM EDT

Photographer Mike Newton has created a Lightroom Mastery Course for Digital Photography School which offers over three hours of video tutorials for the popular piece of photo software for $49 (the package is currently 50% off). However, in the interest of promoting his course and sharing knowledge, he's offering an excerpt which covers the adjustment brush. Newton refers to the adjustment brush as the tool he wishes he had spent more time learning early in his career.
Many photographers enjoy using Lightroom for making global adjustments, and it's certainly very good at that. However, the adjustment brush is very powerful and often underused. With this handy tool, you can fine-tune localized areas of your images in specific ways, such as adjusting exposure in the corner, saturation in a small area of the image, and perhaps shadows, highlights and clarity somewhere else in the frame. By painting over the part of the image you want to adjust, you can make local adjustments. If it sounds simple, it is -- at least, once you get the hang of it.
For more information on the adjustment brush, including Mike's personal workflow when using the brush, check out his article. He also shares numerous before and after images to illustrate the power of the brush. You can also view the short video below.
Once mastered, this simple yet powerful tool will allow you to make highly-localized adjustments to your images and save you a lot of time and trouble. If you'd like to learn more about how to get the most from Lightroom, check out Mike Newton's Lightroom Mastery Course.
(Seen via Digital Photography School)