DIY lens calibration and the importance of backups
posted Saturday, March 16, 2013 at 12:20 AM EDT
What do lens calibration and backup have to do with each other? Generally nothing, but the two topics tragically combined for pro photographer David Liang recently. Earlier this week, we linked to David's tutorial on constructing your own lens focus accuracy calibration target, but a database corruption problem with his Wordpress blog site led to him losing his entire site soon after, and so the links to it were broken for a time.
David has since rebooted with a commercial site that also showcases some of his (excellent) photography, and he's re-posted the tutorial article there, but with his kind permission we're also republishing the full tutorial below, since it's the sort of thing many of our readers will find interesting. We use the commercial LensAlign MkII tool all the time in our lab (it works great, and is a really well thought out design), and Datacolor has a somewhat-similar tool called the SpyderLensCal, the but David's tutorial will let you make something very similar just for the cost of come cardboard, paper, and your time.
We don't know what options Wordpress gives for backing-up sites you host with them, so there may not be anything to be done to prevent catastrophes of the sort that befell David. But in any case, it serves as a useful reminder to always make sure you have multiple backups of anything that's important to you, whether that be individual image files or entire sites. With computers it's not a matter of if you'll lose data, but when -- so set up a backup strategy for yourself if you don't already have one. (And if you do have a backup plan, take a look at it, and ask yourself whether it's really protecting your data fully. Do you have off-site backup, for instance, in case of fire, earthquake or flood?)
Meanwhile, enjoy David's lens calibration tutorial below, or head on over to his site, to check out some of his fine photography.
The GhettoCAL: My DIY Lens Calibration Tool for Micro-Adjustment Enabled DSLR Cameras
by David Liang
It’s fairly well known that not all lenses are created equal. Put that in combination with manufacturing variables and lenses don’t always perfectly align with the camera mount. Generally the differences are minor and for the most part negligible, but I buy old Minolta lenses from eBay and I want to get the best bang for buck out of them.
I started making micro adjustments to my lens / camera combinations when I first got Sony’s Alpha SLT-A77, and have now micro adjusted all my lenses for the Sony A99 and Nikon D3. After reading what the Internet had to offer regarding “micro-adjustment” or the “fine-tune” functions higher level DSLRs offer, I quickly printed off some charts similar to rulers and taped them to my wall to start making adjustments.
I noticed an immediate benefit, especially for my prime lenses. A good majority of my lenses had been back focusing, and strangely the new Sony 16-50mm f/2.8 front focused by quite a bit. I no longer have that lens but it’s known to be a high performing lens, and can I just say how much sharper it got after the micro adjustment? So sharp that if you gave it a glance you might bleed.
Anyway, I recently invested in a new (used) DSLR and a really used lens that I knew needed adjustment. I was getting pretty annoyed with printing sheets off and taping it to my wall, then angling my camera at 45 degrees on a tripod. Yep, I’m THAT lazy.
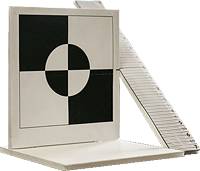
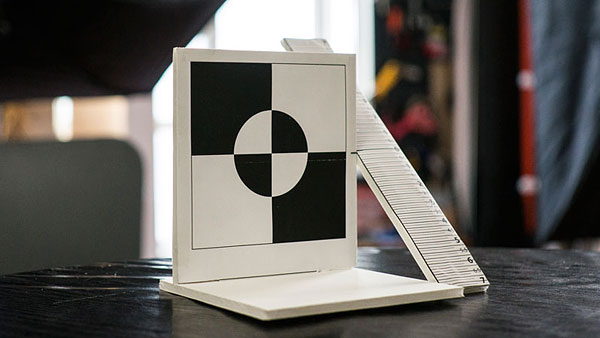
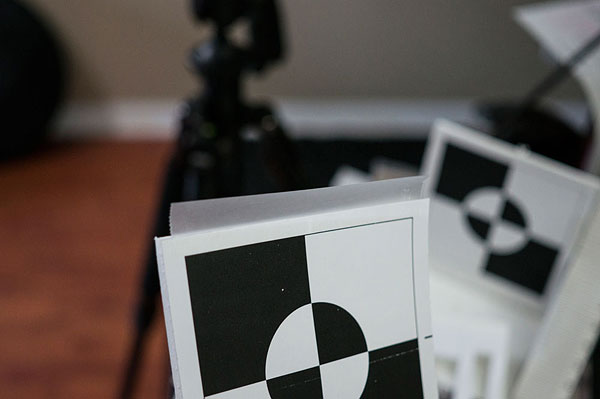
So I decided to open up Adobe Illustrator and make a nice little reusable tool to get the job done quickly. Simply place it on a flat, level surface with your DSLR on a tripod, focus on the target and take a picture with the lens aperture wide open. Reference the ruler to the right and you should be able to see where the depth of field is, and whether or not your lens/camera combination is preferring to back or front focus. There’s a lot of information on how and why people do this, so I won’t go into that. This post is about how to make your own “GhettoCAL” target.
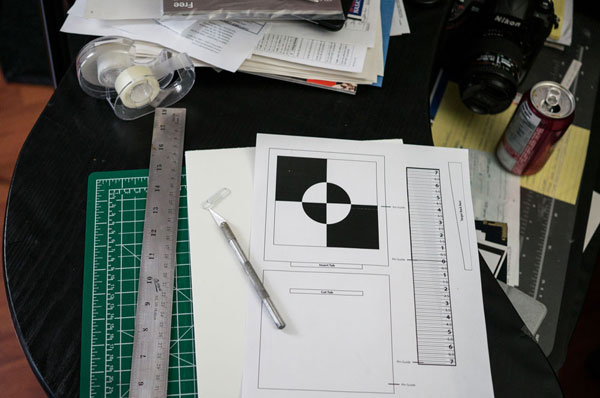
Here are the ingredients you’ll need:
-
Foam core
-
Ruler
-
Printer
-
X-ACTO knife
-
Double sided and regular scotch tape
-
Cutting board (unless you don’t mind cuts on your desk)
-
Paper clip
-
~15-20 minutes (if you’re not jacked up on coffee)
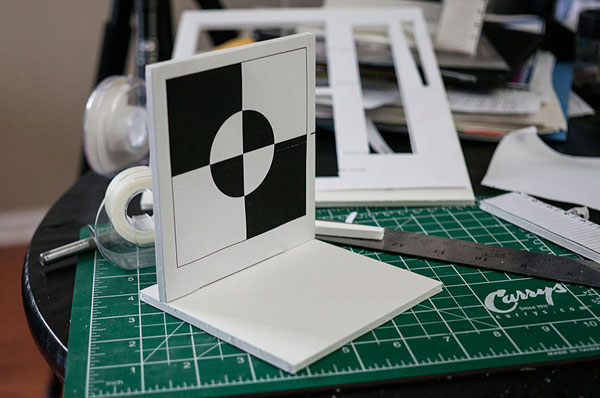
First, print out the PDF template I’ve linked here.
Get a piece of foam core and use double-sided tape to position and hold the template over the foam core board. Be sure to put the tape under specific components (target, base, ruler etc.)
I designed the template so the edges of the components end at the edge of the paper, so you not only retain a perfectly straight line but you also have one less side to cut. (See what I mean about me being lazy? Some call it efficient; I’m more honest.)
You want to cut with three or four careful strokes over the same line. (Trust me, it works out infinitely better this way).
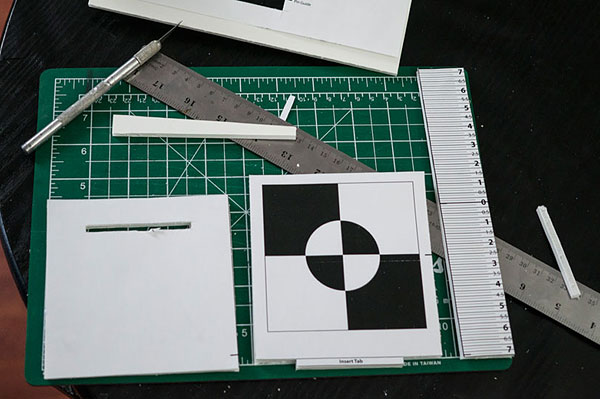
Once you’re done knocking out the pieces, use the scotch tape and tape down the edges of the template to the foam core. You want a clean level surface that won’t catch on something and rip your cool project. I don’t know about you, but I only want to do this once.
Match the “Insert” tab with the slot cutout on the base. This is where Illustrator was incredibly useful: I made sure the sizing was right so it wasn’t a loose fit, but a solid one.
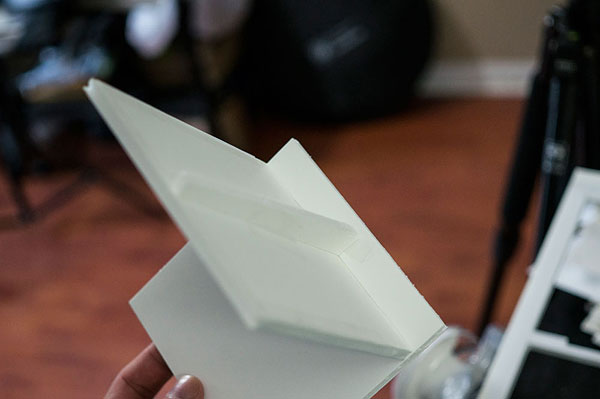
You don’t have to do this next step, but I included a piece designed to be a back support for the target. I just like the psychological comfort of knowing the structure has more support. If you so choose, you can take the piece labeled “Target Back Rest” and tape that to the back of the target. Be careful to put the 90 degree side on the back of the target and the base.
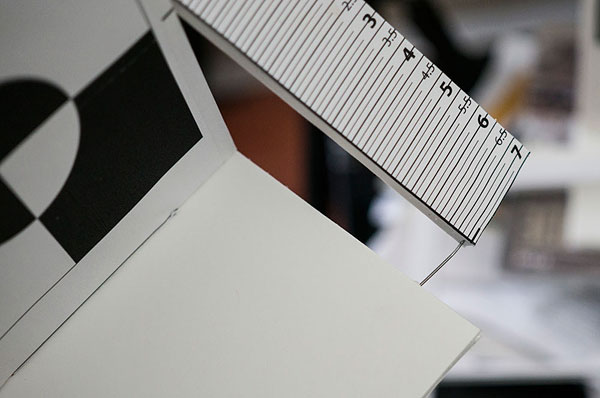
Take the paper clip and insert it into the side of the target indicated “Pin Guide”, then insert the other end into the ruler, being careful to match the lines.
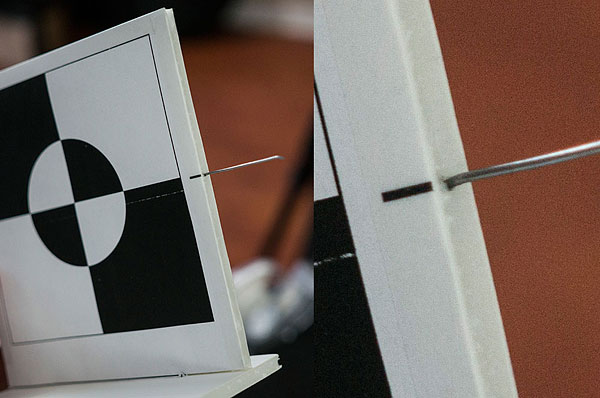
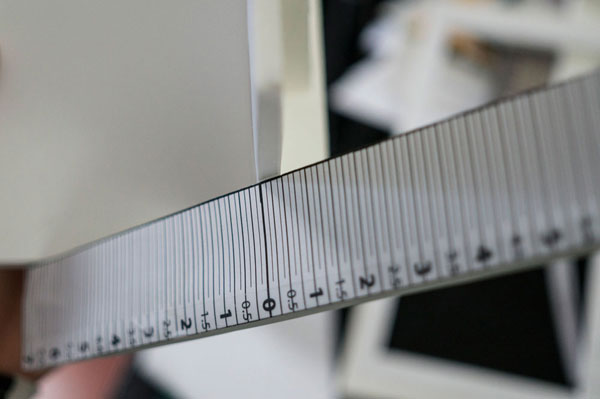
You don’t have to match the lines exactly, but if you don’t, you need to make a mental note that “0″ on the ruler will likely not be functional as the center point. You’ll have to figure out which line is “level” with the target, as that line will then become your “correct” focal point matching the plane of the target. (When I look on my target/ruler below from side the “0″ line is on the same plane as the target, that’s how I’ll know focusing on the target will match the “0″ point of the ruler.)
Now put the final pin between the “base” and bottom of the “ruler” where it indicates “Pin Guide”. It’s just to hold the pieces in place, and again, to reinforce the overall structure. It’s not even a good solution, as I ended up adding a bit of tape on the bottom of the base and ruler to hold it in place more.
And there you have it: the GhettoCAL.
Here’s a blown up image of the Nikon D3 and Nikkor 28-105 f/3.5-4.5 D combo at 105mm. It looks like the lens front focuses slightly.

Remember, these targets work well with primes and high-end zooms. Lower end zooms with variable apertures and long focal ranges generally will have multiple issues, and calibrating for a front focus at 105mm might cause the lens to back focus at 28mm.
Don’t consider this the be-all and end-all. It’s a guideline to approximate with, and a compromise to get improved results from otherwise “unknown” combinations.