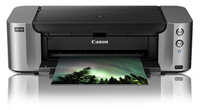
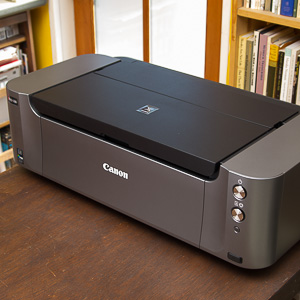
A PRO-1 & PRO9000 MARK II HYBRID
A Canon Pro Printer
To Dye For
By MIKE PASINI
Editor
The Imaging Resource Digital Photography Newsletter
Review Date: October 2012
Canon shipped both the Pro-10 pigment and Pro-100 dye printers to us for review. These are the second generation of Pro printers after last year's Pro-1 introduced the line.
We decided to start with the Pro-100 because we remembered a remark Canon's Katsuichi Shimizu made in an interview with Dave at the Pro-1 launch.
Today's dye technology, he said, has "a 300 year lifespan, and the fading durability is almost identical to pigment. But in the minds of photographers, a printer must be pigment-based to sell."
In our Pro-1 review we found that the pigment was not as brilliant as the dyes used in the Pro9000 Mark II so we have been anxious to try a Pro dye printer. Even if you have a Pro pigment printer, the Pro-100 might be a worthwhile addition.
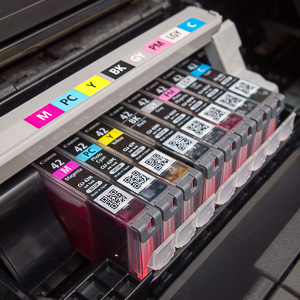
The $499 Pro-100 uses the eight-color ChromaLife 100+ dye-based ink system, which includes three monochrome inks. Previously the Pro9000 Mark II dye-based printer included just one black ink, making the Pro-100 the first Canon dye-based printer with multiple monochrome inks.
Faster than the Pro-10, Canon says the Pro-100 can print a 13x19 high-quality color, bordered image in 90 seconds and a high-quality, bordered black-and-white print in three minutes, 5.4 times faster than previous models.
You might think of the Pro-100 as something of a hybrid made from the Pro-1 and the Pro9000 Mark II.
Canon lists the major features of the Pro-100 as:
- Professional quality photos on various media up to 13x19 inches
- Canon Full-photolithography Inkjet Nozzle Engineering features a patented print head that enables printing with microscopic droplets and high resolution up to 4800x2400 dpi
- Three monochrome inks (ChromaLife 100+ Black, Gray and Light Gray) for true monochrome prints
- The Optimum Image Generating System uses two image optimization technologies first introduced in the Pixma Pro-1
- The new Print Studio Pro plug-in provides more "effective printing solutions and can directly hand-over image data"
- Two-way paper feeding provides a rear tray for most supported media types and a dedicated manual feed in the back of the printer to load thicker papers
- Print on printable CD, DVD or Blu-ray Discs and jackets
- Built-in WiFi and Ethernet connectivity plus Hi-Speed USB and a USB PictBridge port
- AirPrint for printing from iOS

Closed. Much more compact than the Pro-1.
SPECIFICATIONS | Back to Contents
The Pro-100 specifications include:
- Printer Type: Wireless professional inkjet printer
- Features: AirPrint, Auto Photo Fix II, Borderless Printing, Optimum Image Generating System, Photo Printing, Grayscale Photo Printing, Wireless Printing
- Print Speed: Up to 51 seconds for an 8x10 image on A4 with a border; up to 1:30 for an 11x14 image on A3+ with border
- Number of Nozzles: 6,144
- Maximum Resolution: 4800x2400 dpi
- OS Compatibility: Windows 7/7 SP1/Vista SP1/Vista SP2/XP SP3 32-bit; Mac OS X v10.5.8, 10.6, 10.7
- Standard Interfaces: Wireless LAN (IEEE 802.11 b/g/n), Ethernet, Hi-Speed USB, PictBridge
- Ink Compatibility: CLI-42
- Ink Droplet Size: 3 picoliters
- Ink Capacity: 8 cartridges
- Paper Sizes: 4x6, 5x7, 8x10, Letter, Legal, 11x17, 13x19
- Paper Compatibility: Plain: Plain Paper, Canon High Resolution Paper; Super High Gloss: Photo Paper Pro Platinum; Glossy: Photo Paper Plus Glossy II, Photo Paper Glossy; Semi-Gloss: Photo Paper Plus Semi-Gloss, Photo Paper Pro Luster; Matte: Matte Photo Paper; Fine Art Paper: Fine Art Musem Etching; Other Fine Art Papers; CD/DVD: Printable CD/DVD/Blu-ray Disc
- Maximum Paper Size: 13x19
- Output Tray Capacity: Auto Sheet Feeder: 150 sheets of plain paper, 20 sheets photo paper (4x6); 10 sheets (letter/8x10); 1 sheet (A3+) manual feeder: 1 sheet of photo paper (all sizes)
- Noise Level: Approx. 38.5 dB(A)
- Physical Dimensions: 27.2 x 15.2 x 8.5 inches (WDH)
- Weight: 43.2 lbs.
- Power Consumption: 19 watts (2.3 watts standby)
- Warranty: One-year limited warranty with InstantExchange Program. One-year toll-free technical phone support.
- Software Included: Setup Software & User's Guide CD-ROM, Pixma Pro-10 Printer Driver, My Image Garden: Full HD Movie Print, Creative Park Premium, Fun Filter Effects and Image Correction/Enhance are accessed through My Image Garden Print Studio Pro, Quick Menu
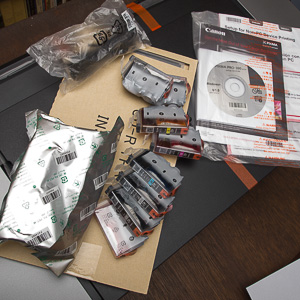
The retail box includes:
- Pixma Pro-100 inkjet printer
- CD/DVD disc printing tray
- Manuals and other documents
- Setup CD-ROM
- Setup ink cartridges
- Power cord
- Print head
- USB cable
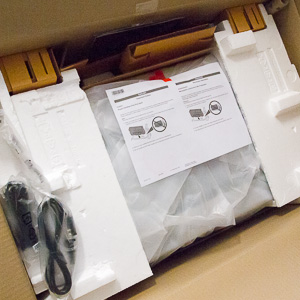
Opening the box |
The contents |
|
Well packed |
The installation guide |
CONSUMABLES | Back to Contents
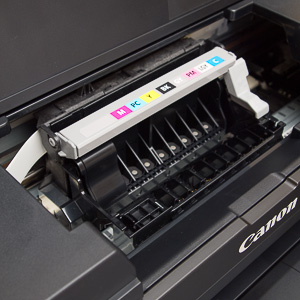
The 8-ink ChromaLife 100+ dye-based ink set includes Black, Cyan, Magenta, Yellow, Photo Cyan, Photo Magenta, Gray and Light Gray inks. A set of setup cartridges is included with the printer.

Ink. Cartridges not tanks.
Replacement cartridges are $16.99 each directly from Canon. A complete set of inks runs $169.90, purchased individually. But Canon typically bundles replacement cartridges at a discount, although no such package was available at launch.
Because the Pro-100 can print varied images on a variety of surfaces a page cost is not feasible to calculate.
HARDWARE TOUR | Back to Contents
From the outside, the Pro-100 looks like a smaller Pro-1 with a bit of a flare on the front panel. The paper feeds on the back are very similar to the Pro-1, as is the output tray in front.
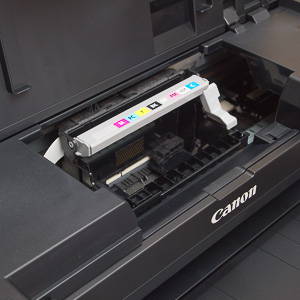
Inside, however, the printer resembles the Pro9000 Mark II. The ink cartridges are not the large tanks of the Pro-1 and they ride in the print head itself rather than sit in separate compartments.
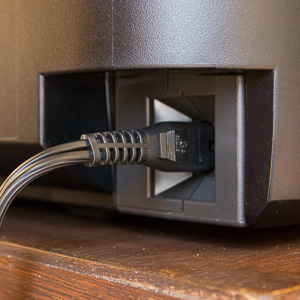
A walk around the printer shows the USB and Ethernet connections in the right rear and the power connection on the opposite side, just as on the Pro-1. Under the front panel is a shallow storage bay for the CD holder, a nice touch. The holder has a small lip at the end to make it easier to pull back out.
Hardware Tour |
||
Power cord |
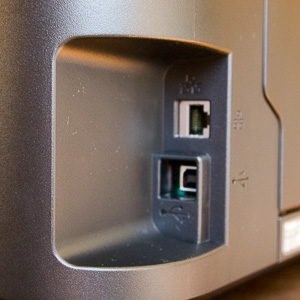
Ethernet, USB Hi-Speed |
|
Controls |
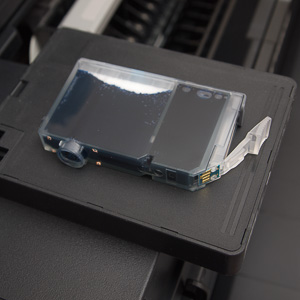
Cartridge on Pro-1 tank |
|
CD tray |
Rear feed |
|
Output tray |
Ready to go |
|
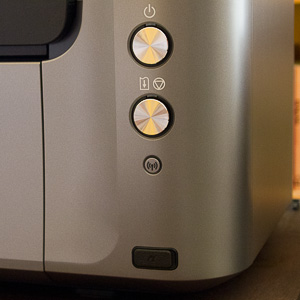
The controls are all on the right side of the printer: A Power button with a white LED, a Resume/Cancel button with an orange LED, a blue WiFi lamp to indicate a wireless connection and the covered PictBridge port.
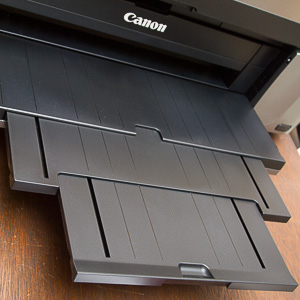
The output tray drawer opens to reveal a two-step extension and, in the printer itself, the inner cover hiding access to the CD printing tray slot.
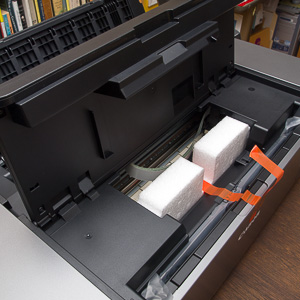
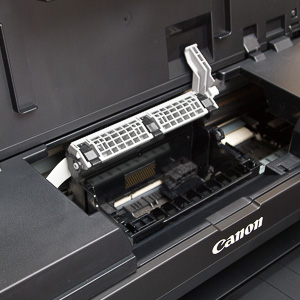
The hood itself opens for access to the ink cartridges and print head.
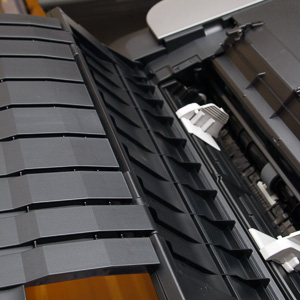
Two paper trays are available on the back of the printer. The multi-sheet tray opens with one extension and the heavy paper tray has two small extensions.
INSTALLATION | Back to Contents
Unlike the Pro-1, the Pro-100 is pretty easily handled if not exactly light. There are no wheels to roll it into position but we walked it to the end of our work table without any trouble.
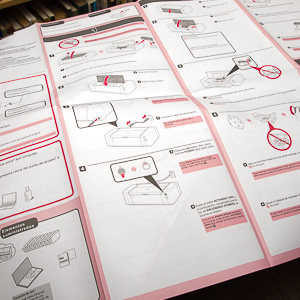
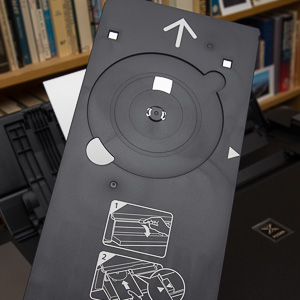
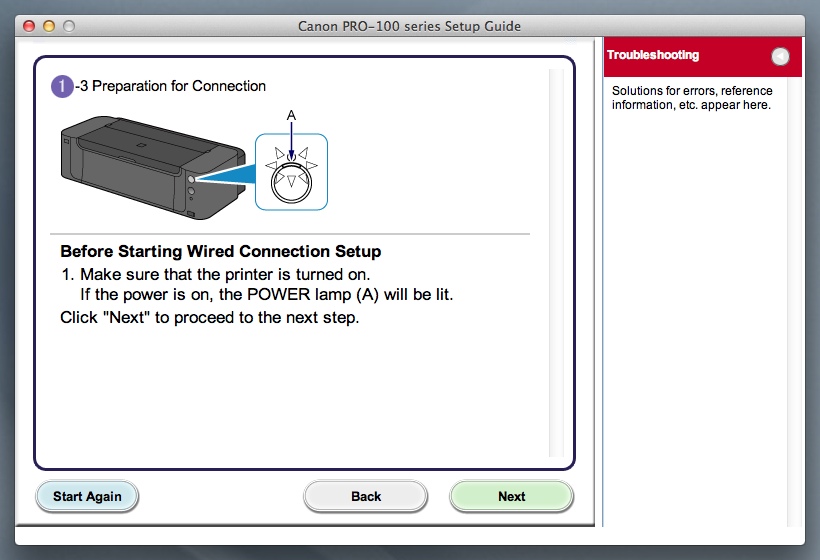
Hardware. Canon's wonderfully clear installation chart made it easy to set up the hardware. Connect the power cord. Wait for the printer to signal it's ready with the small white LED on the Power button, open the hood and install the print head.
The print head, which resembles the Pro9000 Mark II head, just drops in after you open the Lock Lever. Locking the lever back into place, though, requires a good healthy push. It will actually click into place, parallel to the table. Don't be shy.
Installation |
||
Lock Lever (light gray) |
Lever opened |
|

Print head nozzles, circuit |
Print head installed |
|
Cartridges installed |
Print head aligned |
|
Then you're ready to install the software.
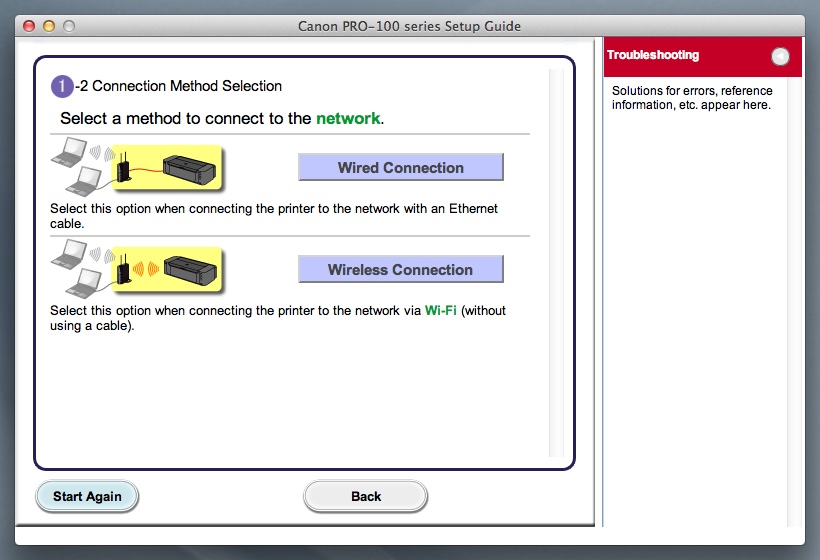
Software. We had a little trouble with this and that's unusual. We installed everything for a wired connection to our local area network, which is the fastest way to move the data to the printer.
But it seems the installer only managed to install the AirPrint driver. And our laptop doesn't use AirPrint. So we couldn't proceed to the print head alignment because the printer couldn't be found.
Software InstallationRead from left to right |
||

Welcome screen |

USB or Network Connection? |
|
Wired or Wireless? |
Reminder to turn it on |
|

Make cable connection for Wired |
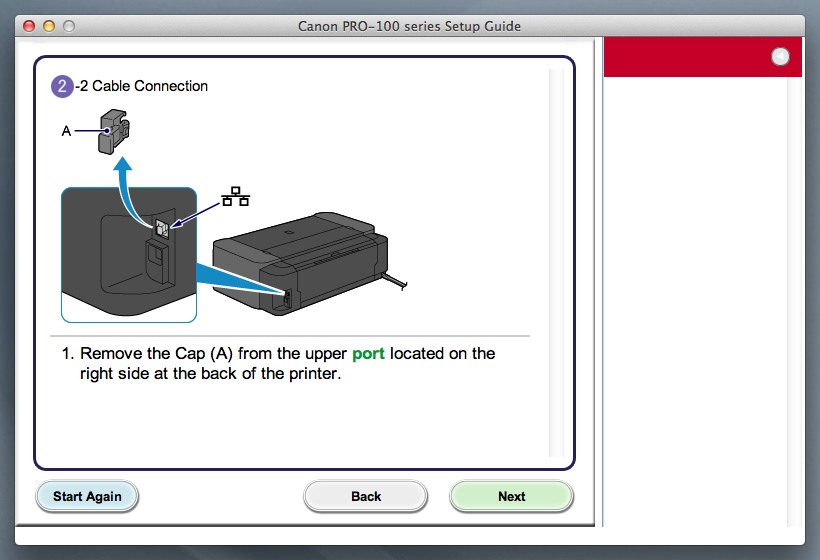
Cable connection |
|

Cable connection continued |
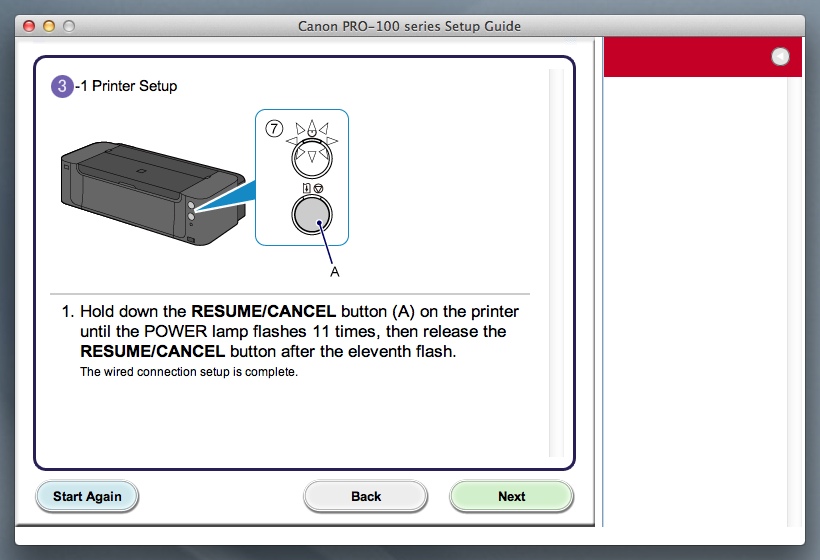
Resume button for Wired |
|

Connection complete |
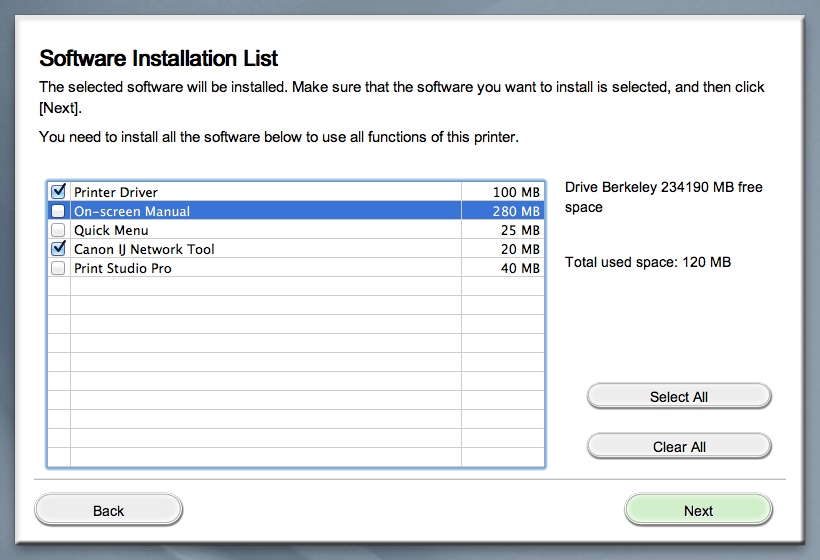
Software List defaults |
|
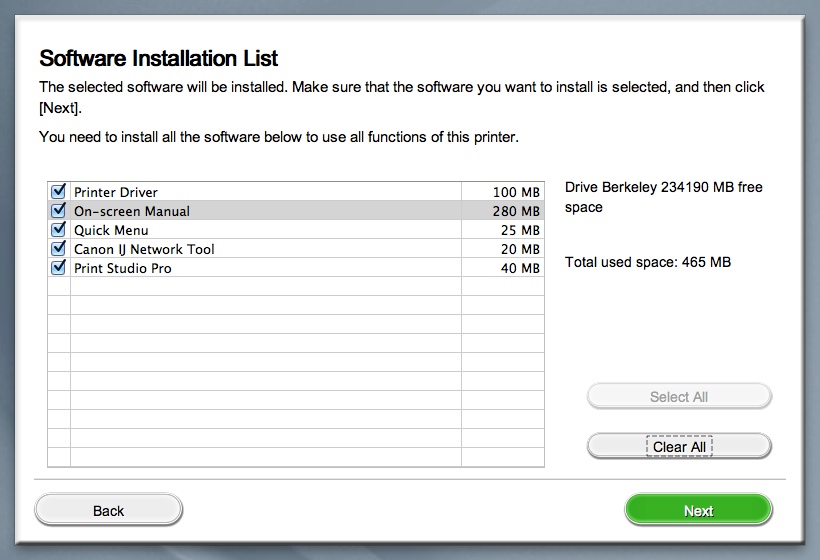
All selected |
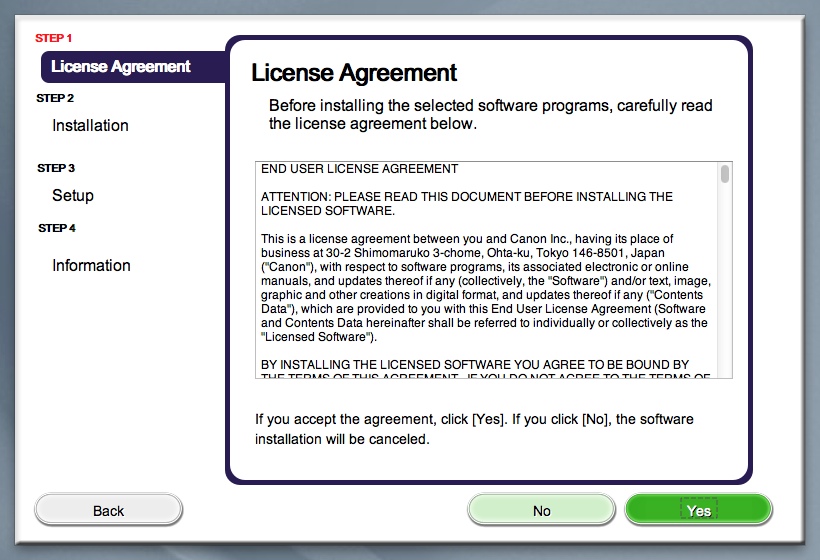
License Agreement |
|

Options |
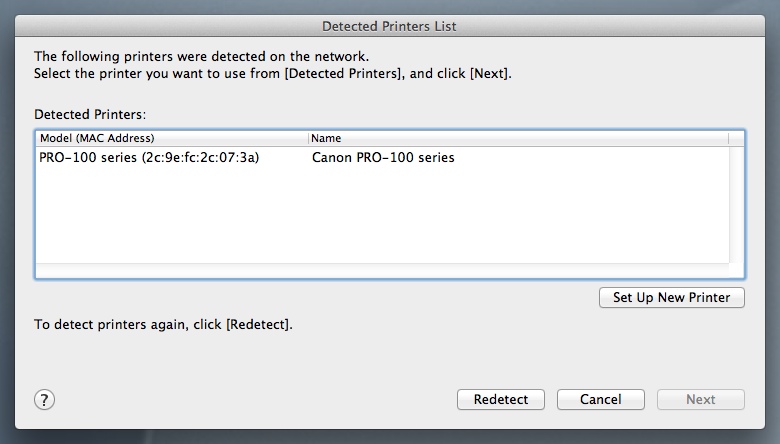
Detect printer |
|
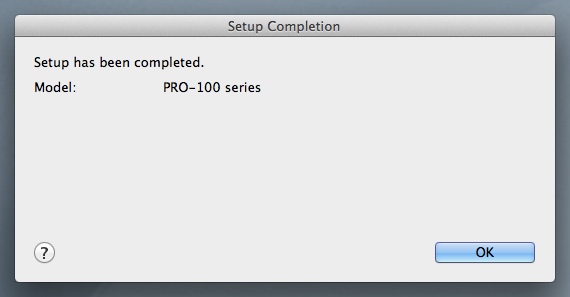
Wired setup complete |
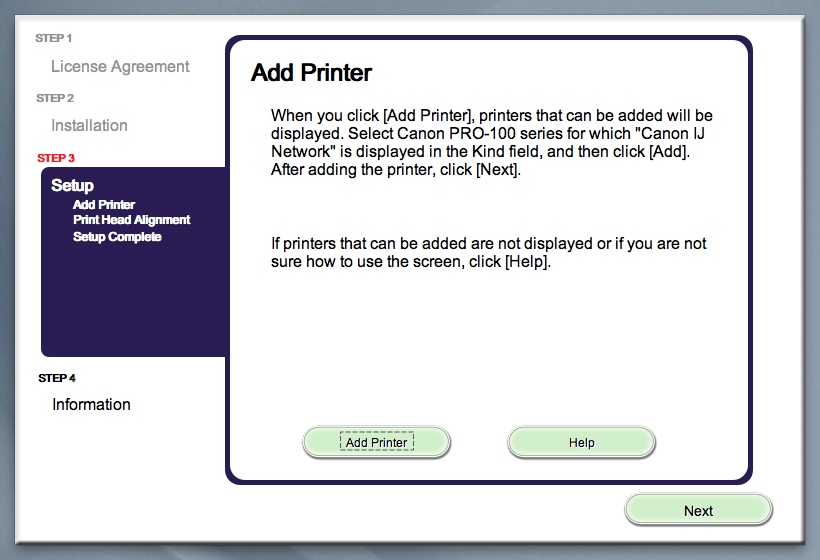
Add printer |
|
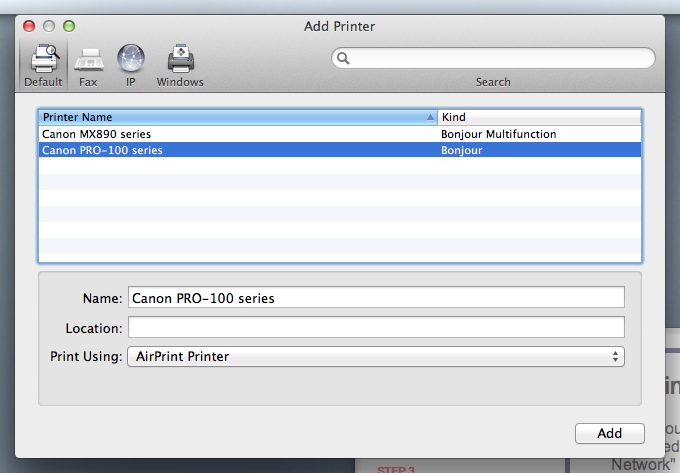
OS X Add Printer |
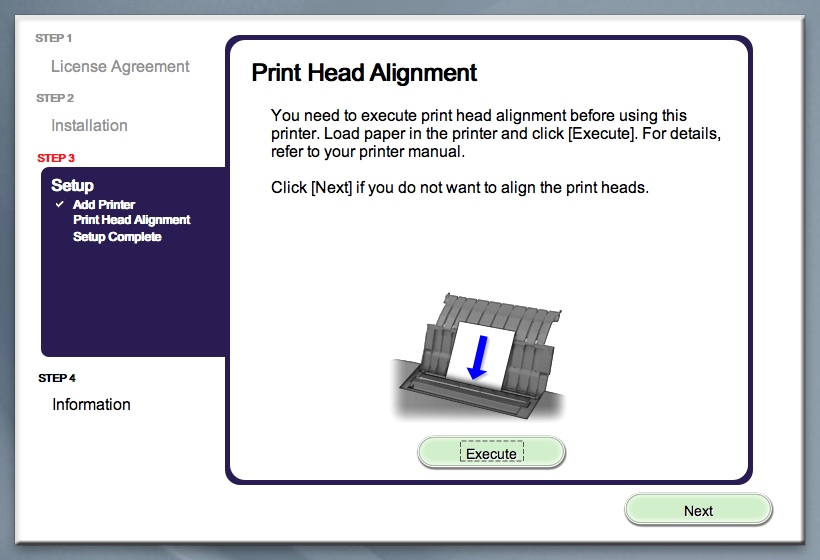
Print Head Alignment |
|

Oops, printer can't be found |

Setup complete? Not really. |
|
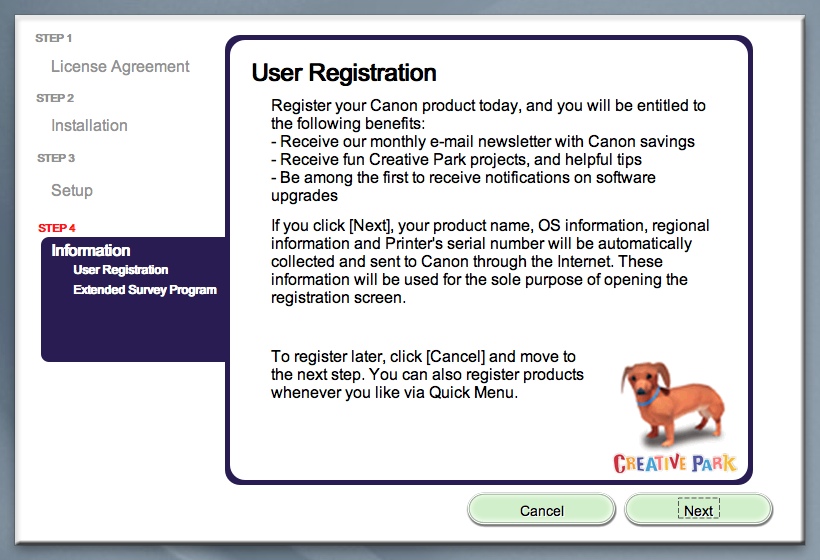
User Registration |
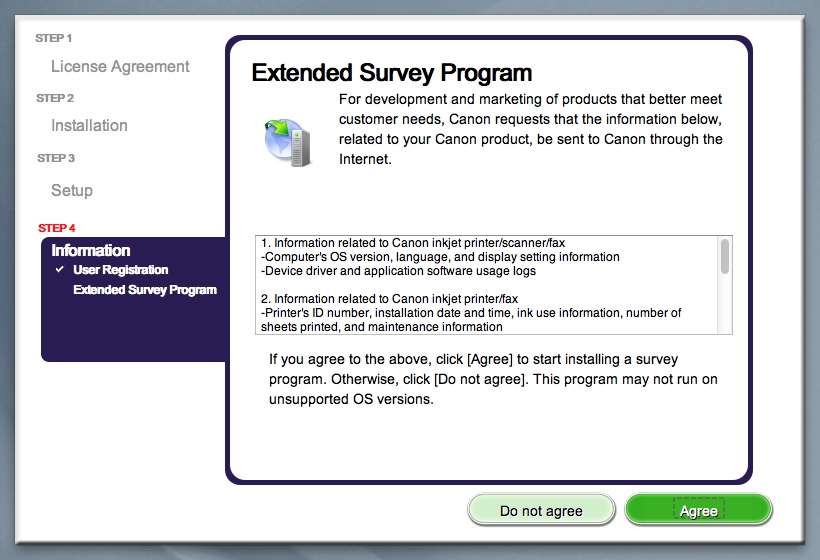
Extended Survey Program |
|

How a successful install ends |
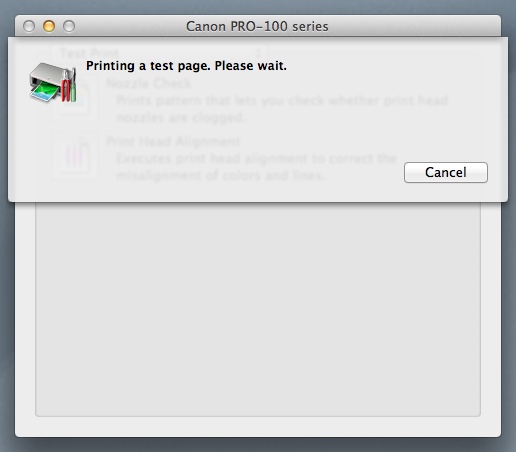
Test page |
|
We tried a wireless setup, and while the printer found the network and the network recognized the printer, that didn't help getting us to head alignment because we still didn't have a driver. It's worth noting that you hold the small WiFi button in while you press the Resume button to tell the printer you want a WiFi connection, whereas for a wired connection you hold the Resume button in until the LED on the Power button flashes 11 times. That's how you switch connections.
In the end, we simply reinstalled with our wired connection but selected only the default tools. That went fine. We saw two options when we Added a Printer, not just one that defaulted to AirPrint. Both the options, in fact, used the Canon Pro-100 series driver, not the AirPrint driver, although AirPort was enabled.
We never have any trouble with Canon software installations, so this was a puzzle. But a reinstall resolved the problem.
We should note, however, that the software install list seemed pretty sparse, missing the usual Canon utilities. The Print Driver, on-screen manual, Quick Menu, Canon IJ Network Tool and the new Print Studio Pro, which we discuss below, were the only options.
Quick Menu pops up with every possible option you can think of, much like Canon's Navigator. When we selected CD printing from the options, it launched Easy-PhotoPrint EX v4.0.0, which we already had installed.
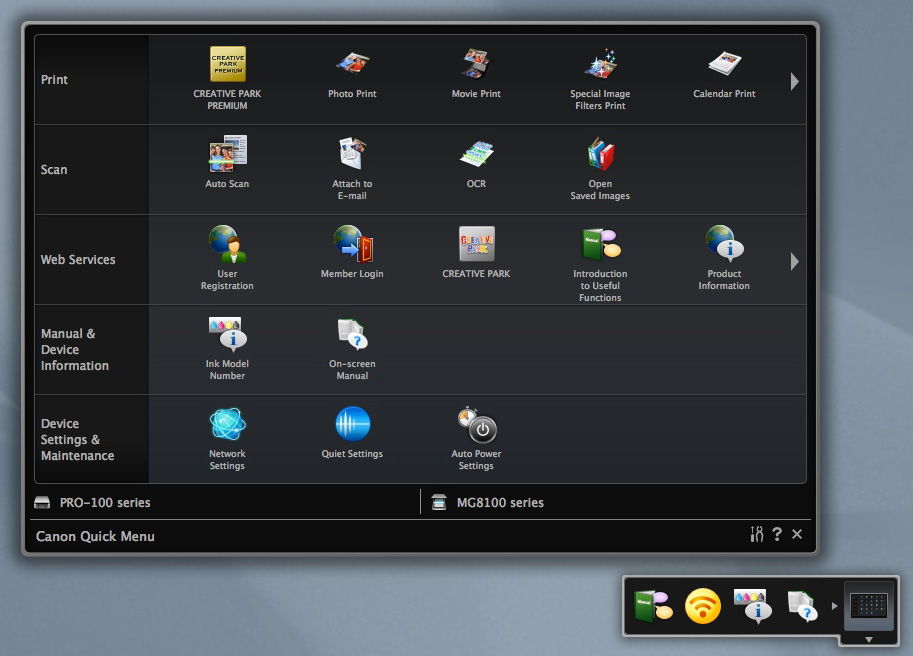
Quick Menu. The small window (bottom right) opens up the big window with all your options.
You might think the installer is cleverly checking disk contents before it offers to overwrite current versions, but we couldn't find an installer for Easy-PhotoPrint on the CD. It's a curious omission.
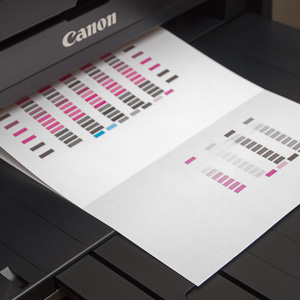
Alignment. We put two sheets of plain paper in the printer and let the installer execute the print head alignment. Both pages were used, printing a row and backing up to scan it. Magenta, cyan and gray inks were used.
First Print. For our first print, we just sent an image from Photoshop Touch on the iPad to the Pro-100 using AirPrint. And that worked fine.
PRINT STUDIO PRO | Back to Contents
Print Studio Pro is a new printing plug-in from Canon. It's compatible with Canon's Digital Photo Professional (version 2.1 or later), Adobe Photoshop CS, Adobe Photoshop Elements and Adobe Photoshop Lightroom.
The new plug-in is designed specifically for Pro-series printers, Canon told us. The company interviewed "a wide range of photographers at various professional levels to help determine what users want out of a printing application."
Print Studio Pro consequently provides "a simple and seamless photo printing solution from a number of applications such as the Canon Digital Photo Professional and Adobe's Photoshop, Photoshop Lightroom and Photoshop Elements." The user-interface has been designed "to maximize ease-of-use with a number of options to adjust the page formats and layouts, accommodate for different user preferences and manage a number of variables including color management and printer settings."
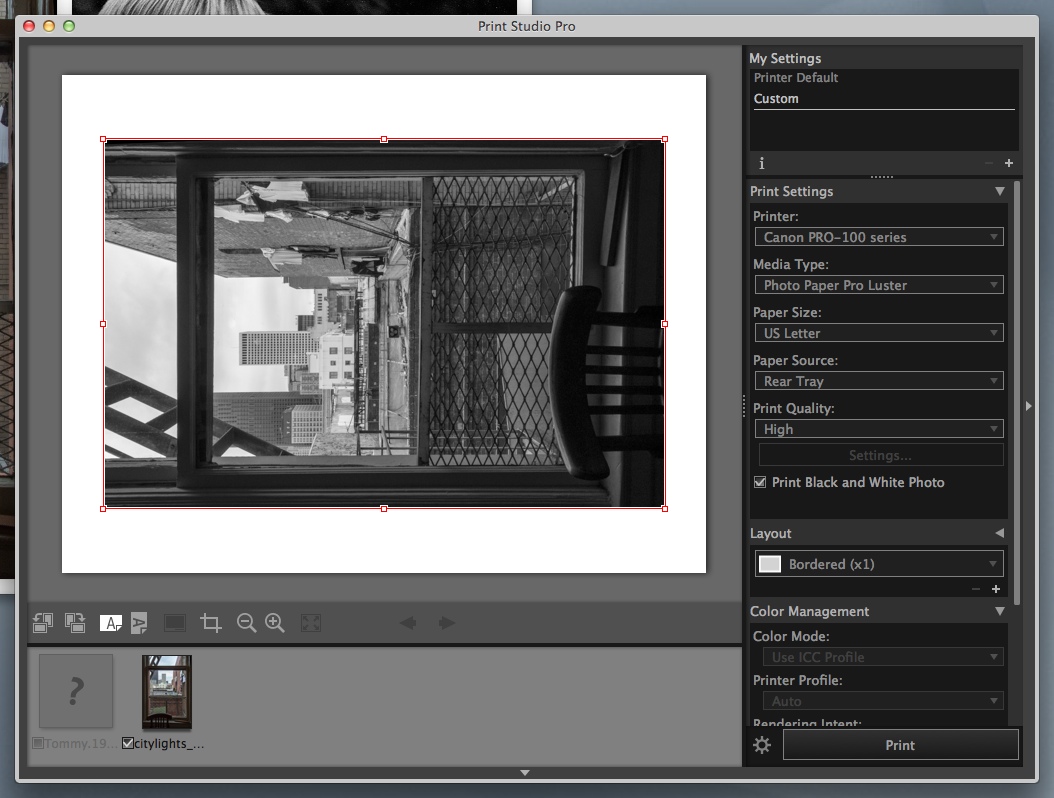
Interface. Main pane for the image, toolbar below, filmstrip below that, settings on the right.
Printing
Pattern Print
Preferences
Advanced Settings
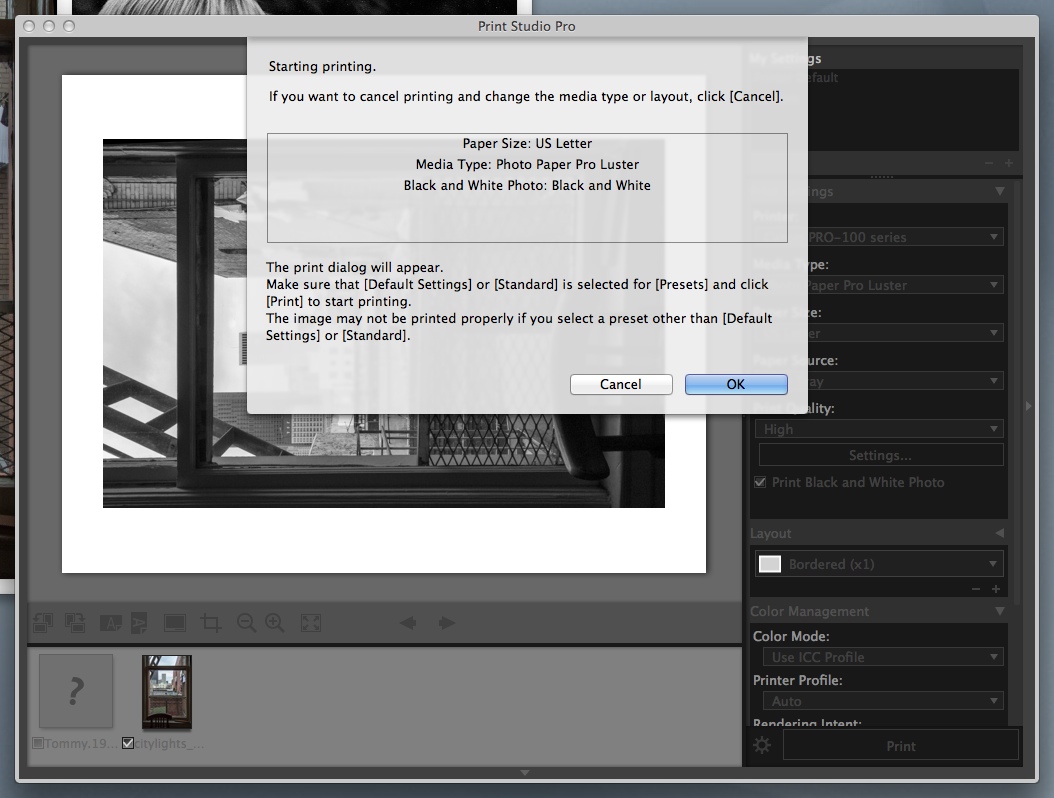
We installed it and worked with it from Photoshop CS5 where it appears under the File, Automate menu. It didn't handle a PSD file but worked fine with a JPEG. It's a nice attempt to work around what's often a confusing print dialog box, standardizing it in your photo applications for Pro printers.
Just below the image there is a toolbar which allows you to change the orientation of the image on the sheet, rotate the sheet and image together, change the print or Exif information (although that was grayed out), crop the image, zoom in or out, display at 100 percent and display the next or previous image in the filmstrip below the toolbar.
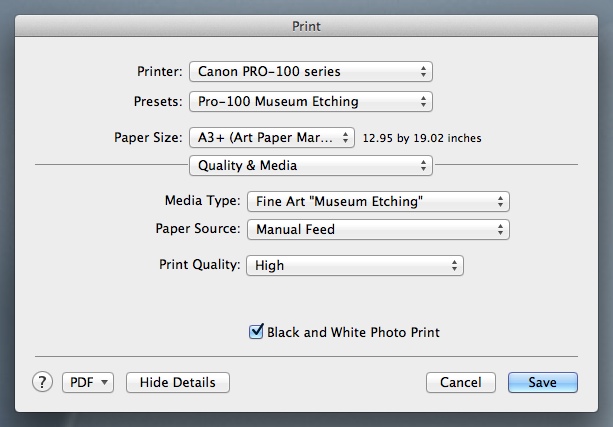
In the Print Settings section, we set it up to use Canon's Photo Paper Pro Luster, letter size from the rear tray with High print quality. We also checked the Black and White option to print the image in grayscale without converting the color image in Photoshop.
In the Layout section, we selected Bordered (x1), which means a one-up bordered image. Options go up to x4 but the preview didn't display the image four-up.
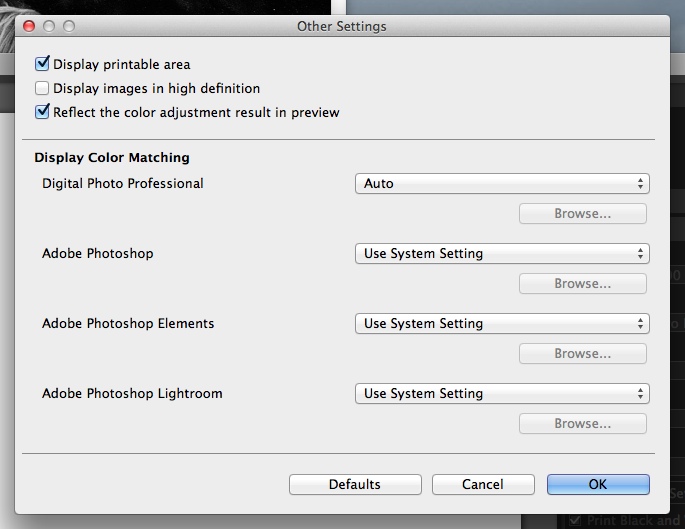
There's also a Color Management section with four settings: Color Mode (use either an ICC profile or Pro mode, which circumvents the rest of this), Printer Profile which displays all installed ink/paper profiles), Rendering Intent (Perceptual or Relative Colorimetric) and Color Matching Method (which was grayed out). There's a Black Point Compensation check box as well.
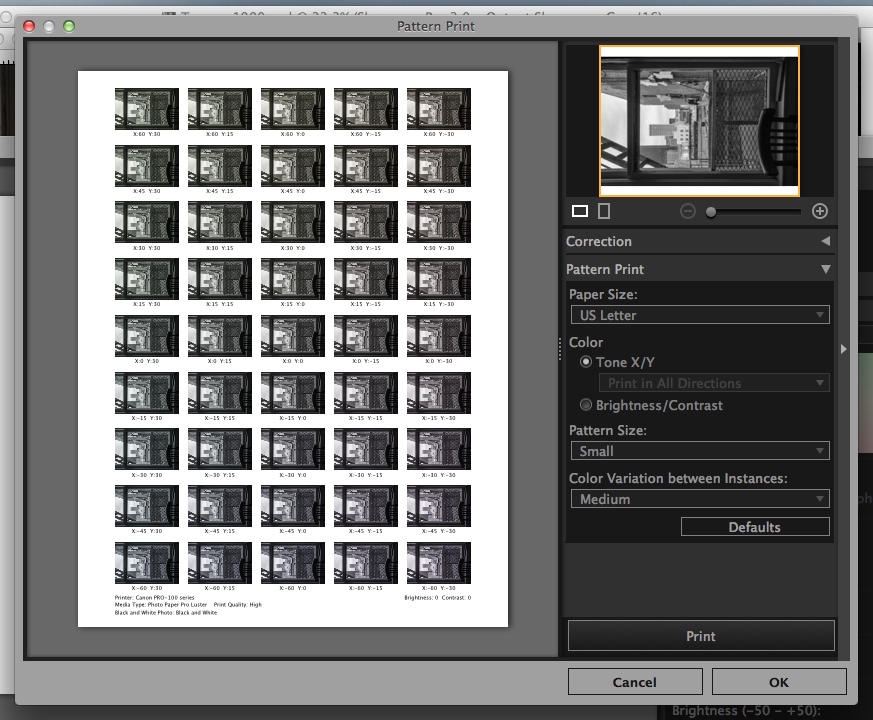
In the Correction section you can adjust color cast, darken white areas in a photo (apparently to let pigment printers print uniform gloss optimizer), set color balance sliders for cyan, magenta and yellow, plus use a brightness and a contrast slider as well. You can also get a Pattern Print that shows and prints variations of these settings in a nine-row, five-column grid of images.
And once you've got everything the way you want it, you can save the setup.
It's no secret that print dialog boxes are easy to get lost in. Print Studio Pro doesn't hide the complexity from you. You still have to know what you're doing and check all the boxes, although the defaults will take you pretty far. But it does order them intelligently so you don't skip something important. And it does enforce a single interface to the printer from Photoshop, Photoshop Elements and Lightroom.
Photoshop CS5 Print Dialog. The alternative.
Print Driver. The alternative, part two.
If you're using printers from other manufacturers, though, it doesn't really represent any advantage. You'll still have to navigate the print dialog box for your non-Canon gear, so you might as well master it. But mastering it is easier said than done and we applaud Canon for trying to make life a little easier. They have.
And just for the record, Pro-1 owners will need to update their driver to use this package.
We decided to reprint a set of images we've already printed on other 13x19 printers, with both dye and pigment inks. The comparisons, we thought, would be useful.
Black & White. Black and white printing is one of the hallmarks of the Pro line, although only the Pro-1 compares with the Pro-100's three black inks. We had trouble getting a good matte black on the Pro-1, such that its prints on matte paper were clearly inferior to the Epson R3000.
Our first black and white on the Pro-100 was from a color image that Print Studio Pro converted into a black and white. So we didn't fiddle with the tonality at all. We printed it on Canon's Photo Paper Pro Luster.
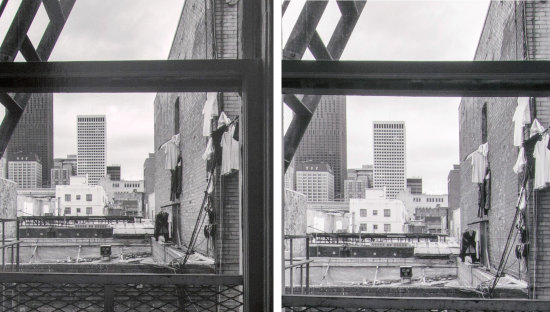
Black & White. Epson R3000 (left) focused on highlights, Pro-100 on shadow detail.
And we compared it to an Epson R3000 black and white print on Ilford Galerie Prestige Smooth Gloss. Not exactly equivalent.
The image was shot from the window of City Lights Bookstore in North Beach under an overcast sky.
The first thing we noticed on this low key image was that the middle tone and shadow detail on the Pro-100 print were a bit more distinct than on the Epson.
But the second thing we noticed was that the highlight detail was gone in the Pro-100 print. The sky was washed out and light-colored clothing didn't have as much detail.
Under a loupe, the Pro-100 had a less noticeable screen pattern. With the naked eye you can't detect a screen pattern in either of them, but with the loupe it was clear that the Pro-100 image was smoother.
We really can't draw any conclusions from this. Different sheets, different black and white treatment. We can think of several ways we might get them to match more closely.
Instead, we turned to our troublesome image of the Golden Gate Bridge, the one that had stumped the Pro-1.
We printed the Pro-100 print on Canon Museum Etching fine art matte paper because the Moab Entrada Natural sheet we'd used on the Epson R300 and Canon Pro-1 did not yet have a profile for the Pro-100 (but Moab Pro-100 profiles are now available). Since the Pro-100 uses a completely different set of inks, we couldn't simulate a profile, either.
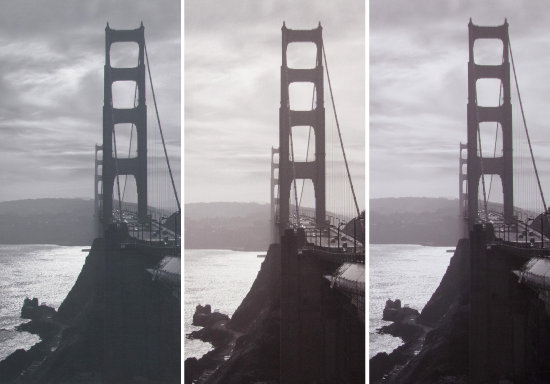
Golden Gate Bridge. Left to right: Pro-1 on Entrada, Pro-100 on Museum Etching, Pro-100 on Luster.
Printing from the Manual feed tray (rather than what Canon calls the multisheet Rear tray) is pretty simple. Just push the heavy fine art paper in until it stops and, after you give the Print command, press the Resume button (which will be flashing its orange LED). The flashing LED is supposed to give you a chance to load the Manual tray, but there's no need to wait.
The image itself is RGB color but grayscale so we could use color information to adjust tonality. The driver has a check box for black and white printing, so we checked that to make sure the Pro-100 would use its three gray inks instead of its color ink set.
And it did. But the print was a disappointment. It was generally lighter than the other two in the highlights. The Pro-1 actually printed a muddy sky. The Epson R3000 printed a very dramatic sky. The Pro-100 printed a light sky. The black foreground was gloriously handled on the R3000, a middle gray mess on the Pro-1 and a bit darker on the Pro-100.
That, as we suggested in our Pro-1 review, is more about how the ink soaks into the paper than it is about the printer. And to prove it, we printed the image on Canon's Pro Luster sheet.
When we first looked at the dark foreground in the print we thought the Pro-100 had a light vertical line scribed through the middle of the black foreground. But it was actually in the image itself, the side of the bridge anchor. On the matte prints it was sufficiently blurred into obscurity but on the Luster sheet it was sharply delineated.
This print is breathtaking on the Epson with Moab Entrada Rag Natural. The same sheet printed by the Pro-1 produced a forgettable image, the black shadows soaked up by the paper. Luster on the Pro-100 produced an excellent image, rich in detail, demonstrating how important it is to use the right paper for the job.
Dye Color. The advantage of dye color is its saturation. Got sunsets? Got flowers? Got intense radiating light? A brightly-painted vehicle? You'll get a more vibrant print with dye inks than with pigments.
The rap on dyes has been that they are not as permanent as pigments. And, you know, once rapped, forever dinged. But the longevity of dye prints has been greatly improved in recent years and nobody should really worry about fading a properly stored print. What you should worry about is if you want the subtlety of a pigment print on a variety of supports or the vividness of a dye.
We have a favorite image of some yellow-orange dahlias dancing across the scene that can use all the vividness it can get. But we like to print it on a matte fine art sheet, rather than a glossy sheet because it's a flower.
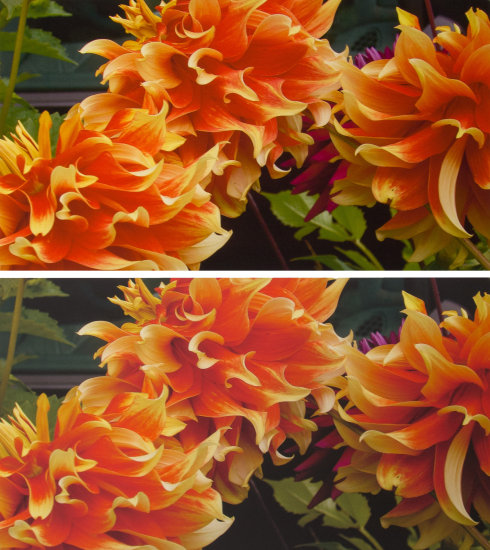
Dahlias. Pro-100 (top) is more saturated than the the Pro-1 pigment print.
Our first problem, to our amusement, was that Canon does not supply an ICC profile for the Pro-100 and its Photo Rag paper. So that was out. Instead, we used a Museum Etching sheet, much heavier with a rougher pattern. There was a profile for that.
We compared it to our Pro-1 print, which was all pigments. It's such a nice print, you would be happy to pay us $500 to have a copy. And every morning, when you rolled out of bed, it would make you dance.
But the Pro-100 dye print is noticeably more intense. This extends to the blacks in the background, not just the bright flowers themselves. Seen side by side, everyone prefers the dye version printed by the Pro-100.
So you can have your dye and sell it, too.
Skin Tones. And if what you'd sell most often are portraits, you'll want to know how the Pro-100 renders skin tones. We printed our profile portrait of five sisters and compared the print to the Epson R3000 and Canon Pro-1 pigment prints.
You do have to give the swellable Luster sheet a while to relax back into its normal surface, encapsulating the dyes. At first blush it's hard to evaluated the results. We routinely waited 24 hours before comparing the prints.
We sent the same image data we had sent to the Epson R3000 to the Pro-100. It was, on screen, how we wanted the print to look.

Sisters. In this case, the dye saturation isn't an advantage. R3000 pigment print (top) is much more natural.
And the R3000 had printed them beautifully. The five faces were so natural, you might easily mistake them for the people themselves. The Pro-100, however, simply rendered them with more saturation than the R3000. Unnaturally so.
This isn't so much a fault as it is a demonstration of the difference between pigments and dyes. We would have to tone down the saturation a good deal to make a good dye print of skin tones on the Pro-100.
Canon i9900 Comparison. For a long time, the Canon i9900 was our 13x19 dye printer. It can't handle heavy media but you usually print on thin glossy and semi-gloss sheets with dyes anyway. Our favorite sunset photo was printed with the i9900.
So we printed the same image on the Pro-100 but on Luster paper.
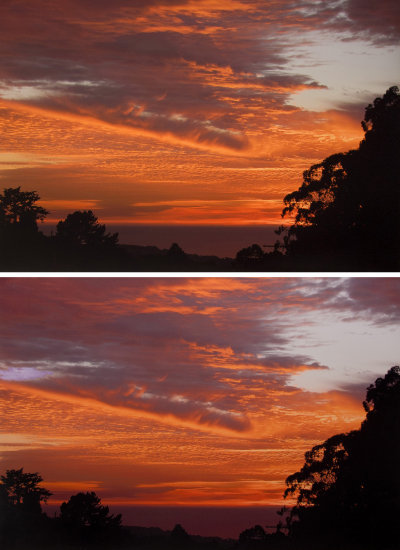
Sunset. Can you tell them apart? Canon i9900 print (quite a few years old now) is on the bottom.
The images, apart from the finish, were identical. That's a good thing because pigment printers just don't come close to capturing either the intensity of the orange sky or the deep black of the silhouetted landscape. We have an HP pigment print of the same image that is dull in comparison.
But that's what dye printers are all about.
Canon Profiles. Dyes, however, rely on encapsulation in a gel layer of the sheet to protect themselves from fading. Porous sheets (like instant-dry glossy papers and all matte papers) are the wrong medium for dyes.
Consequently, Canon provides profiles for its Photo Paper Plus Glossy&Gold, Photo Paper Pro Luster, Photo Paper Pro Platinum and Photo Paper Plus Semi-Gloss, which are all coated sheets, and its Museum Etching, Other Fine Arts papers and Matte Photo Paper uncoated sheets. If you must.
Third Party Papers. Give Ilford credit for already posting Pro-100 ICC profiles for its Galerie papers, including Smooth Pearl and Smooth Gloss in both weights. Moab hasn't been as quick.
Just for laughs, we made a 4x6 print using HP's Premium Plus glossy photo paper. For the profile, we selected Platinum Pro, telling the driver we were printing on Platinum Pro, too.
The image was taken on Twin Peaks on a sunny day. We lined up a row of relatives with the city in the background and the sun coming in strongly from the side.
Why Platinum Pro instead of the Other Photo Paper setting? Well, we didn't want the Pro-100 to do less than its best. After all, if you confess from the start that you're using Other Photo Paper, why should the printer try to exceed what it can do with its own brand?
Anyway, the print was just gorgeous. A perfect equivalent to what we'd wrestled out of the DNG image, adjusting the shadows to show a good deal more detail in the bright sun.
But note that we didn't use an instant-dry sheet (like the Kodak porous papers). Those require pigments to stand up to the light. With dyes, they would fade before you could get out of town.
We'll be testing a few Galerie sheets shortly. And by that time maybe Moab will have some profiles available. But you can see from our HP experiment that a swellable glossy sheet from a third party shouldn't be a problem.
CD Printing. In our Pro-1 review, we observed that Canon's software isn't nearly as refined as Epson's, which has been printing CD/DVD media much longer.
There are a number of layouts to select from and you can import any of your images into the layout and change the type. But the options are pretty limited, enough to aggravate anyone who's done any graphic design.
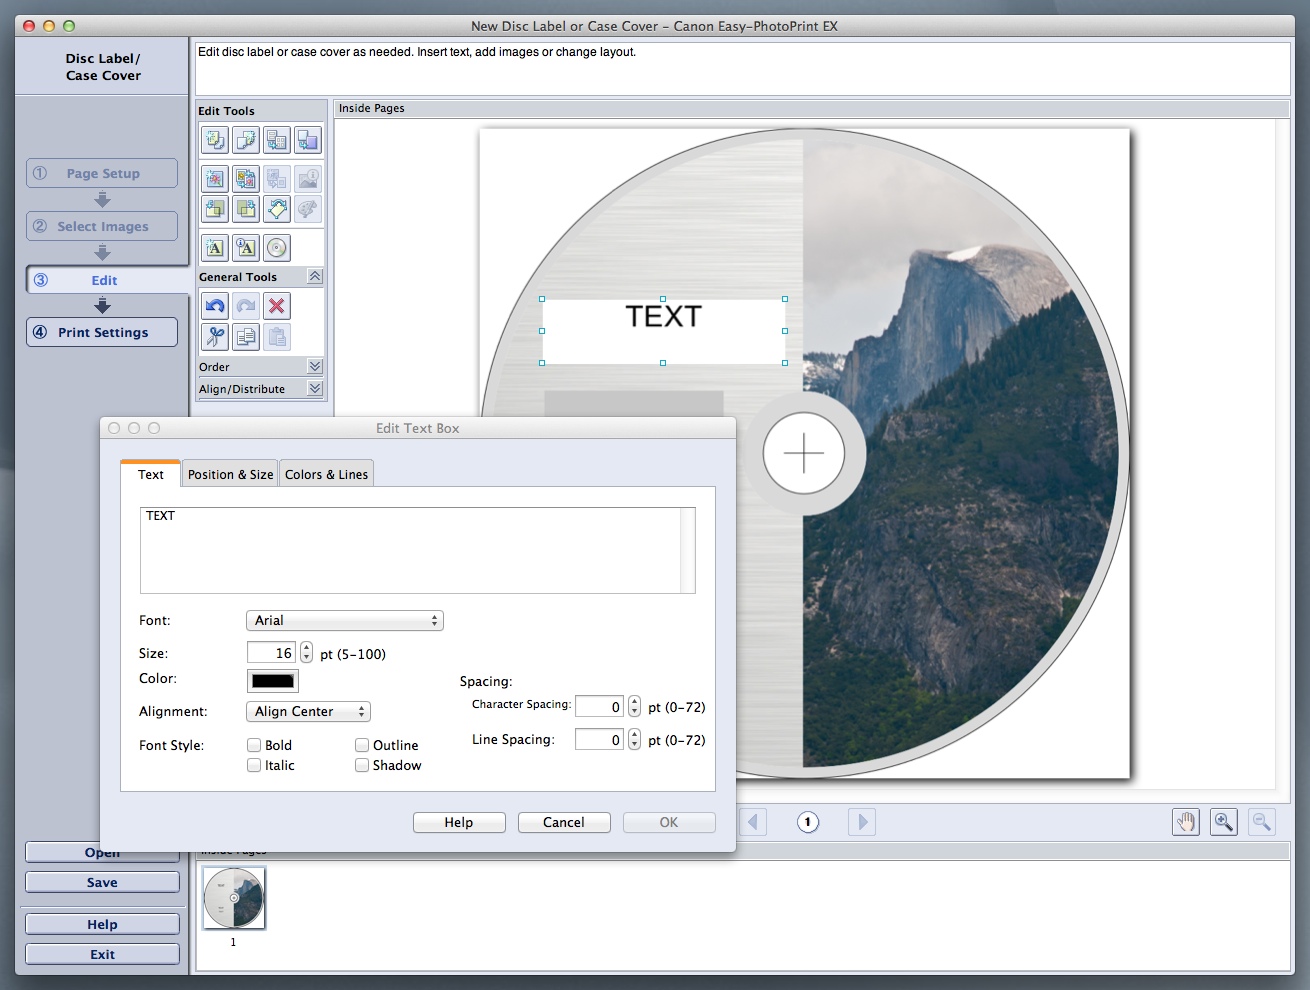
Easy-PhotoPrint. Editing the text.
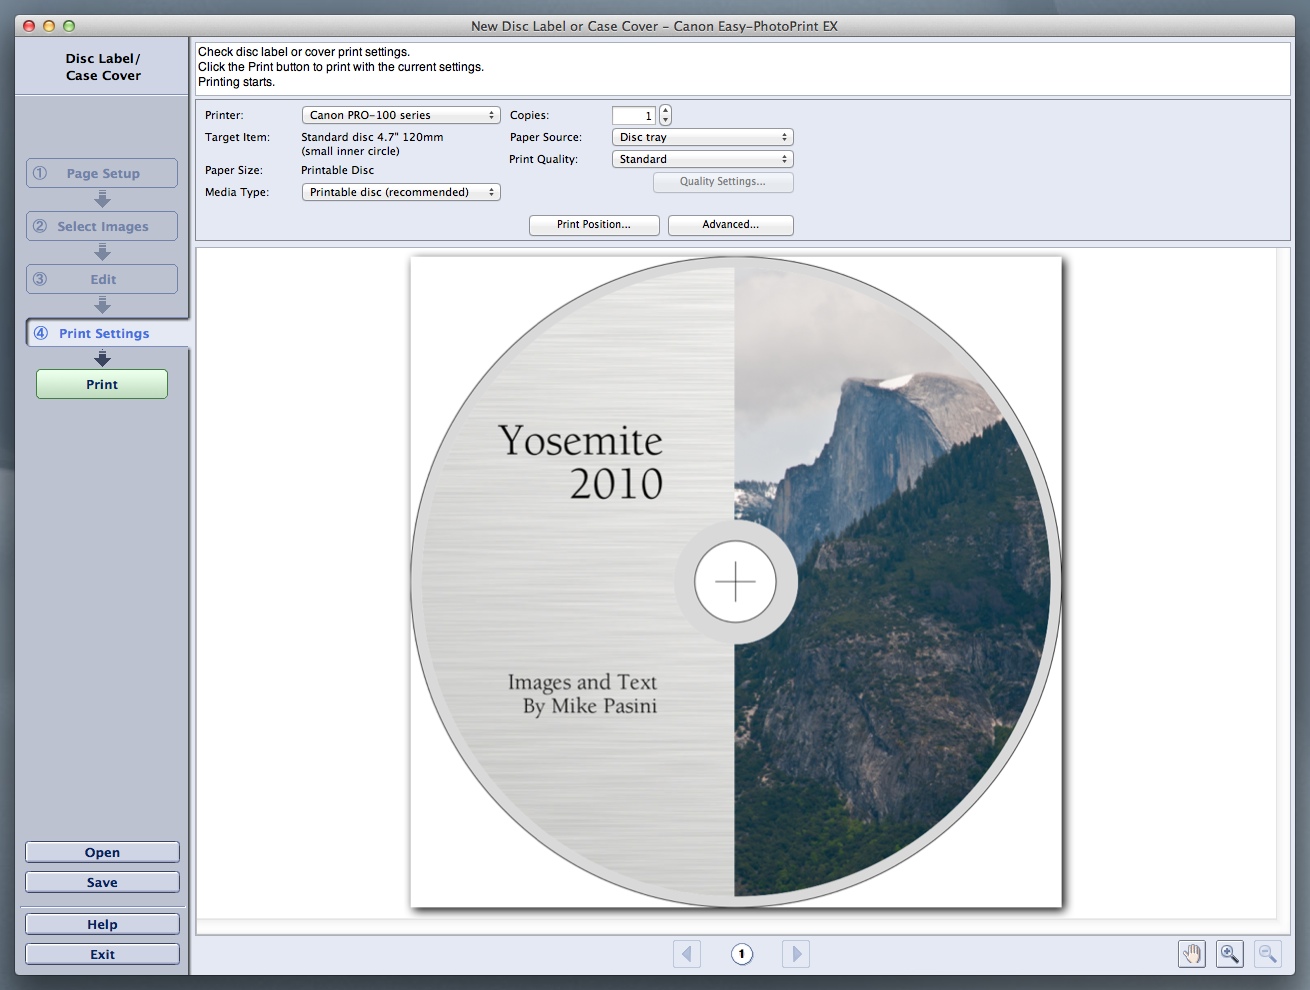
Print Settings. Found the Pro-100.
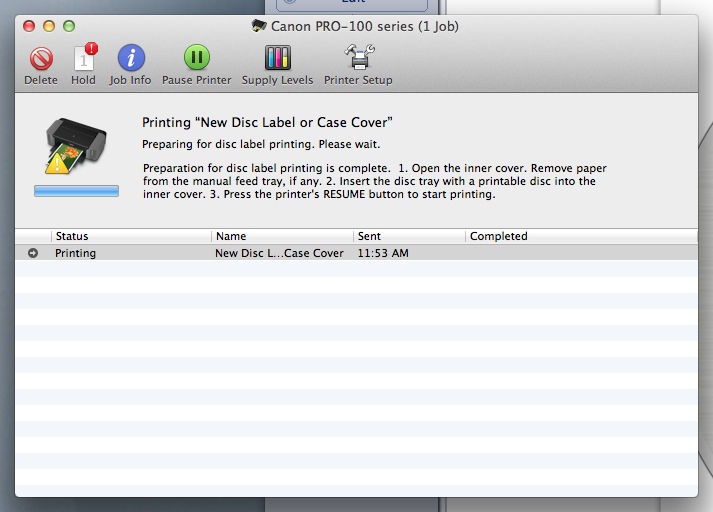
Driver Prompt. Wait for it ...
There are third-party alternatives, as Michael Steinbach of Bach Photography in Wisconsin mentioned. He recommended Discus [MW], a CD label printing application by Magic Mouse.
We tested CD printing with the included Easy-PhotoPrint EX, which took a very long time to find the Pro-100. Don't touch the printer until you've gone through Easy-PhotoPrint's routine. All the way through Print. Then you'll be switched to your printer driver display for the all-clear to load the CD tray. You'll notice that the Resume button is flashing orange when the printer is ready for that.
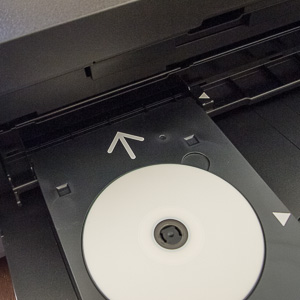
Drop a printable CD or DVD into the tray. The tray itself is loaded into the printer with big arrow pointed forward.
To load the tray into the printer (with the orange Resume button LED flashing), open the output tray drawer and find the finger opening just above the "Canon" on the front of the tray drawer to open the CD slot. Then slide the tray into the narrow opening until the two white arrows on the tray align with the two white arrows on the slot.
CD Printing |
||
Inserting a blank CD |
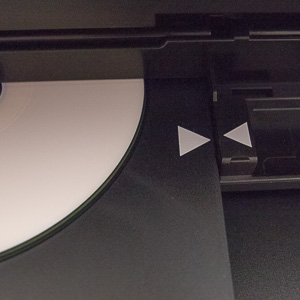
Align the marks (they're at different heights) |
|
During printing |
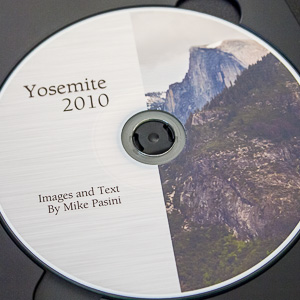
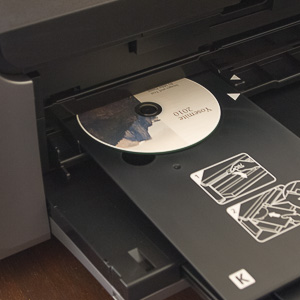
Finished product |
|
Printing was quick after that and the results were gorgeous. But they aren't waterproof. A rinse under tap water erased the image but you can buy waterproof CD/DVD products like the JVC Taiyo Yuden Watershield and the Imation Aquaguard discs.
MAINTENANCE | Back to Contents
The Pro-100 doesn't appear to require any special maintenance. The manual does mention cleaning the paper feed foller, accessible from the Rear tray, and the small "protrusions" inside the printer along the paper path using a cotton swab.
The normal caveats apply to cleaning the exterior and anything you can see in the interior (although it isn't very accessible). Turn off the power, don't use volatile chemicals and stick to a microfiber or cotton swab. At least there's no piano black finish to scratch with ordinary cleaning cloths (use a microfiber cloth on piano black).
The driver's utility function provides several routines using letter-size paper:
- Cleaning the print head, with a Deep Cleaning routine if the lighter doesn't work
- Plate cleaning
- Roller cleaning
In addition you can check the print head nozzles by printing a nozzle check pattern. If there's a problem, you run the cleaning routine above.
You can also align the print head using two sheets of plain paper.
And you can check the current ink levels.
But there doesn't appear to be any routine maintenance required.
PRICE & AVAILABILITY | Back to Contents
The Pro-100 lists for $499.99, the same as the Pro9000 Mark II, and Canon tells us they are available now.
Canon told us the Pro-100 did not officially replace the Pro9000 Mark II.
With the Pro-100, Canon has expanded its Pro printer lineup by cross-breeding the Pro-1 and the Pro9000 Mark II. From the Pro-1 we get the improved media handling and CD/DVD printing as well as a three-ink black and white printing option, although not the same inks. From the Pro9000 Mark II, we get the fast print head, the more affordable if smaller ink cartridges and dye-based inks, although not the same set.
Canon has also tossed in a replacement print dialog plug-in that keeps your eye on the ball. It's hard to get excited about alternatives here, but it's attractive and it does the job nicely.
Image quality was excellent, the dyes doing what the Pro-1 pigments just can't do. Performance was reliable without the delays of the Pro-1 priming, making it more suitable for infrequent use.
Outright prolonged applause for the Pro-100.