$20 FOR U POINT TECHNOLOGY
Snapseed Desktop Delivers

By MIKE PASINI
Editor
The Imaging Resource Digital Photography Newsletter
Review Date: March 2012
We were impressed by Nik Software's Snapseed for the iPad. Somehow the company had managed to shoehorn it's desktop image editing technology into a little tablet.
But as much fun as we have had using it on the iPad, there's one little problem that turns the whole exercise into something more like play than work.
The problem is the limitation of the tablet version on file size. It's not unique to Snapseed, it turns out. Photoshop Touch has the same problem. It's a limitation of life on a tablet.
Having found the interface of its dreams for all of its plug-in technology, though, Nik Software wisely didn't stop there. They brought the interface to the desktop -- both OS X and Windows -- and for just $19.99 through iTunes, the App Store or from Nik Software.
Magic. Roll your mouse over the image to see the kind of fun you can have.
Considering the plug-ins themselves run in the three figures, that represents quite a bargain. So we took it for a spin.
SYSTEM REQUIREMENTS | Back to Contents
System requirements are not exactly modest but recent vintage machines should be able to handle Snapseed Desktop without a problem.
General system requirements are 2-GB RAM or more and 256-MB or more of Video RAM. A GPU with OpenGL 3.0 support is recommended, although the CPU will be used if no GPU is available.
Mac requirements add OS X v10.6.8, 10.7.2 or later running on a 64-bit processor (Intel Core 2 Duo or later).
Windows requirements add Windows XP SP3, Windows Vista SP2 or Windows 7 SP1 (or later) running on an AMD or Intel processor (dual core or better recommended).
THE INTERFACE | Back to Contents
Like the tablet version, Snapseed's interface is so simple an adult could figure it out immediately. But it is a little different.
There's still the big panel for your image with a smaller panel along the left side for all the options.
But it's that sidebar that's different.
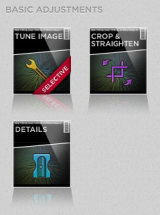
First, it's divided into Basic Adjustments and Creative Adjustments. So if you aren't being paid to be creative, you can just work with the three basic adjustments and leave the seven creative ones for the dudes who get the big bucks.
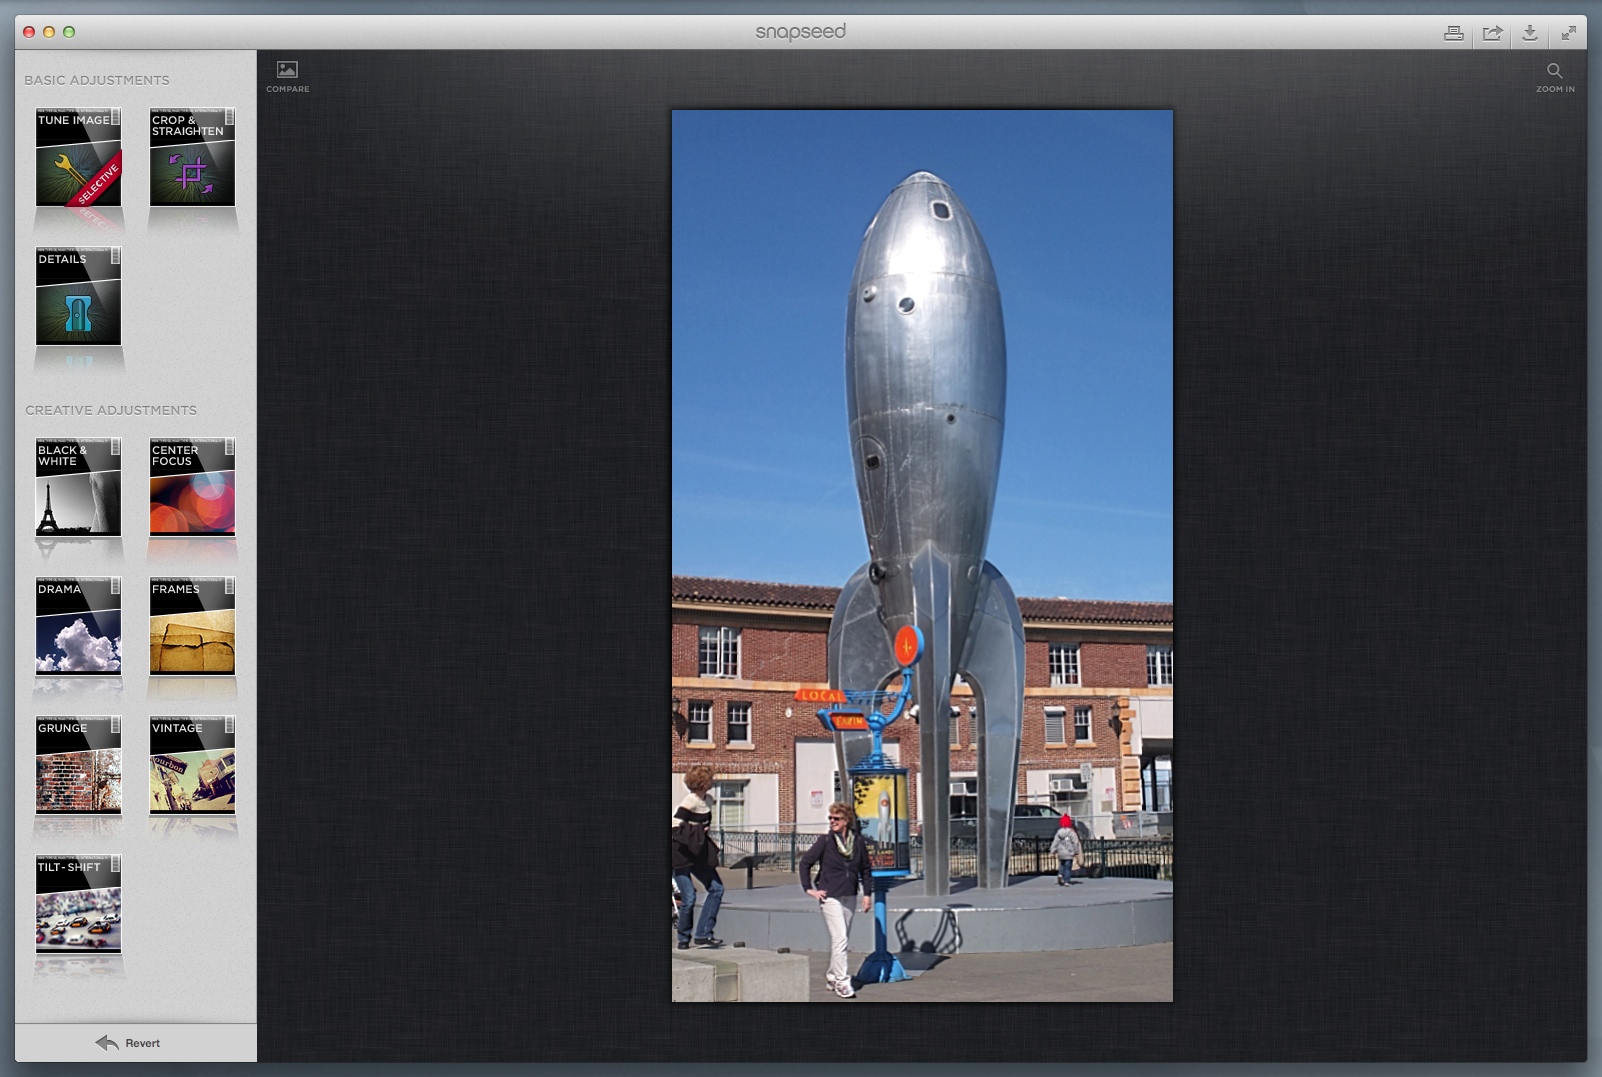
User Interface. Filters on the left, the image in the big panel.
Those basic options, though, are reorganized as well. On the iOS version, for example, Crop and Straighten are two different options. But on the Desktop version, they're just one old Crop & Straighten.
Details remains an option unto itself on the Desktop version. Tune Image, though, combines the tablet options of Automatic Auto Correct, Tune Image and Selective Adjust (renaming White Balace as Warmth).
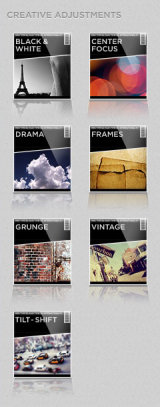
All of the Creative options on the iOS version are on the Desktop version, too. The very same seven: Black & White, Center Focus, Drama, Frames, Grunge, Vintage and Tilt-Shift.
Having a little more screen space and maybe something to point and click with besides a finger gives the Desktop version a little more freedom with the interface. It doesn't have to fold up the tool panel, for example, so it can keep Cancel and Apply at the bottom when you're in a tool and Revert when you're not.
Compare does look a little lost in the top left corner of the image panel, but it makes sense if you don't think about it too long. Zoom is in the top right corner, a concession to the lack of pinch and zoom gestures.
After using the interface a while, we liked how it operated and rather wish the iOS version would more closely mirror the tool layout. But it's hardly worth mentioning.
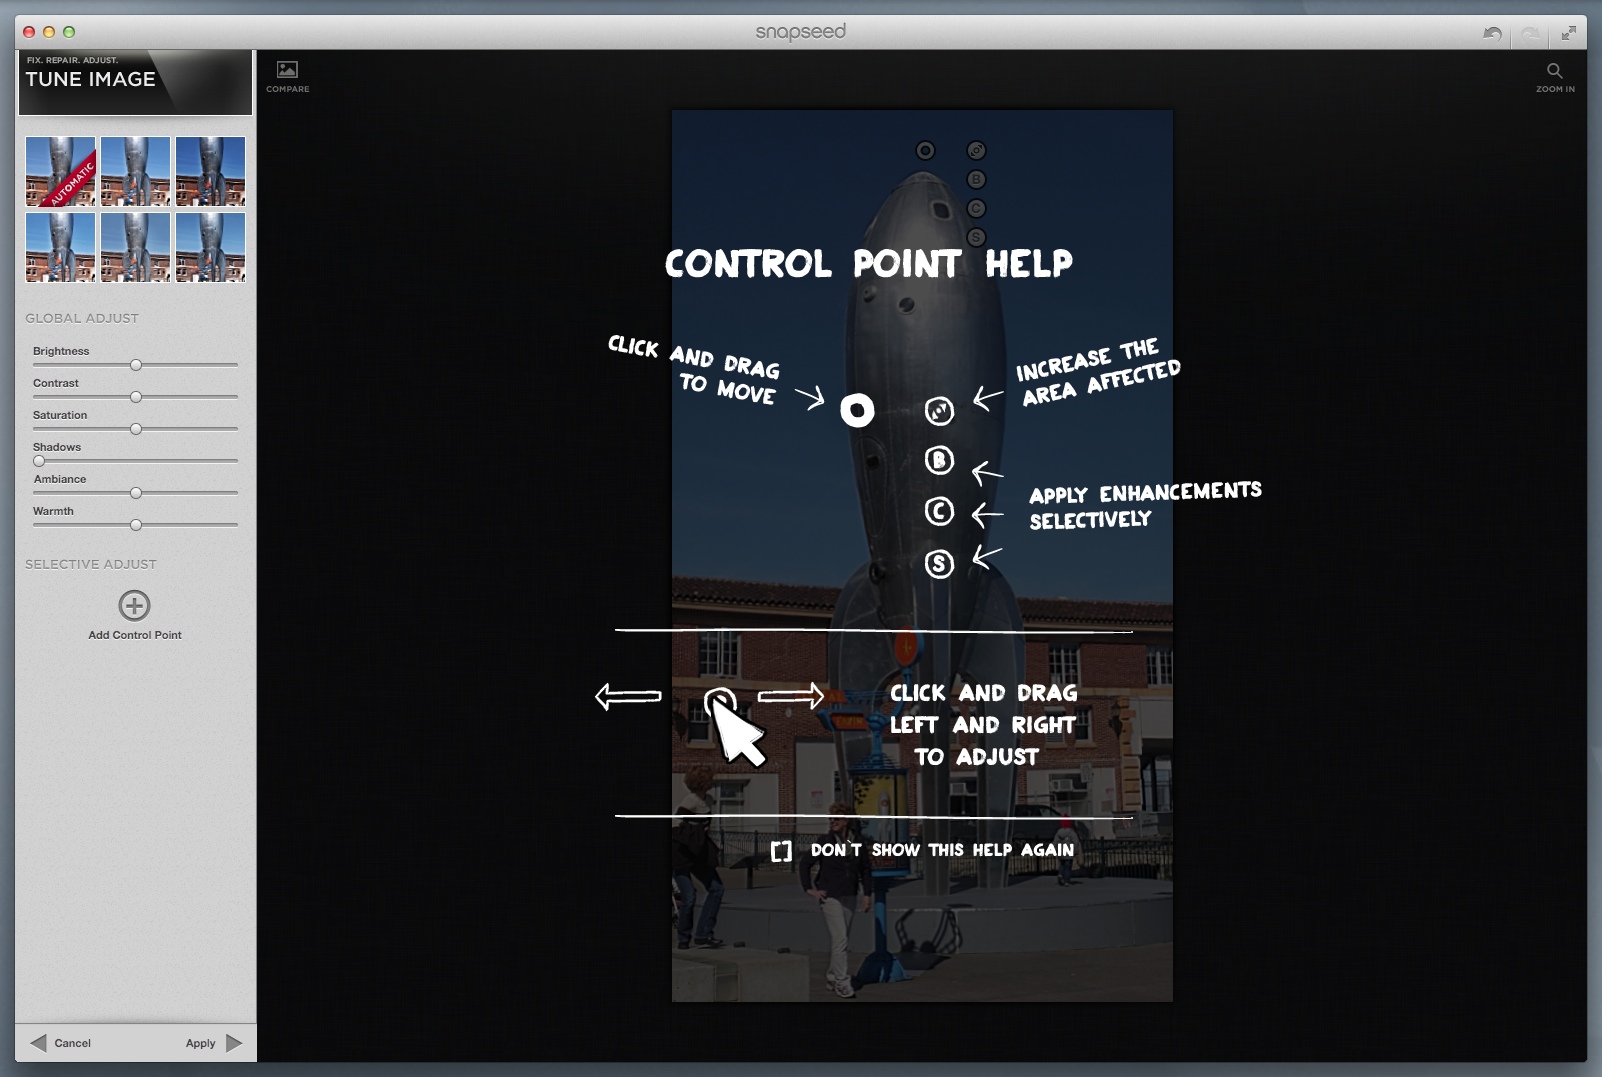
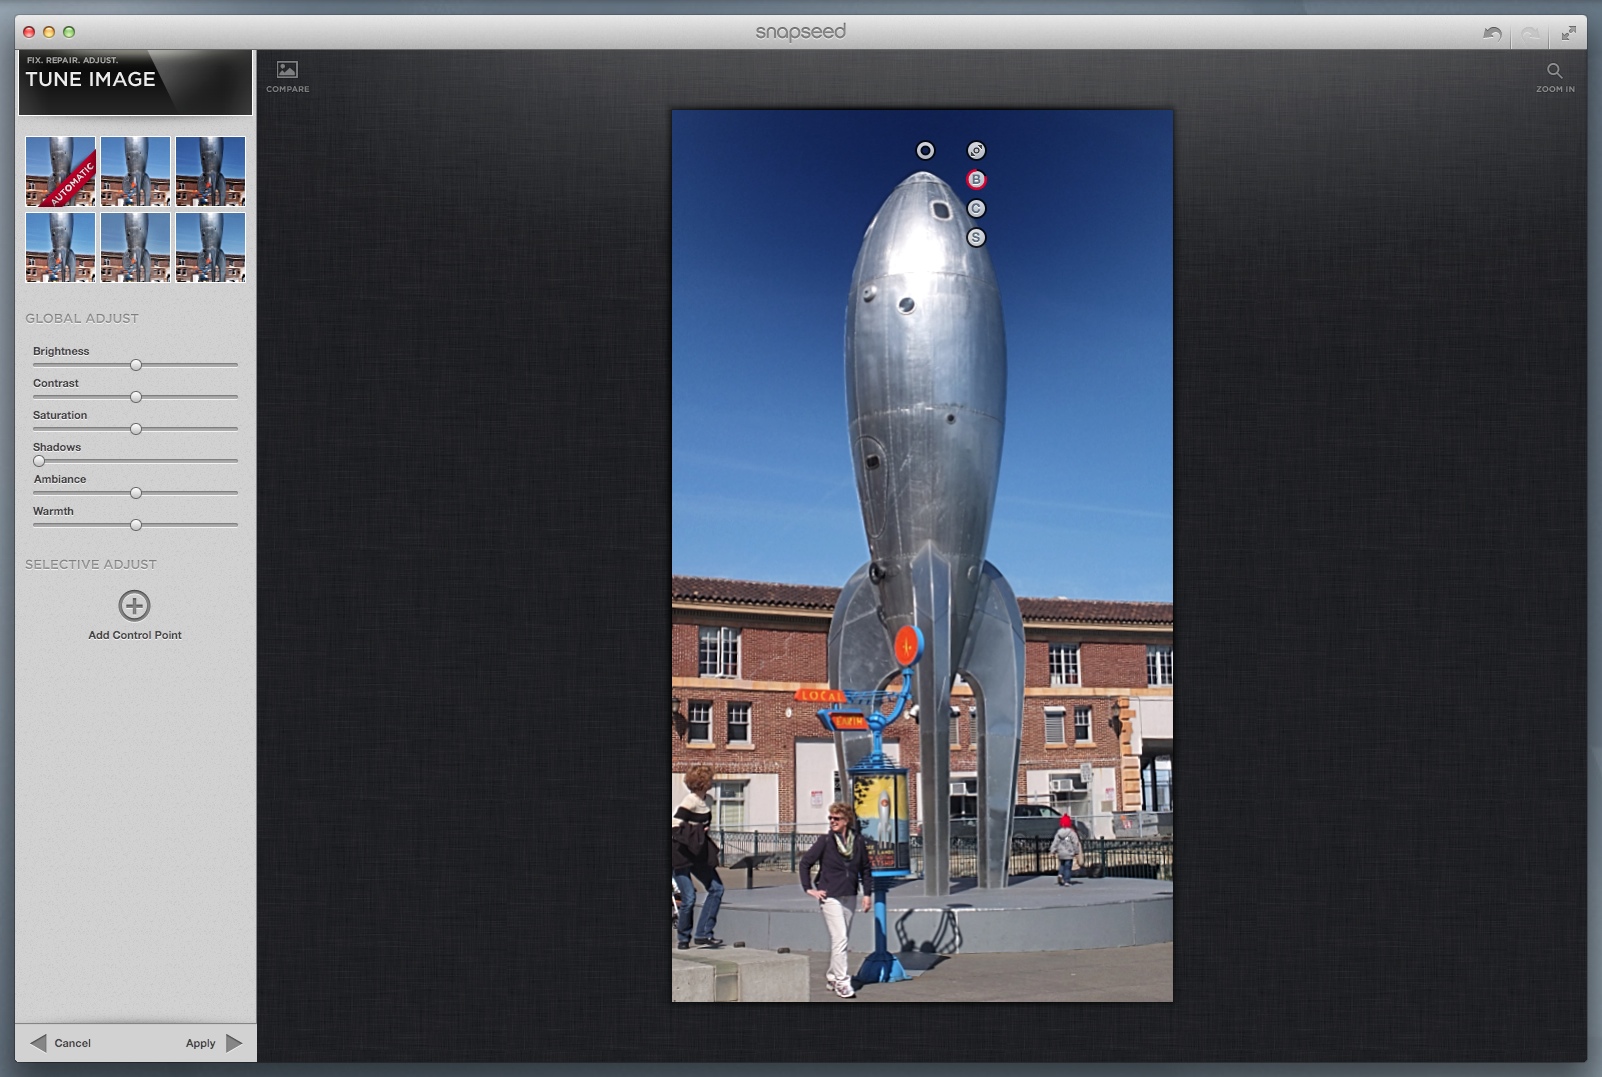
Control Points. The Help overlay (top) explains everything. Bottom image shows U Point technology at work to darken the sky.
EDITING AN IMAGE | Back to Contents
On the Desktop, editing in Snapseed is pretty much the way you edit in any image editor. The mouse does the trick. No gestures necessary. In fact, no gestures supported (you can't spread your fingers on the trackpad, for example, to zoom an image).
Unlike other editing programs, however, Snapseed includes U Point technology.
You can add a blue Control Point with an initial representing its effect (S for Saturation, say) by clicking the Add Control Point button (where you see one) and then the area of the image you want to adjust. You can drag the Control Point to any spot on the image. You can also drag left or right on a selected Control Point to change what it affects (Size, Brightness, Contrast, Saturation). A red mask and a blue circle indicate its influence.
The border of the blue Control Point indicates the value of the setting with red for negative values on the left and green for positive on the right creeping down from the top.
All these edits happen in real time. There's no progress bar to watch. Move your finger and you're making the change.
To see the original image again, hold down the mouse button over the Compare button.
Click the Cancel or Apply button to go back or keep your changes. You can always Revert to the original image when you're done.
Then you just go on to the next effect you'd like to add or select the Share menu option to email, print or send to Flickr or Facebook. Another menu option lets you export to iPhoto.
THE FILTERS | Back to Contents
The Basic filters include:
- Tune Image. Provides five options (plus Automatic) for fine tuning your image with sliders for Brightness, Contrast, Saturation, Shadows, Ambiance (a contrast enhancement to balance backlit photos or very flat photos) and Warmth (aka White Balance). You can also use U Point technology to identify areas of the image whose Brightness, Contrast or Saturation you want the filter affect (which is under the Selective Adjust filter in the iOS version).
- Crop & Straighten. Provides a set of Aspect Ratios (Original, Free, 16:9, 5:4, 4:3, 3:2, 1:1 and DIN for A4/A3/A2/etc. with a Flip button to swap height and width) plus Rotate Left and Rotate Right buttons. An Angle slider straightens the image (or you can grab a corner). A moderately fine grid is displayed over the image to help with alignment. This filter combines several on the iOS version.
- Details. Or sharpening by any other name, with Sharpness and Structure sliders. Structure enhances texture while avoiding the edges of objects. Six presets (Neutral, Sharp, Sharper, Structure, Structure+, Detailed). No Loupe button.
The Creative filters include:
- Black & White. Pick one of six Styles to apply to the image and adjust the Brightness, Contrast or Grain with a slider. Styles affect a look based on different brightness, contrast and grain settings. Unlike the iOS version, you can apply one of several color filters, too. Neutral, red, orange, yellow and green are available.
- Center Focus. Styles include Blur, Vignette, Old Lens, Foggy, Dark and Bright, a change from the iOS version. Sliders for Blur and Vignette are also available, as is a button to make the effect Weak or Strong.
- Drama. Offers two of each Style: Normal, Bright and Dark. Sliders for Filter Strength, Brightness (which is not available on the iOS version) and Saturation are also available. Nik Software says this is similar to one-shot HDR effects, enhancing textures and mimicking an over-processed effect.
- Frames. Provides 10 Styles (up from 8) for frames but no Properties option to randomize the texture of the frame. Instead, sliders are available for Size, Spread and Grunge (rather than Frame Width and Frame Offset).
- Grunge. Adds a random texture to the image while changing its colors and adding a vignette and center focus effect. There are five preset textures and six styles (Blyth, Watershed, Carkeek, May Creek, Schmitz and Colman). Sliders for Texture Strength, Saturation, Brightness, Contrast and Style are also available. That's a little different from the iOS version, too.
- Vintage. Changes your digital photo into something that resembles "a vintage color photograph" using nine Styles with sliders for Texture Strength, Saturation, Brightness, Vignette (not Center Size) and Style Strength. There are six presets (Miles, Dizzy, Charlie, Ella, Dexter, Wes) as well.
- Tilt-Shift. A button sets either a Linear band or spreading Elliptical focus effect. Sliders for Transition, Blur, Brightness, Contrast and Saturation are available. Move the Control Point to the spot you want focused sharply and then set the sliders to affect how much blur there is and how far it extends.
It makes sense to make Basic adjustments before playing with Creative ones. And if you want your frame to match the effect, to use Frames before other Creative filters. But otherwise, you're free to fool around.
PRINTING, ETC. | Back to Contents
Snapseed Desktop taps into your familiar printing dialog for output. That may not seem remarkable, but printing on iOS is not a given, so this is a welcome feature in the Desktop version.

Printing. Just like in any other desktop app.
We complained about not knowing the filter name when editing on the iOS version, but the Desktop version doesn't have that problem. It's right at the top of the tool panel where it should be.
Raw file support was spotty. We could open Canon CRWs, Nikon NEFs and Olympus ORFs but not Fujifilm RAFs.
Finally, we were pleased to see Exif exposure data was saved with edited files (even though the image was no longer under the constraints of the original exposure).
It's a little disconcerting that the basic filters are so different on the Desktop version from the tablet version. But they are two different planets after all. We won't remember which has what but we'll always know if we want to crop and image or straighten it. And it's easy to find the filter you need, which is what really matters.
The great thing about Snapseed Desktop is, well, two things. The most important is having the power of Nik Software's image editing technology at your fingertips. And the second is that most reasonable price. What a gift!