CHROMALUXE, IMAGE WIZARDS
Everything's Aluminum These Days
-- Even Photo Prints!
By MIKE PASINI
Editor
The Imaging Resource Digital Photography Newsletter
Review Date: August 2012
We've worried about a lot of things happening to our prints in the decades we've been making them. Browning, fading, scratches, tears, folds. But we've never worried about getting dents in them. Until now.
Recently we had a metal print made from one of our favorite images. As a favorite image, we of course had already made a luscious print of it. And we were curious to see how the new breed of mail-order metal print would compare.
So we had one made. And now we're worried about dents, too.
There are a few options for putting your image on metal.
DigitalArtStudio, for example, shows how to coat a sheet of ordinary aluminum flashing to make it printable in a wide format printer. It's an interesting technique for fine art printing, but far more work than we had in mind.
Instead, we were half surprised to find dye sublimation printing making a stand in this field. Half surprised because we knew from our days printing on Fargo and Hi-Ti dye sub printers that it's the perfect method of transferring an image to an unusual surface. Like a T-shirt or a coffee mug.
The surprising part was that dye sub was making a comeback. It's dye-based after all, and among the more fugitive ways to imprint something, without even the protection of a paper's swellable gel coating.
As a novelty item like a T-shirt or a coffee mug that wouldn't be an issue. But when it comes to a more permanent installation like a metal print, we start to worry.
THE PROCESS | Back to Contents
The dye sub process is pretty simple.
In the version of this game that we've played, your image is printed in reverse without a coating layer to a transfer sheet (a paper print) by heating a special dye impregnated into a ribbon to about 400 degrees Fahrenheit.
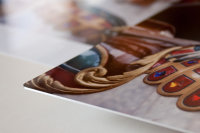
High Gloss. The high gloss finish on a white polymer presents almost a mirror-like surface. Compare to the glossy print in the background.
At that temperature, the dyes go from a solid to a gas without becoming liquid. They migrate into the transfer sheet. That's the sublimation process
These days, you can also print these inks to a transfer sheet using an ordinary inkjet printer outfitted with special dye sublimation inks.
Either way, you next apply the sheet with pressure to a specially-coated object (although T-shirts and mouse pads don't require coating). That package is then heated again to migrate the dyes from the transfer sheet to the object.
Aluminum panels require a special coating to accept the gaseous dyes. The porous polymer coating opens slightly at high temperature and closes back down when cooled, capturing the dyes.
In fact, the polymer can be either white or clear and you can have your choice of finishes, too. Those include high gloss or satin on white coatings and gloss or matte on clear coatings.
That coating requirement, if not the heating one, is what makes doing this at home a bit difficult. Fortunately, there are plenty of photofinishers who can handle it for you.
Compared to a paper print from a custom lab, a metal print is expensive. While a 4x6 might run $11, an 8x10 is $20, an 11x14 $42 and a 16x20 is $65 at the nearest lab to us that does them. This particular lab uses Chromaluxe products, which are used by a number of labs internationally.
There are extra charges for mounting blocks (which you'll apply to the back), rounded corners ($2), drilling and shipping options. And you can also order different die-cut shapes from Chromaluxe labs.
But we also priced a 16x20 (their minimum) at $129.52 from Image Wizards, which has their own AluminArte process. And there are other labs as well.
So what do you get for your money? And what about longevity?
To find out, we emailed an image of a carousel horse to Chromaluxe in Louisville, Kentucky to be printed on an 8x10 panel with a high gloss finish on white.
The specs were pretty straightforward. The color space had to be sRGB, the resolution had to be 300 dpi and the size 8x10.
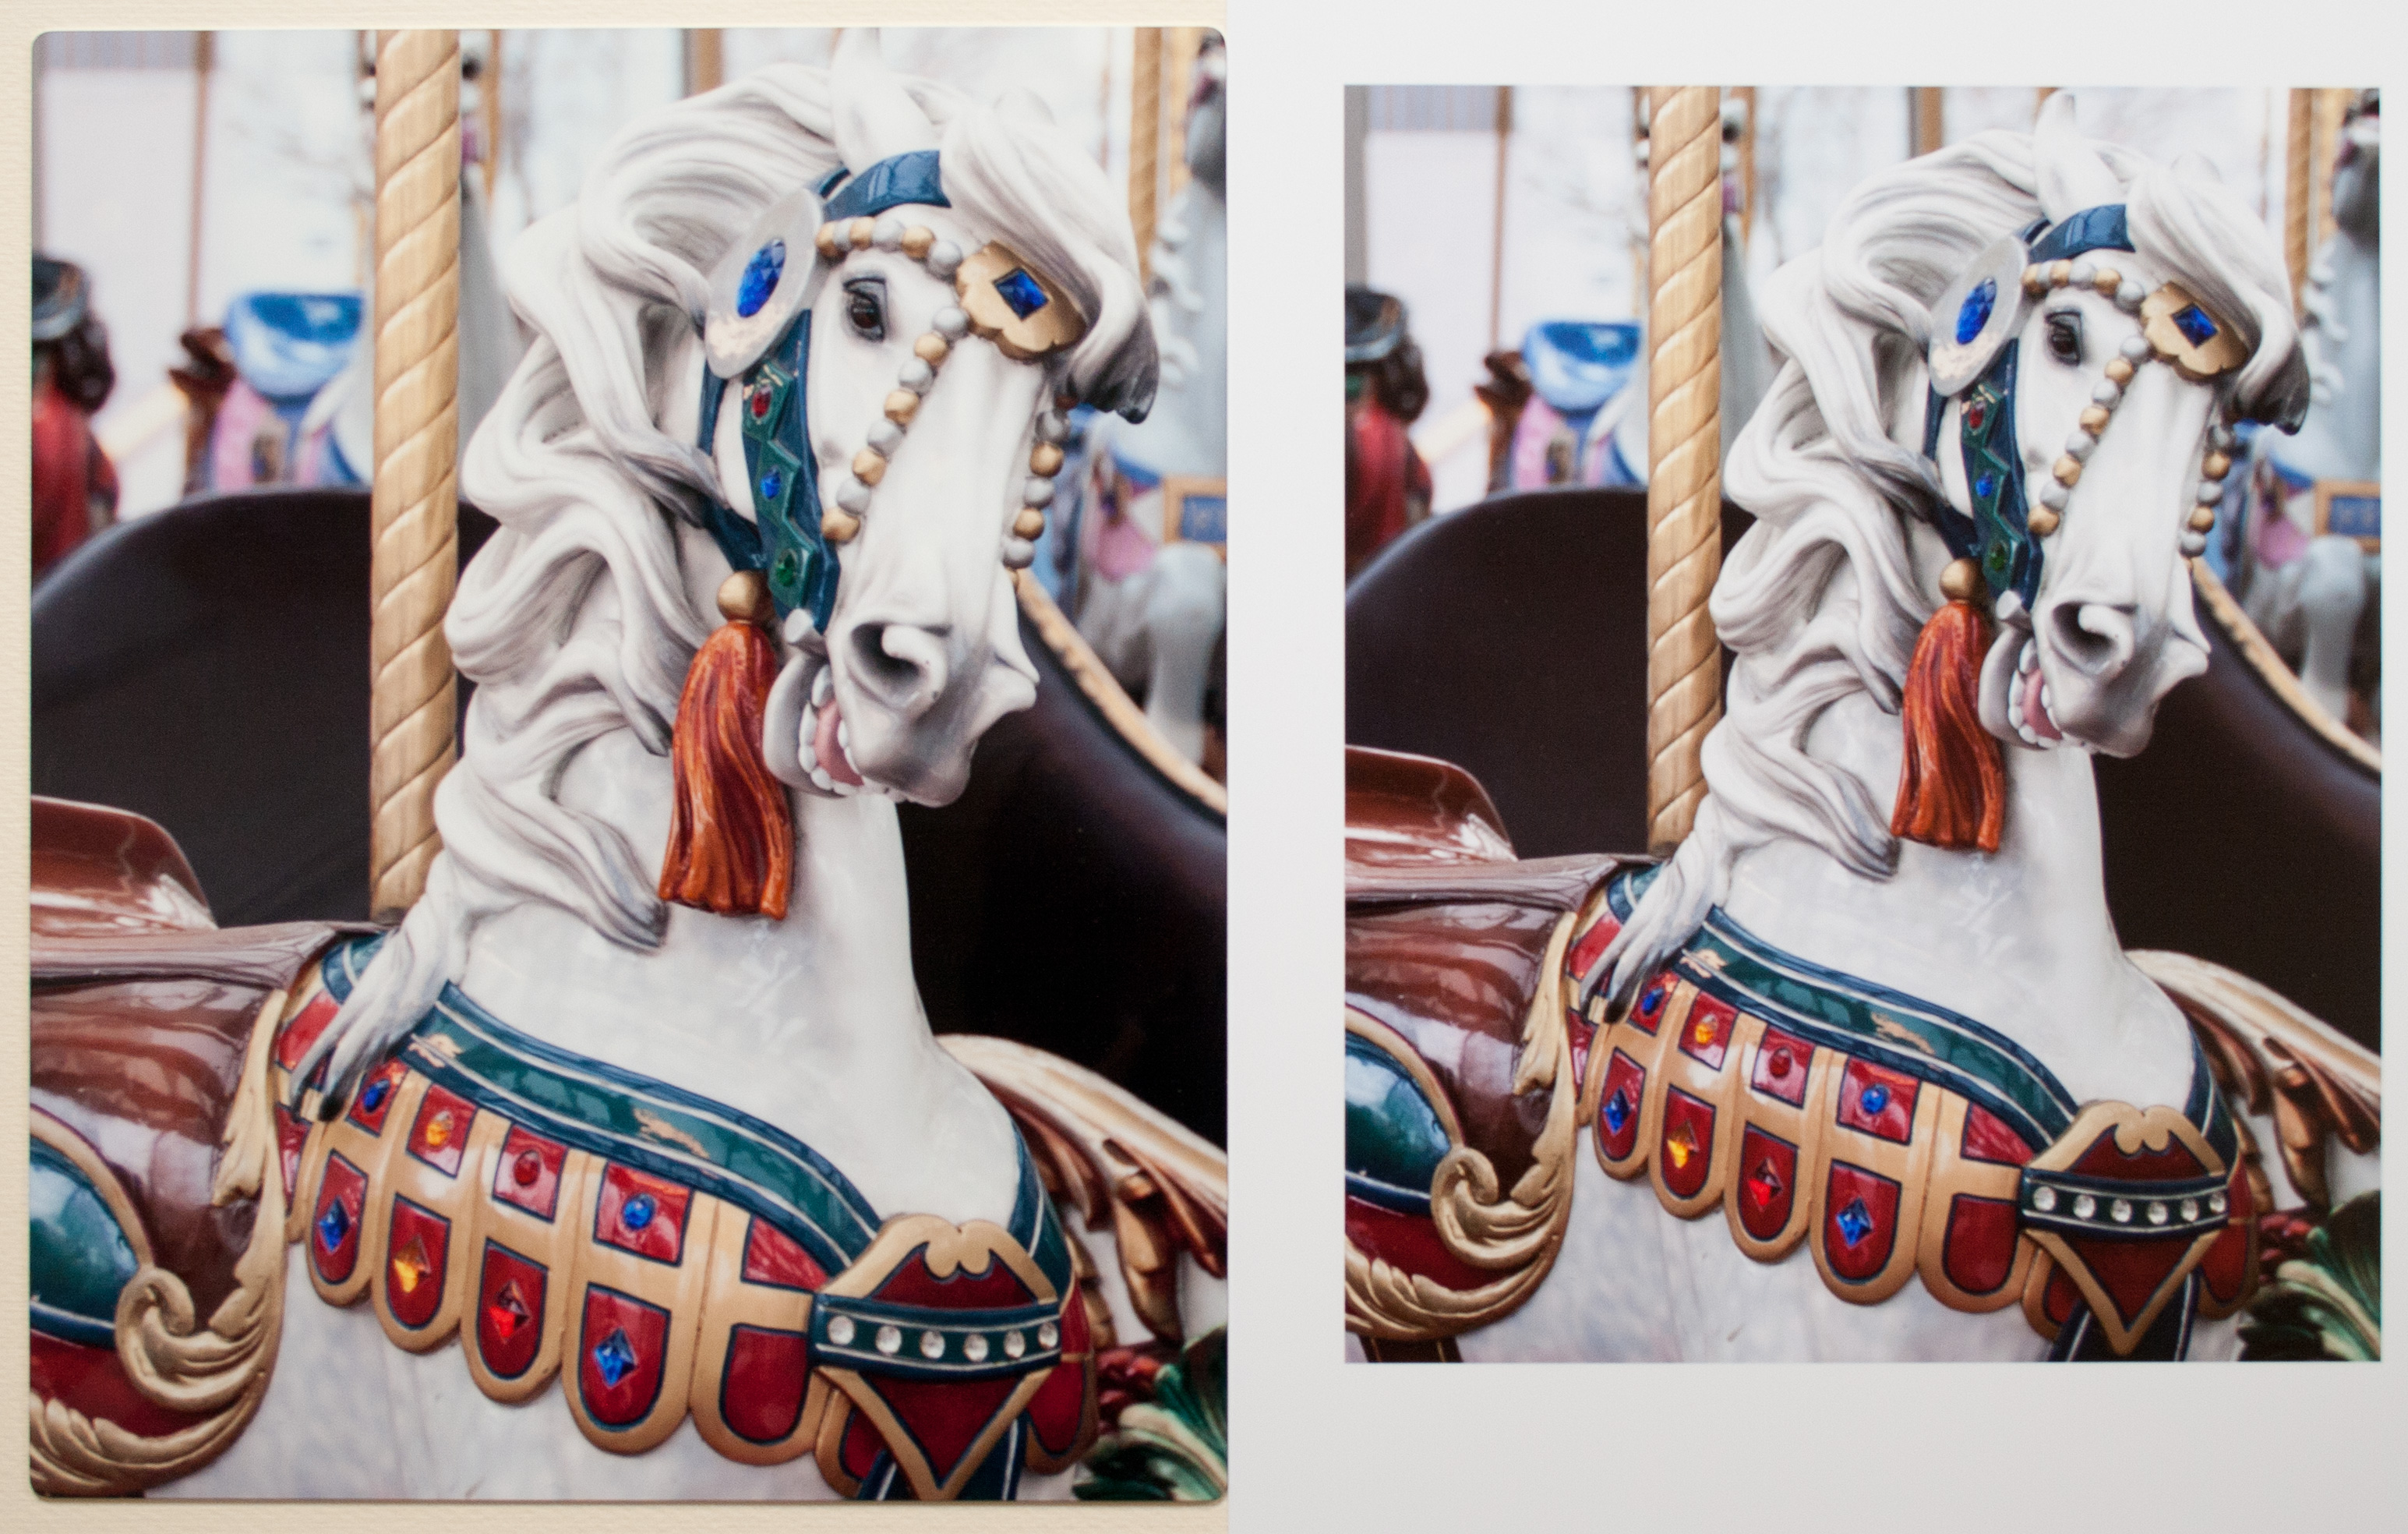
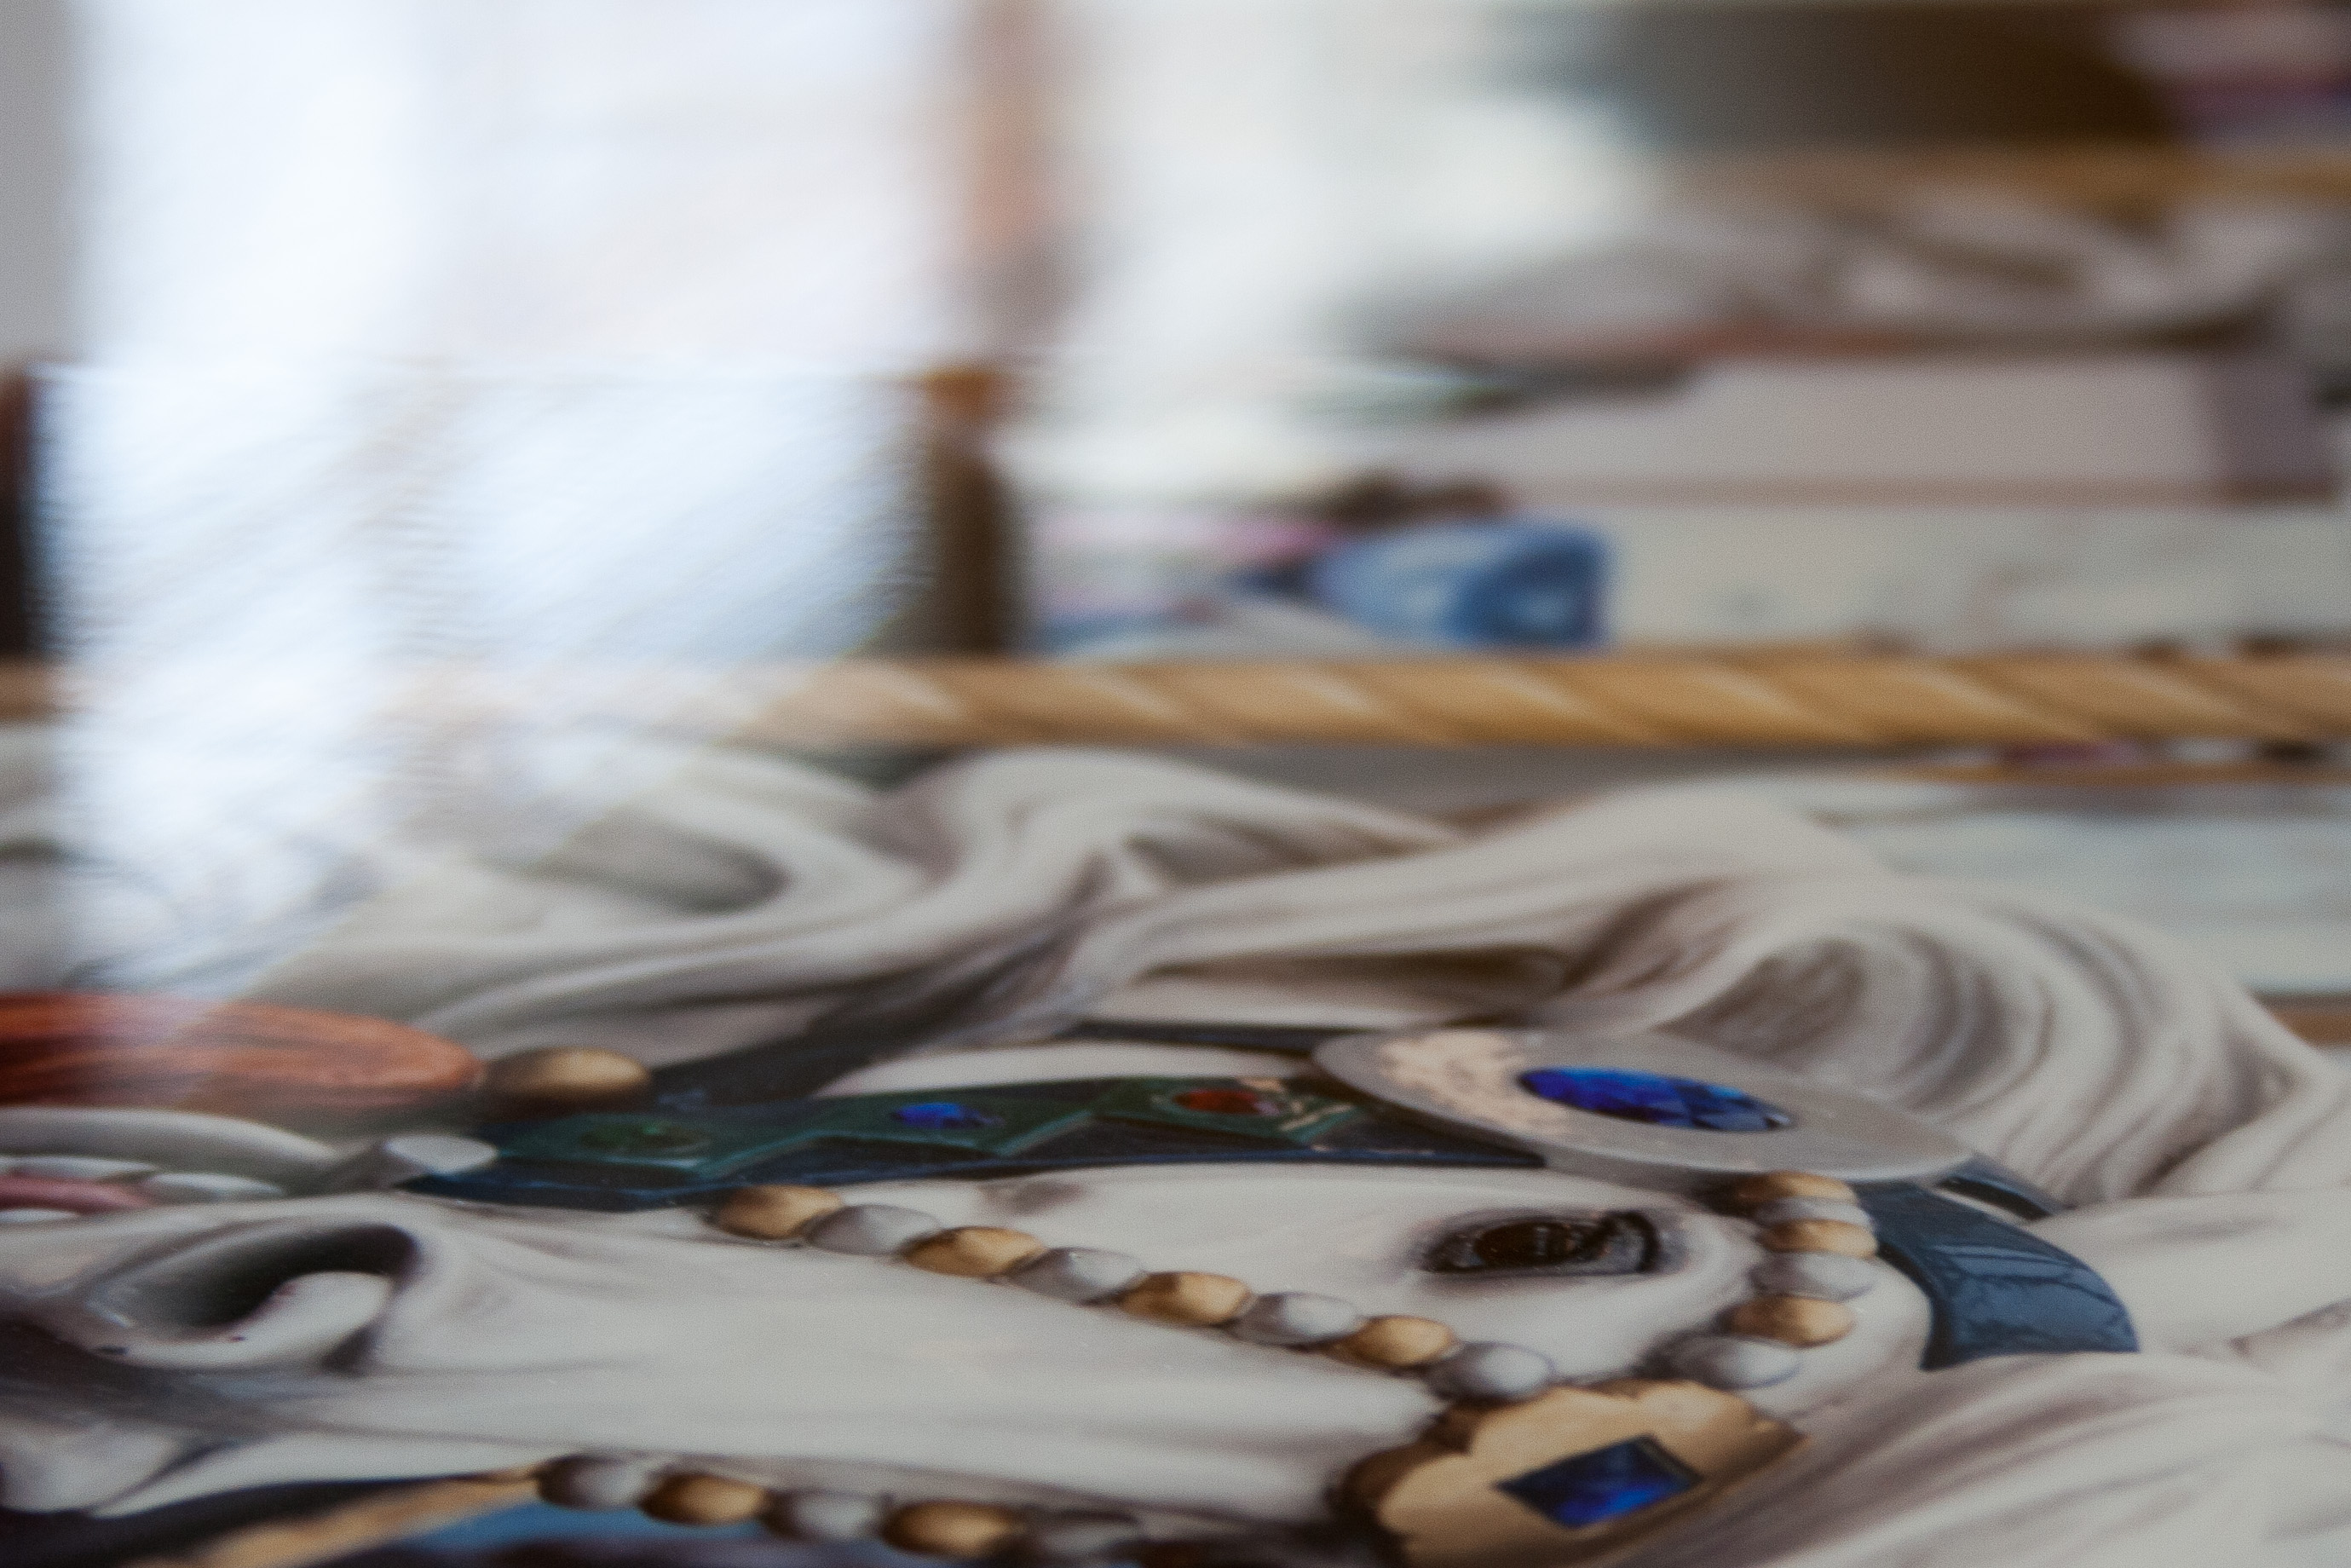
Metal to Paper. The metal print (left) is cropped to bleed apparently. Detail is sharp and colors otherwise very close.
The limited sRGB color space requirement bothered us a little. For our finest images, we work in Adobe RGB. But sRGB is the default capture color mode digicams use these days, so it's a safe choice. Fortunately, though, Image Wizards accepts Adobe RGB files.
It was no trouble to convert our colorful image to sRGB, set the resolution to 300-dpi and crop to an 8x10. We saved the JPEG and emailed it off.

Color Cast. The metal plate (left) is a bit warmer than the paper print.
A few days later our 8x10 metal print arrived in a corrugated box wrapped in a foam envelope. A small mounting stand was inserted behind the panel in the same envelope, falling out as we removed the print. That surprised us and might have led to some inadvertent damage, so beware.
The metal print itself is stiff, using a .045-inch thick sheet of aluminum.
We were immediately surprised by how well the metal print matched our Epson R3000 pigment glossy paper print. Much is made of the vibrancy of metal prints but we didn't really notice, even though we were comparing dyes to pigments. Epson's UltraChrome K3 pigments, in this case.
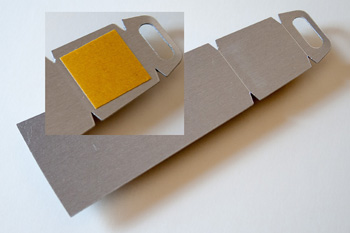
Small Stand. Inset shows adhesive pad on the back side. Note the scores on the larger image to help bend the stand and hanger.
The metal print was a bit more yellow, though.
Of more concern was that about an eighth inch of the image was cropped all the way around. So if your crop is important, leave about that much extra image to go borderless.
There is, apparently, no need to put a metal print behind glass, although some labs will frame them for you. A special UV-resistant coating makes them "scratch resistant" and protects them from the elements (including water). Direct sun is not recommended, of course.
Image Wizards claims their AluminArte prints have an image life of 50 years, with test results available from the Rochester Institute of Technology. Chromaluxe claims "your images will last for generations without warping or yellowing with age."
Chromaluxe has also published a video designed to amuse if not reassure you:
That's much shorter than a typical dye or pigment based paper print but a good deal longer than the dye sublimation prints we used to make.
Our print came with a small aluminum stand with a slot on top and scored both above and below a small adhesive square to make it easy to bend. Chromaluxe recommends letting the adhesive cure 24 hours after you stick the stand on. Pretty rudimentary but functional. There are other options, like a block to offset the panel from the wall. Plastic bumpers in the corners are not a bad idea either.
The easel is our least favorite approach. These are metal prints after all and the metal isn't edged in any protective material to avoid scratching your heirloom IKEA furniture.
But then, how long is that adhesive going to hold the metal print on your wall before it lets go and your print gouges a nice divot in your hardwood floor?
Still, that floating mount would be our preference. As long as it hangs up there, it would hang up there very impressively.
Image Wizards seems to be a little more comprehensive about mounting, offering either a wire attached to an anodized aluminum frame or its security mount system, which locks the image onto the wall via brackets on the top and locking bolts along the bottom of the print. A float mount is also available.
MAINTENANCE | Back to Contents
With the print exposed to the air and malicious backpacks swinging around the room, you might wonder what you can do to care for them.

Thickness. The .045-inch thick aluminum plate is the least of your worries when it comes to maintenance.
The scratch-resistant coating is just that: resistant. You can indeed scratch the surface. But then, you can scratch those shiny piano black plastic finishes on today's printers with nothing more than a cotton cleaning cloth.
Image Wizards recommends cleaning their metal prints with "a microfiber towel for the best results along with isopropyl alcohol or Meguiar's Cleaner Wax." We've also heard of using Windex to clean them, but we wouldn't dare.
Our own recommendation is not to come any closer than you can get with a can of compressed air. Take some painter's tape and mark off the area on the floor around each hung image as if some very sophisticated museum-like electronic surveillance were employed in that area. And put a non-metallic warning sign up somewhere, too. You can't be too careful.
Visitors to our bunker liked the metal print very much. It's a little as if the paper print is a Toyota and the metal print a Lexus. It just seems so much nicer.
We're not sure if the warmer tint was intentional or not. As a portrait photographer once confided to us, a little warmth never hurts. It wasn't accurate but we wouldn't make much of that since it didn't come from a lab. Same point about the crop. Worth keeping in mind when you're working with your lab. Easy to make too much of in this manufacturer-supplied test case.
Still it's a nice product. And quite affordable if more expensive than paper. But you expect a Lexus to cost more than a Toyota.