Nick’s Photography Tips: 13 tips for photographing snow
posted Saturday, December 27, 2014 at 10:49 AM EDT

[Editor's note: This piece is a few years old now, but the tips are timeless. Snow season is definitely upon us here in the northern hemisphere, so help yourself to some tried and true snow photography tips, grab your gear and get our there in it! And, here's to a safe and Happy New Year from your trusty review team here at IR!]
If there were only one country in the world that had rain, wind, clouds, or fall color it would have the number one tourist numbers in the world. But the marque event would be snow; there’s nothing like it. A brown, gray world becomes gleaming white in a matter of hours. Miraculous! No wonder it’s a photographers dream come true. It is not without, however, things to consider.
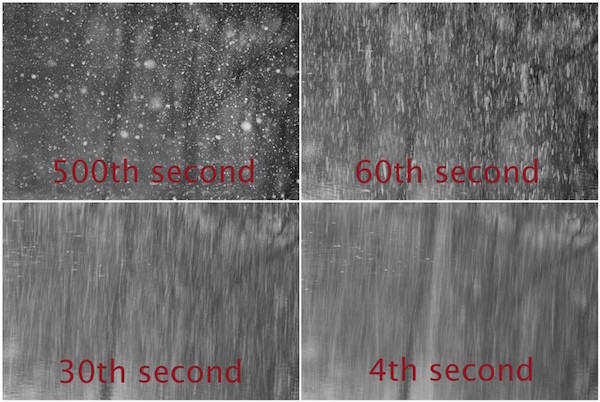
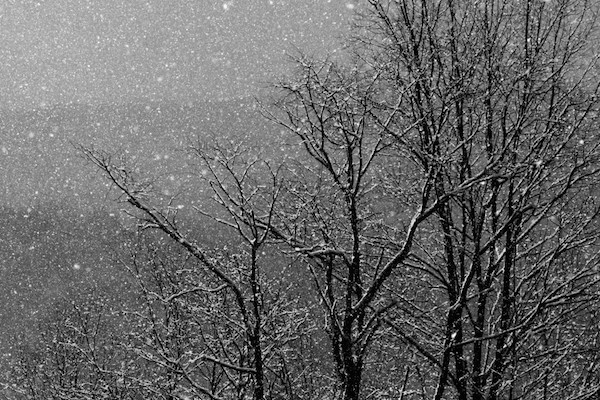
1. Use a relatively fast shutter speed for falling snow. If you really want those big juicy snowflakes to show up they need to be frozen – no pun intended – with a relatively fast shutter speed. 1/250th of a second is a good place to start.
Falling snow is moving faster than you think and you need to use the appropriate shutter speed if you want to capture those beautiful flakes as sharp white specks. If the shutter speed is too long the snow will blur itself into foggy streaks. (See more about photographing falling snow here.)
2. Your odds of success are probably much greater when it’s a cloudy snow day than a bright sunny snow day. Things can get contrasty and harsh and difficult to expose for on a bright snowy day.
3. Exposing for snow is counter-intuitive. You need to OVEREXPOSE for snow. (How is that possible? It’s so bright!) Light meters want to make everything medium bright and you want the snow in your pictures to be beautiful white. If you’re an automatic exposure, you need to brighten up the exposure using your exposure compensation button. You probably want to increase the exposure – that’s a plus on the scale – about 1/1/2 or two f-stops. (Don’t worry, you are not alone.—this makes no sense to many amateur photographers.)

4. Wearing the right gloves or mittens is important for anyone taking pictures outside in the wintertime. The mittens with removable fingertips to allow your fingers to adjust your settings are the perfect solution. But at the very least, use gloves and mittens that are easy to take off and on so you can fuss with the buttons. Yes, it’s annoying. Do your best to get your settings right before you get outside so you don’t have to freeze your fingertips.
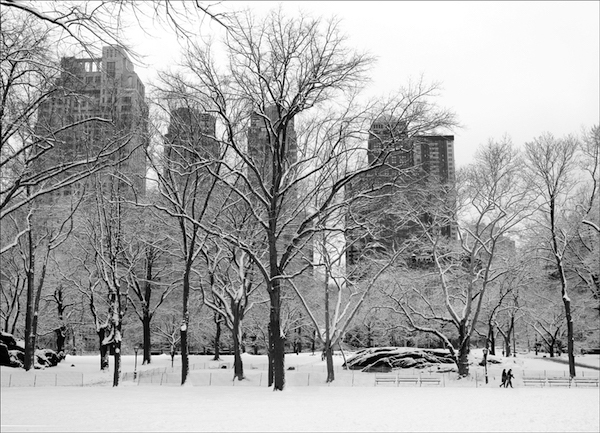
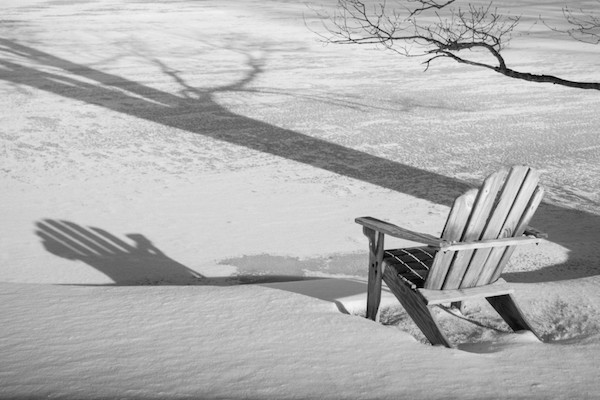
5. Snow is gorgeous in black and white. There’s often little to be gained by snow pictures in color.
On the other hand…
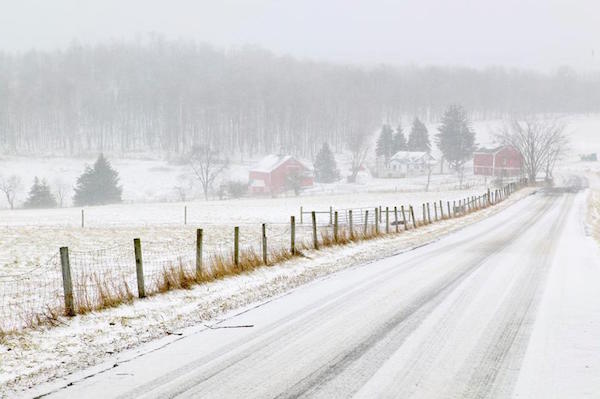
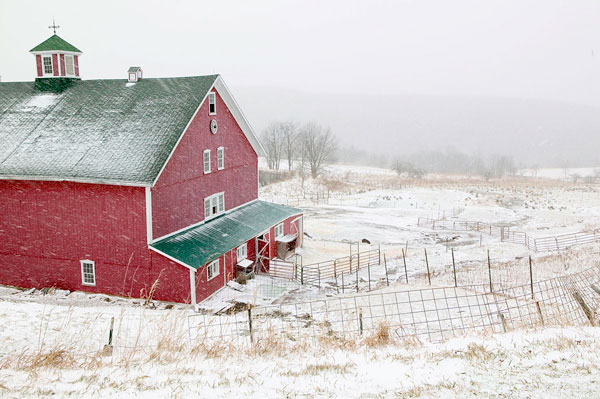
6. Something red in a snow scene is gorgeous, too. Think Courier and Ives here.
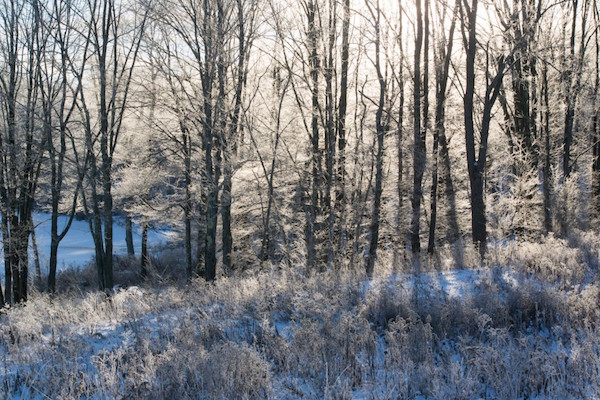
7. A walk in the woods alone at 7 AM after a fresh snowfall is a religious experience. Even if you don’t take any good photographs – which is highly unlikely – it will leave you spiritually enlightened. Get your hiking clothes together the night before if the forecast is for snow.

8. If you’re going to photograph a snow landscape don’t walk in it first. (It’s an amateur mistake, for sure, and trust me, I’ve done it many times.) It’s true that the footprints you leave in the snow may be an interesting photo subject, but once they are there, there is no going back to a pristine, fresh snowfall.
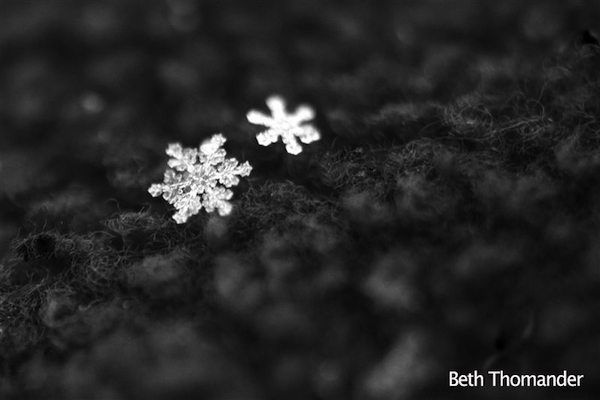
9. The Holy Grail of snowfall photos is a close-up of a snowflake—difficult to do and well worth it. You need a single lens reflex camera with a lens that can focus really really close. That probably means you will be using an extension tube – a relatively inexpensive tube that goes between your lens and the camera allowing it to focus ultra-close. Then, you need to get lucky. The weather and temperature need to be perfectly aligned so that perfectly formed unbroken snowflakes can land on the piece of black cloth you provide for them. A dark wool sweater is perfect. Tons of experimentation required, but like I said, worth it.
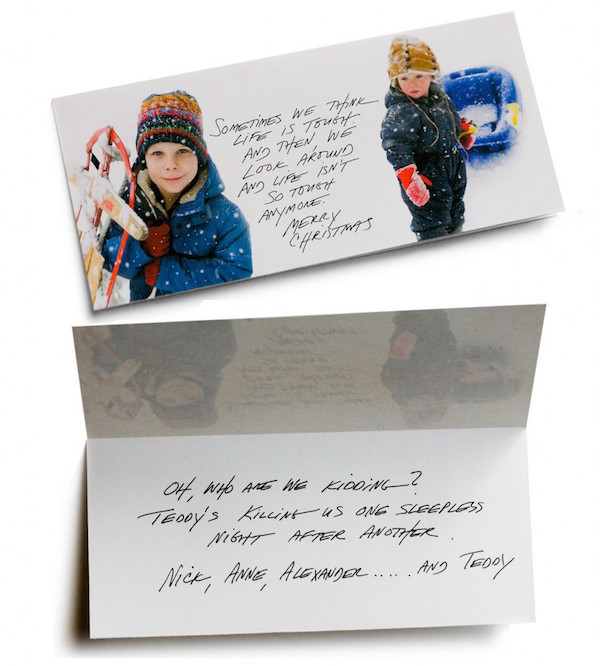
10. Depending on your editing skills, snow is quite user-friendly for photographing people individually and combining them later—that white background is very forgiving. That’s how I put my two squirmy kids in one photograph a couple of years ago. I did my best to get a good shot of each of them individually – in the soft light of an active snowfall – and then put the two pictures together in Photoshop Elements for the family Christmas card. the blank space of the snow was also a great place to put words in typography on the card.
11. People shoveling snow can be great photos. Dad running the snowblower is always going to be a family classic.

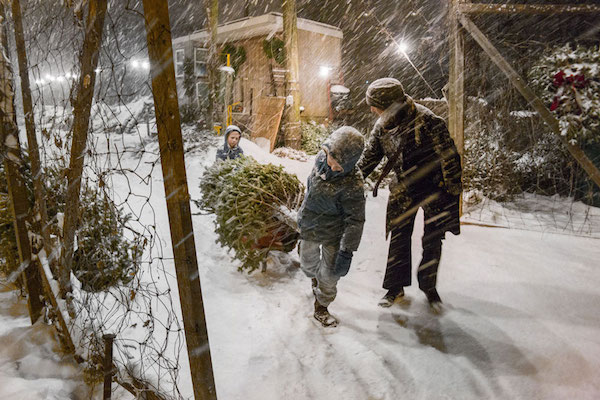
12. And as you can see (above and below) taking snow pictures at night is easier than you would think. You may have to turn up your ISO, but street lights bouncing off of fresh snow are actually quite bright. A dark sky against the new snowfall is beautiful. And the whole thing just oozes with mood.
13. Make hay when the snow falls. When you wake up one morning and look out the window and the snow is perfect it’s time to take pictures. Don’t take a shower, don’t brush your teeth—you cannot hesitate. The situation is going to rapidly change. Wind will quickly destroy the look of a beautiful tree covered with snow. Footprints are quickly going to ruin that pristine layer of white. It all changes very quickly. Photographers need to be the first people out of their doors when the snow falls.
If you appreciated this article and want to do even more to improve your photography, sign up for one of Nick’s courses now!