Night sky photography: Image stacking and other noise reduction methods compared
posted Tuesday, April 5, 2016 at 2:16 PM EDT
Photographing a sharp image of the night sky generally requires that you increase your camera's ISO. There is really no way around this because you need to keep the shutter speed short enough to not have stars visibly streaking across the sky. While cameras are continually becoming much better at higher ISOs, you will still have noise to deal with in your images of the night sky. There are many ways to reduce this noise during post-processing and a wide variety of software solutions available, but how to determine which is the best? Photographer Daniel Laan has written an excellent article for Fstoppers comparing nine different methods for reducing noise in night images.
First things first, when we're talking about images of the night sky, shutter speed is very important. You need to be able to capture images with a short enough shutter speed, given a certain focal length, so that the stars appear sharp when the file is viewed at a large size or printed. There's a rule of thumb, the 600-rule, that says that you divide 600 by your focal length and the resulting number is the amount of seconds you can expose the image before stars appear to move in your image. Laan says "The 500-rule is a better rule of thumb…" and my own personal experience coincides with this.
Suppose you're shooting at 24mm, using the "500-rule" suggests that your shutter speed needs to be around 20 seconds (or faster) to have stars appear sharp and mostly stationary in your image. I typically aim for 15 seconds, just to play it a little on the safe side in case I end up making a very large print from the image file. Depending on the particular night sky and your aperture, you're going to have to push your ISO speed up a moderate amount to achieve this exposure time.
For Laan's article he is comparing three RAW converters (DxO Optics Pro 10.5 Elite, Lightroom CC 2015.1, and Capture One 9), four plugins and filters (Topaz DeNoise 6, Noise Ninja 1.2.6, Nik Dfine 2, and Photoshop CC 2014's "Reduce Noise" filter), and also two stacked methods (average of a stack of three images and the median of a stack of three images).
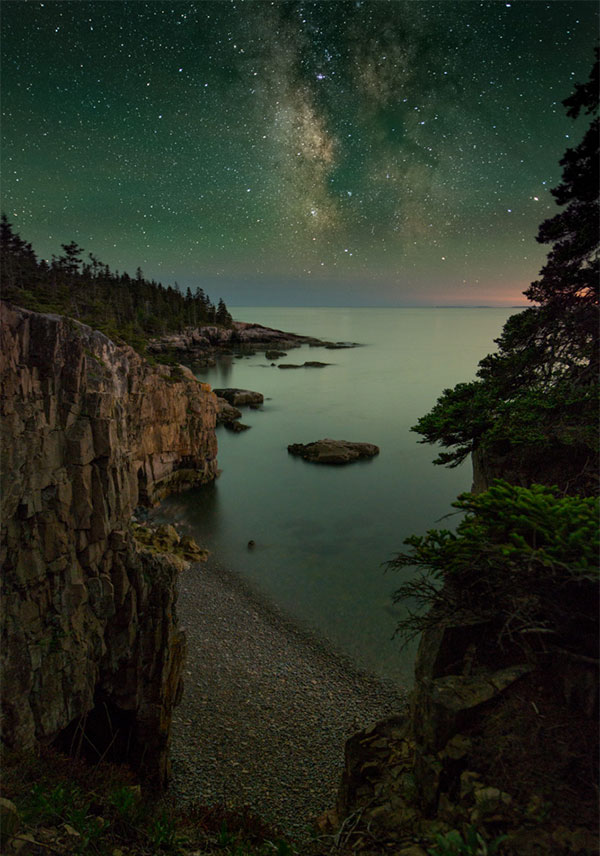
Stacking images is an excellent way to reduce noise. There is free software available such as DeepSkyStacker that can detect stars across multiple images and automatically align and stack them. For this article, Laan stacked three images, but ideally you would stack more to get better results.
How do stacked exposures compare to a single exposure that undergoes noise reduction? Laan first compares the stacked exposure to a converted RAW file. Running PRIME noise reduction in DxO Optics Pro 10 Elite ("Elite" costs $70 more than the essential edition, but one of its special features is PRIME noise reduction) yields smooth results, but it also amplifies optical aberrations around bright stars. Aberrations are a fact of life when taking images of the night sky and even the best lenses can struggle in this situation.
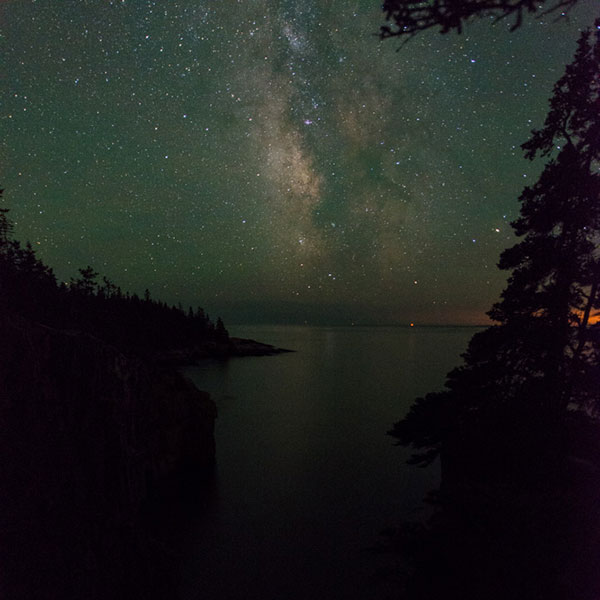
Like DxO Optics Pro 10 Elite, Lightroom's noise reduction kept some of the natural color in the stars even after noise reduction. Unlike DxO Optics, Lightroom left a lot of color noise behind in the image after performing noise reduction.
Capture One produces a similar sharpening result as Lightroom and reduces noise similarly to the average stacking method, but it robs the stars of much of their color and produces some random swatches of color in the sky. Laan likes the pattern of the noise, however, as he finds that it more resembles film grain.
Check out the full article to see before and after comparisons of the RAW converter results.
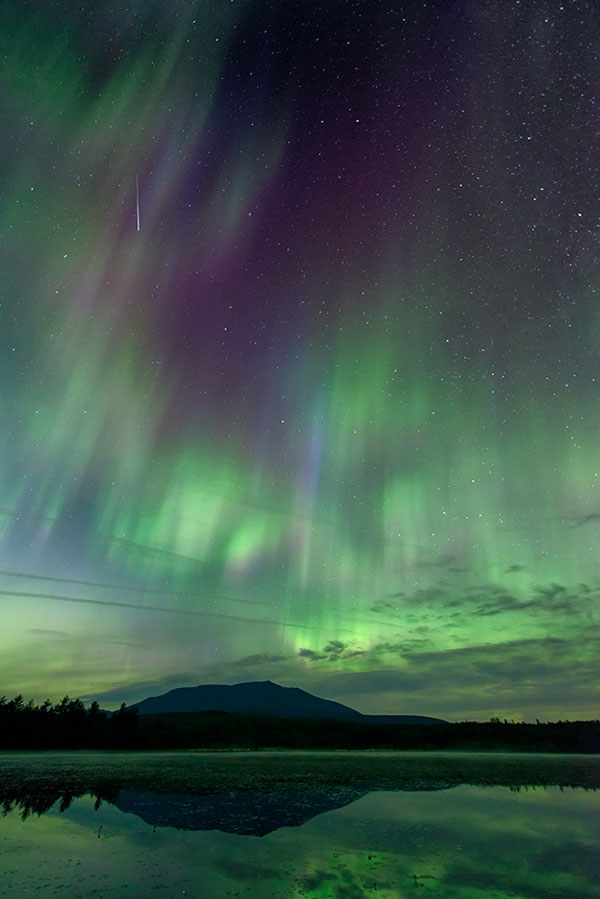
Laan also tested four plug-ins, DeNoise, Noise Ninja, Dfine, and Photoshop's "Reduce Noise" filter. Dfine has the advantage of being free but DeNoise has the advantage of being the most aggressive. With that said, whether or not you want to aggressively reduce noise depends on what you want from your image. There are times when I want to make a night image smoother and don't mind losing some of the fainter stars and details in the process, but there are other times when I would prefer the greatest amount of detail possible and will opt for conservative noise reduction.
Ultimately, if you want the best of both worlds, then the ideal solution won't be reducing noise in your RAW converter of choice or using plug-ins, but instead it'll be to process multiple RAW exposures, align them, and then stack them. This method is much more time-consuming, both out in the field and on the computer, but it generally produces the best results.
Read the full article for much more information on noise reduction and to see a lot of excellent comparison images.
To see Daniel Laan's nightscape photography, check out his website.
(Seen via Fstoppers)